Building an Address and Coordinates Field Plugin
Storyblok is the first headless CMS that works for developers & marketers alike.
This tutorial teaches you how to build an address and coordinates field plugin. We will also add a field plugin component to show how to build your plugins using the (opens in a new window)Storyblok field plugin CLI (opens in a new window).
If you are in a hurry, you can explore or fork the code from the address and coordinates repository. You can also check out your documentation on field-plugins.
Setting up
To create a new field plugin, create a new project using the command below
npx @storyblok/field-plugin-cli createIn the command line, fill in the package manager you’d want to use for your plugin, and choose how many field plugins you want to have in your repository. For this, you can choose either a polyrepo or a monorepo. You can read about that here (opens in a new window).
Next, add a name for your field plugin and select the frontend framework template for your plugin. In this article, We will be working with Vue 3.
This should automatically install modules for your package and show how to navigate to your package from your terminal.
After a successful installation, proceed to deploy your plugin by running the command:
npm run deployWhen you run the deploy command, you’ll be asked for your personal access token to be added to the package in a .env file. This helps to assign your field plugin to your account.
You can retrieve your personal access token by clicking on (opens in a new window)https://app.storyblok.com/#/me/account?tab=token
When you navigate to your (opens in a new window)Storyblok account (opens in a new window), you should see the deployed plugin as shown below.
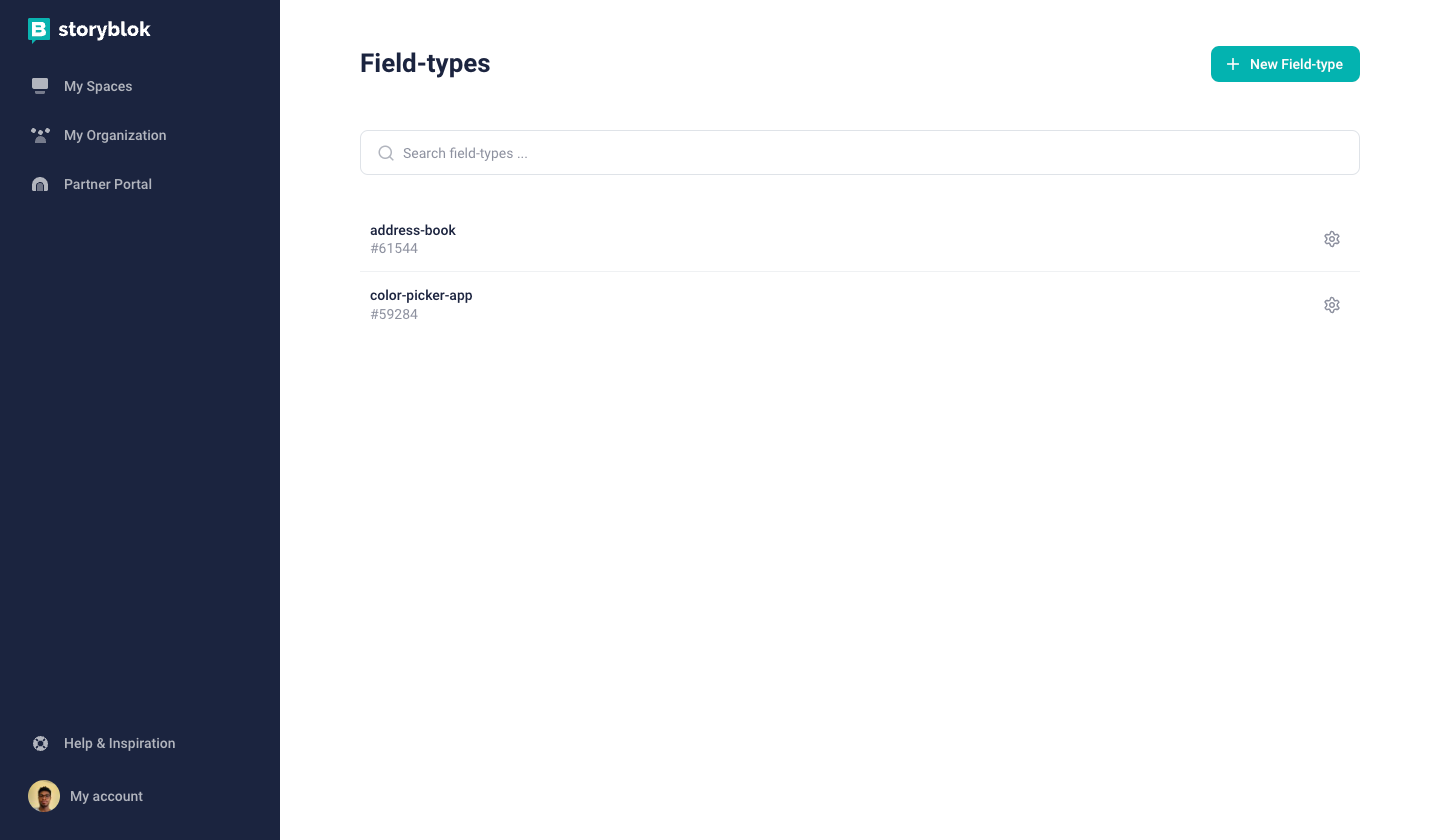
Now whenever you want to use your custom field in your space, you can run npm run deploy and enter the exact plugin name to update it.
Creating the Plugin
First, create a new component in ./src/components/FieldPluginExample/Address.vue with the bare code necessary to function as a Storyblok field plugin. We will first install the useFieldPlugin hook, which helps us to save the content state and communicate with Storyblok. We will also add a markup for all the fields.
<script setup lang="ts">
import { computed, ref, watch } from 'vue'
import { useFieldPlugin } from '@storyblok/field-plugin/vue3'
const {
  actions: { setContent },
  data: { content },
} = useFieldPlugin()
const address = ref({
  // These are the values which your custom
  // field will return.
  country: '',
  email: '',
  fax: '',
  latitude: null as number | null,
  longitude: null as number | null,
  phone: '',
  postal_code: '',
  street: '',
  town: '',
  // This is the name of your plugin.
  plugin: 'address',
})
</script>
<template>
  <div class="address">
  </div>
</template>
You created a Vue component for your address field plugin in the code above. We initialized the address variable with an empty address object. Next, you will update the <template> section of your plugin to include the fields, such as the street, town, postal code, country, etc.
<template>
  <form class="address">
    <div class="form-field address__field" v-for="(value, key) in address" :key="key">
      <label class="form__topic">{{ getFieldLabel(key) }}</label>
      <input v-model="address[key]" class="form-input uk-form-small uk-width-1-1" />
    </div>
  </form>
</template>

import { ref } from 'vue';

const address = ref({
  street: '',
  town: '',
  postal_code: '',
  country: '',
  latitude: '',
  longitude: '',
  phone: '',
  fax: '',
  email: '',
});

const fieldLabels = {
  street: 'Street',
  town: 'Town',
  postal_code: 'Postal code',
  country: 'Country',
  latitude: 'Latitude',
  longitude: 'Longitude',
  phone: 'Phone',
  fax: 'Fax',
  email: 'E-Mail',
};

const getFieldLabel = (key) => {
  return fieldLabels[key] || key;
};
</script>
In the code above, we used the <div class="address"> to add multiple address forms, some of which include street, town, postal code, country etc. Next, you added a label for each input field and bind the inputs using the v-model directive.
The v-model directive establishes a two-way binding between the input element and a data property in the Vue component's data object.
In this case, the data property is the address.<field_name>, where <field_name> corresponds to the specific field being edited (e.g., street, town, etc.).
Generating latitude and longitude from the address
Let’s make it possible to automatically find the correct latitude and longitude values for the address the user has entered:
<!-- ... -->
    <div class="form-field address__field">
      <span class="form__topic"> Coordinates </span>
      <div class="form-field-group uk-grid">
        <label class="uk-width-1-2">
          Latitude
          <input
            v-model.number="address.latitude"
            class="form-input uk-form-small uk-width-1-1"
          />
        </label>
        <label class="uk-width-1-2">
          Longitude
          <input
            v-model.number="address.longitude"
            class="form-input uk-form-small uk-width-1-1"
          />
        </label>
      </div>
      <a
        class="btn blok__full-btn uk-margin-small-top"
        @click="coordinatesByaddress"
      >
        <i class="uk-icon-search uk-margin-small-right" />
        Generate from address
      </a>
      <p
        v-if="latLngNotFound"
        class="address__error"
      >
        Could not find coordinates for the given address.
      </p>
    </div>
<!-- ... -->
Here, we added a new button in the <template> section of the plugin. Additionally, we added a <p> tag to render an error message if something goes wrong conditionally. The @click directive binds a click handler to the <a> tag of the button, which triggers the newly created coordinatesByAddress() method.
We'll use the new Fetch API to make the API request to (opens in a new window)OpenStreetMap (opens in a new window).
<script setup lang="ts">
import { computed, ref, watch } from 'vue'
import { useFieldPlugin } from '@storyblok/field-plugin/vue3'
const {
  actions: { setContent },
  data: { content },
} = useFieldPlugin()
// ...
// The URL of the OpenStreetMap endpoint
// for fetching location data by address.
const ENDPOINT = 'https://nominatim.openstreetmap.org/search'
const latLngNotFound = ref(false)
const coordinatesByaddress = async () => {
  try {
    // Reset the error message before
    // fetching new location data.
    latLngNotFound.value = false

    // Here you build the query string with
    // all the address data available to us
    const queryString = [
      `city=${encodeURI(address.value.town)}`,
      `country=${encodeURI(address.value.country)}`,
      `postalcode=${encodeURI(address.value.postal_code)}`,
      `street=${encodeURI(address.value.street)}`,
      'format=jsonv2',
    ].join('&')

    // We use the new `fetch` API to query
    // the public OpenStreetMap API.
    const rawResponse = await fetch(`${ENDPOINT}?${queryString}`)
    const responseJson = await rawResponse.json()
    const bestMatch = responseJson[0]

    // Throw error if address is not found.
    if (!bestMatch) throw new Error('address not found')

    // If OpenStreetMap was able to find us
    // some coordinates, you update your model.
    address.value.latitude = parseFloat(bestMatch.lat)
    address.value.longitude = parseFloat(bestMatch.lon)
  } catch (error) {
    latLngNotFound.value = true
  }
}

watch(address.value, (value) => {
  setContent(value)
})
</script>
<!-- ... -->
The coordinatesByAddress() method queries the OpenStreetMap API with the address data, which is stored in the address ref of your plugin. If it can't find the address or a network error occurs, you set the latLngNotFound variable to true, which triggers an error message to be rendered. Otherwise, update the values of your latitude and longitude fields.
Running the plugin
We are done with building the field plugin. However, before deploying it, we can look at the plugin sandbox to be sure everything is working well. To do that, click on the sandbox link on your terminal as shown below:
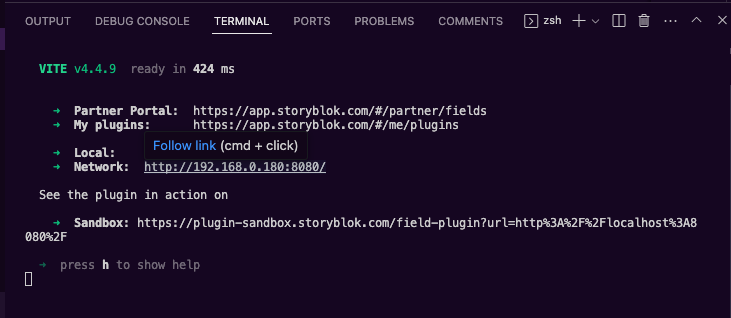
Storyblok plugin sandbox
Once you do, you can view and test your plugin on your browser.
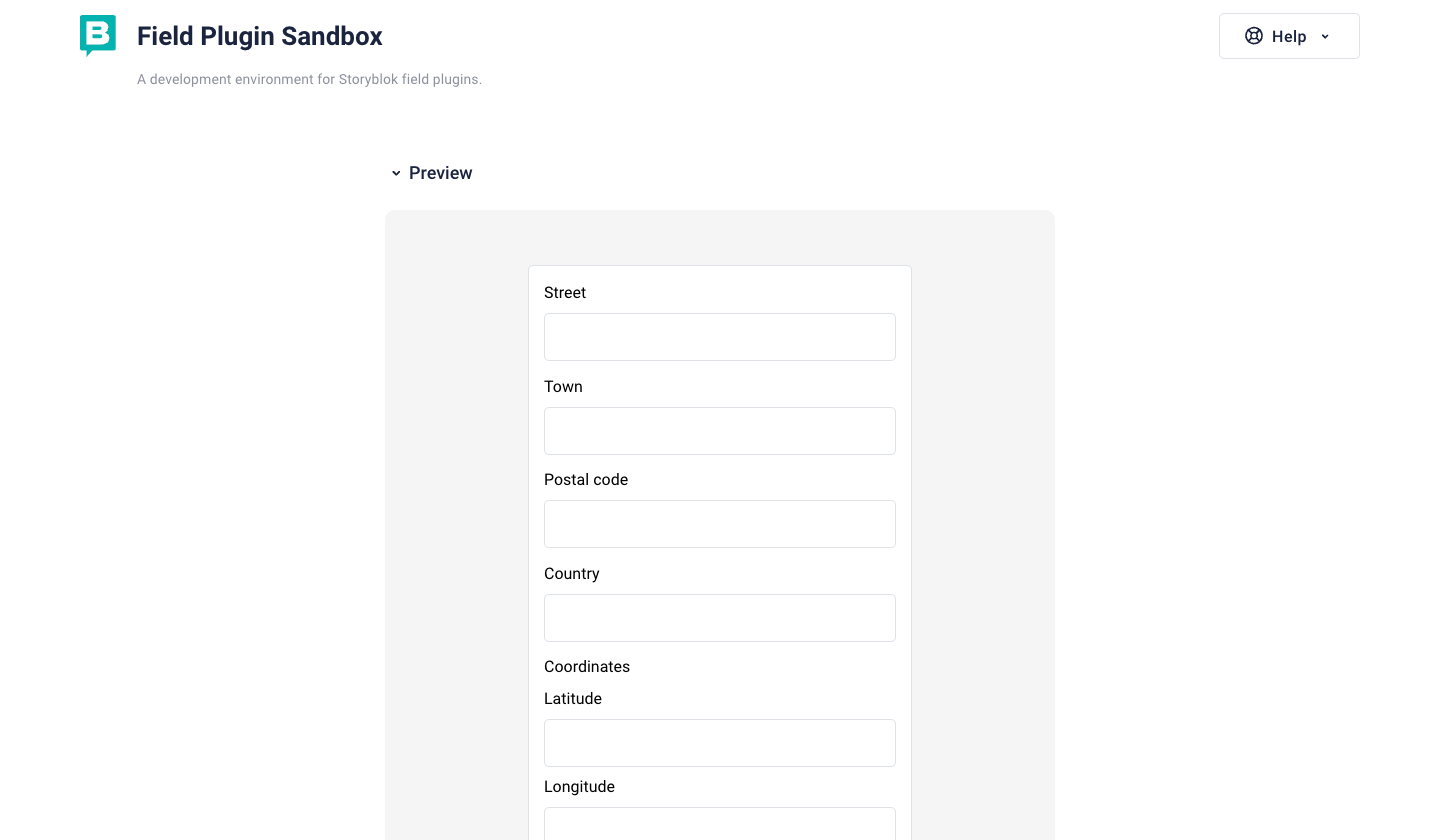
field plugin sandbox
Deploying the Plugin
To deploy our plugin, first, we will need to build it by running the following command:
npm run build After this, we can deploy the application by running:
npx @storyblok/field-plugin-cli deployYou will be asked to add information about your field plugin. You can learn more in the official Storyblok field plugin documentation. (opens in a new window)
After deploying the plugin, you will be redirected to your Storyblok field plugin editor, as shown below:
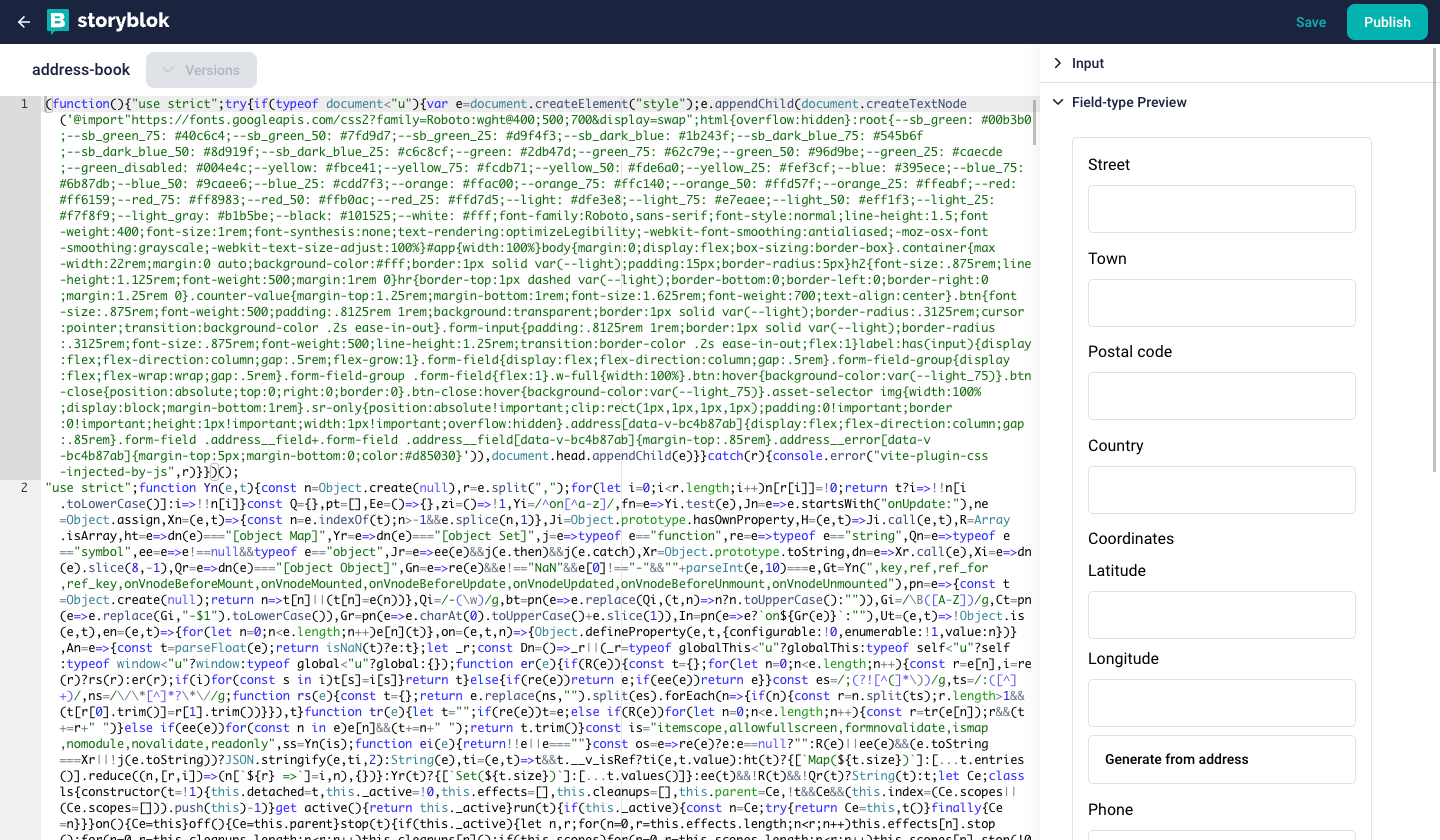
Address and coordinate plugin
Assigning Plugin to Spaces
To assign a field plugin to a space, navigate to your Storyblok plugins as shown in the image and click on the selected plugin as shown below:
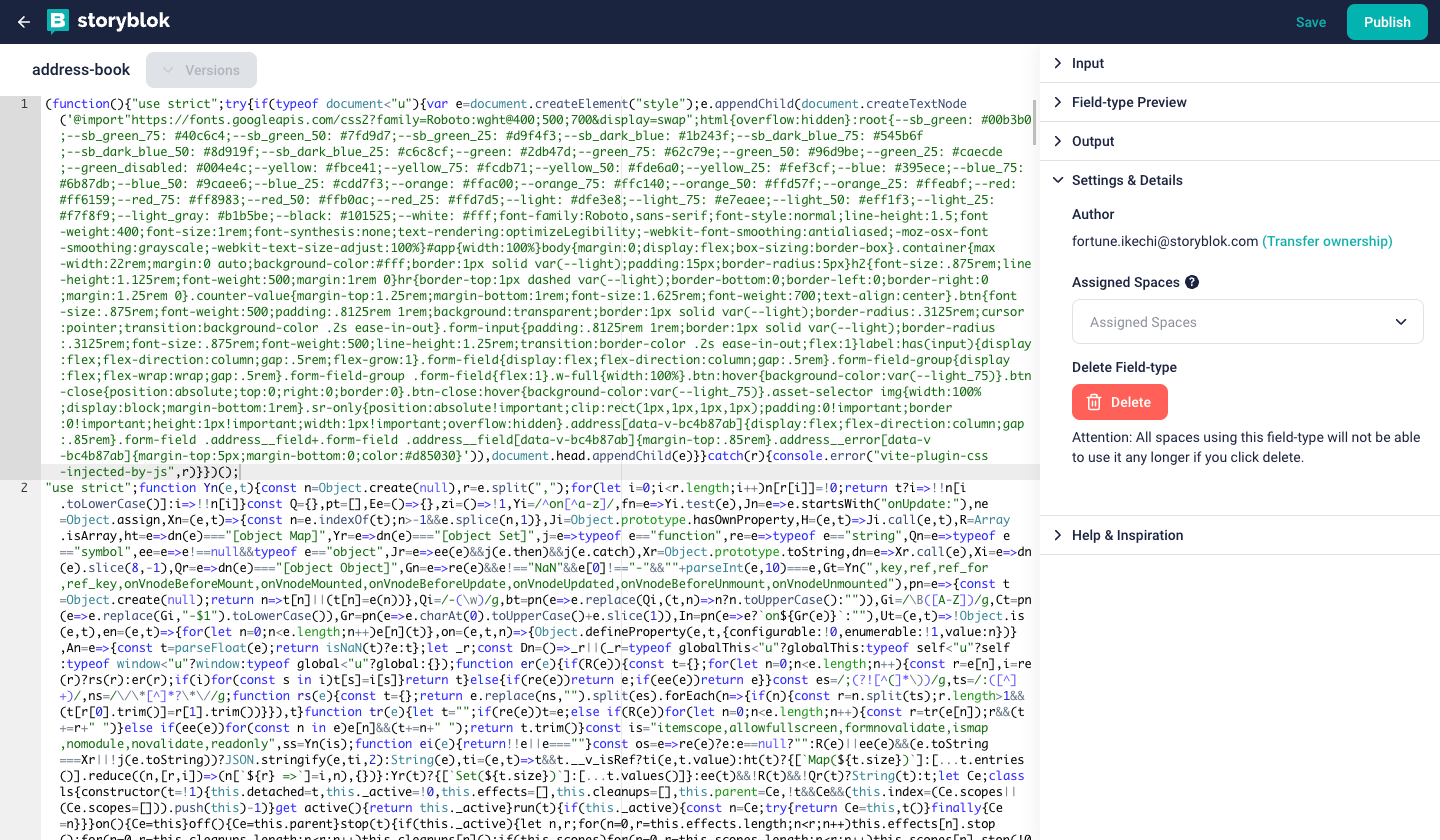
assigning a plugin to space
Click on the Assigned Spaces, and select the spaces that should have access to this field plugin.
You can learn more about distributing your field plugins on our documentation.
Conclusion
In conclusion, this tutorial has guided you through building a custom address and coordinates field plugin for Storyblok using Vue. We've covered the essential steps, from setting up your project to deploying the plugin to your Storyblok account.
We also looked into testing your plugin using the Storyblok sandbox. You can find the complete code for the plugin (opens in a new window)here (opens in a new window). You can learn more about field plugins in the field plugin (opens in a new window)documentation (opens in a new window).
