Deploy Next.js with Storyblok on AWS Amplify
Storyblok is the first headless CMS that works for developers & marketers alike.
This guide has been tested with the following package versions:
- @storyblok/react@6.0.0
- next@16.1.6
- react@19.2.4
- react-dom@19.2.4
- node@24.7.0
You’re using Next.js as your frontend framework and Storyblok as your CMS. You’re now thinking of where to deploy your project. Vercel is one of the options, but you’re browsing for alternatives. You don’t want to compromise on security and want to use an enterprise-grade platform. Enter AWS Amplify.
In this article, we will use Amplify to deploy our Next.js application. We will connect Amplify to our project’s GitHub repository, and set up environment variables for Storyblok tokens. We will also use Amplify’s branch based deploys to set up a preview environment for the Storyblok Visual Editor.
What is Amplify?
Amplify is a tooling and services platform by AWS that abstracts away the complexity of deploying and managing full-stack applications. It natively supports the Next.js framework and can be an option for enterprises that already host their other services on AWS, thus ensuring all their applications and data are available under a common platform.
How does it work?
A production-grade Next.js application can be composed of multiple components, including API routes, middleware, and React components, and can leverage server-side rendering. This means the output of a Next.js project is not limited to a static client-side rendered website. All these components require infrastructure to run. Different hosting platforms handle this in their own way. Adapters for different platforms are available, which map components of Next.js applications to platform-specific infrastructure.
AWS Amplify supports Next.js applications natively and does not require installing any additional packages.
AWS Amplify does not support some advanced Next.js features.
Let’s now dive into how we can deploy our Next.js projects.
Set up a Next.js project
For this demo, we will assume you already have a Next.js project connected to Storyblok. If you’re looking to set up a project from scratch, you can follow our official Next.js guide. You do not need to complete the full guide. If your project can fetch data from Storyblok and render it, you are good to go. If you want a starter project to use as a base for this tutorial, you can use the Storyblok CLI to configure one of our blueprints.
The @storyblok/react package exports multiple entry points, use the correct one for your application.
Configure Amplify
Now that our Next.js project is connected to Storyblok, let’s start the process of deploying it on Amplify.
Navigate to the Amplify console and select the option to create a new app. You can import a repository from various providers, such as GitHub. This allows us to set up branch-based auto-deployments.
Once you connect your project, Amplify will auto-detect Next.js as the framework.
The basic setup might work for you, but we recommend configuring the build via an amplify.yml file in the root of your repo. For the first deploy, you can also edit the file inline in the Amplify console.
Here’s an example configuration for an app that uses the app router on Next.js 16 and uses server-side rendering (SSR):
version: 1
frontend:
  phases:
    preBuild:
      commands:
        - npm ci --cache .npm --prefer-offline
    build:
      commands:
        - npm run build
  artifacts:
    baseDirectory: .next
    files:
      - '**/*'
  cache:
    paths:
      - .next/cache/**/*
- .npm/**/*Note: The amplify.yml file should be tailored to your project's build configuration. If you’re only using static site generation, your build output might be in a different folder, and the baseDirectory needs to be configured accordingly. Read the Amplify reference for more details.
Once you set the build configuration, you have to select an IAM service role to associate with the project. You can either create a new role or choose an existing role. Make sure this role has the required permissions.
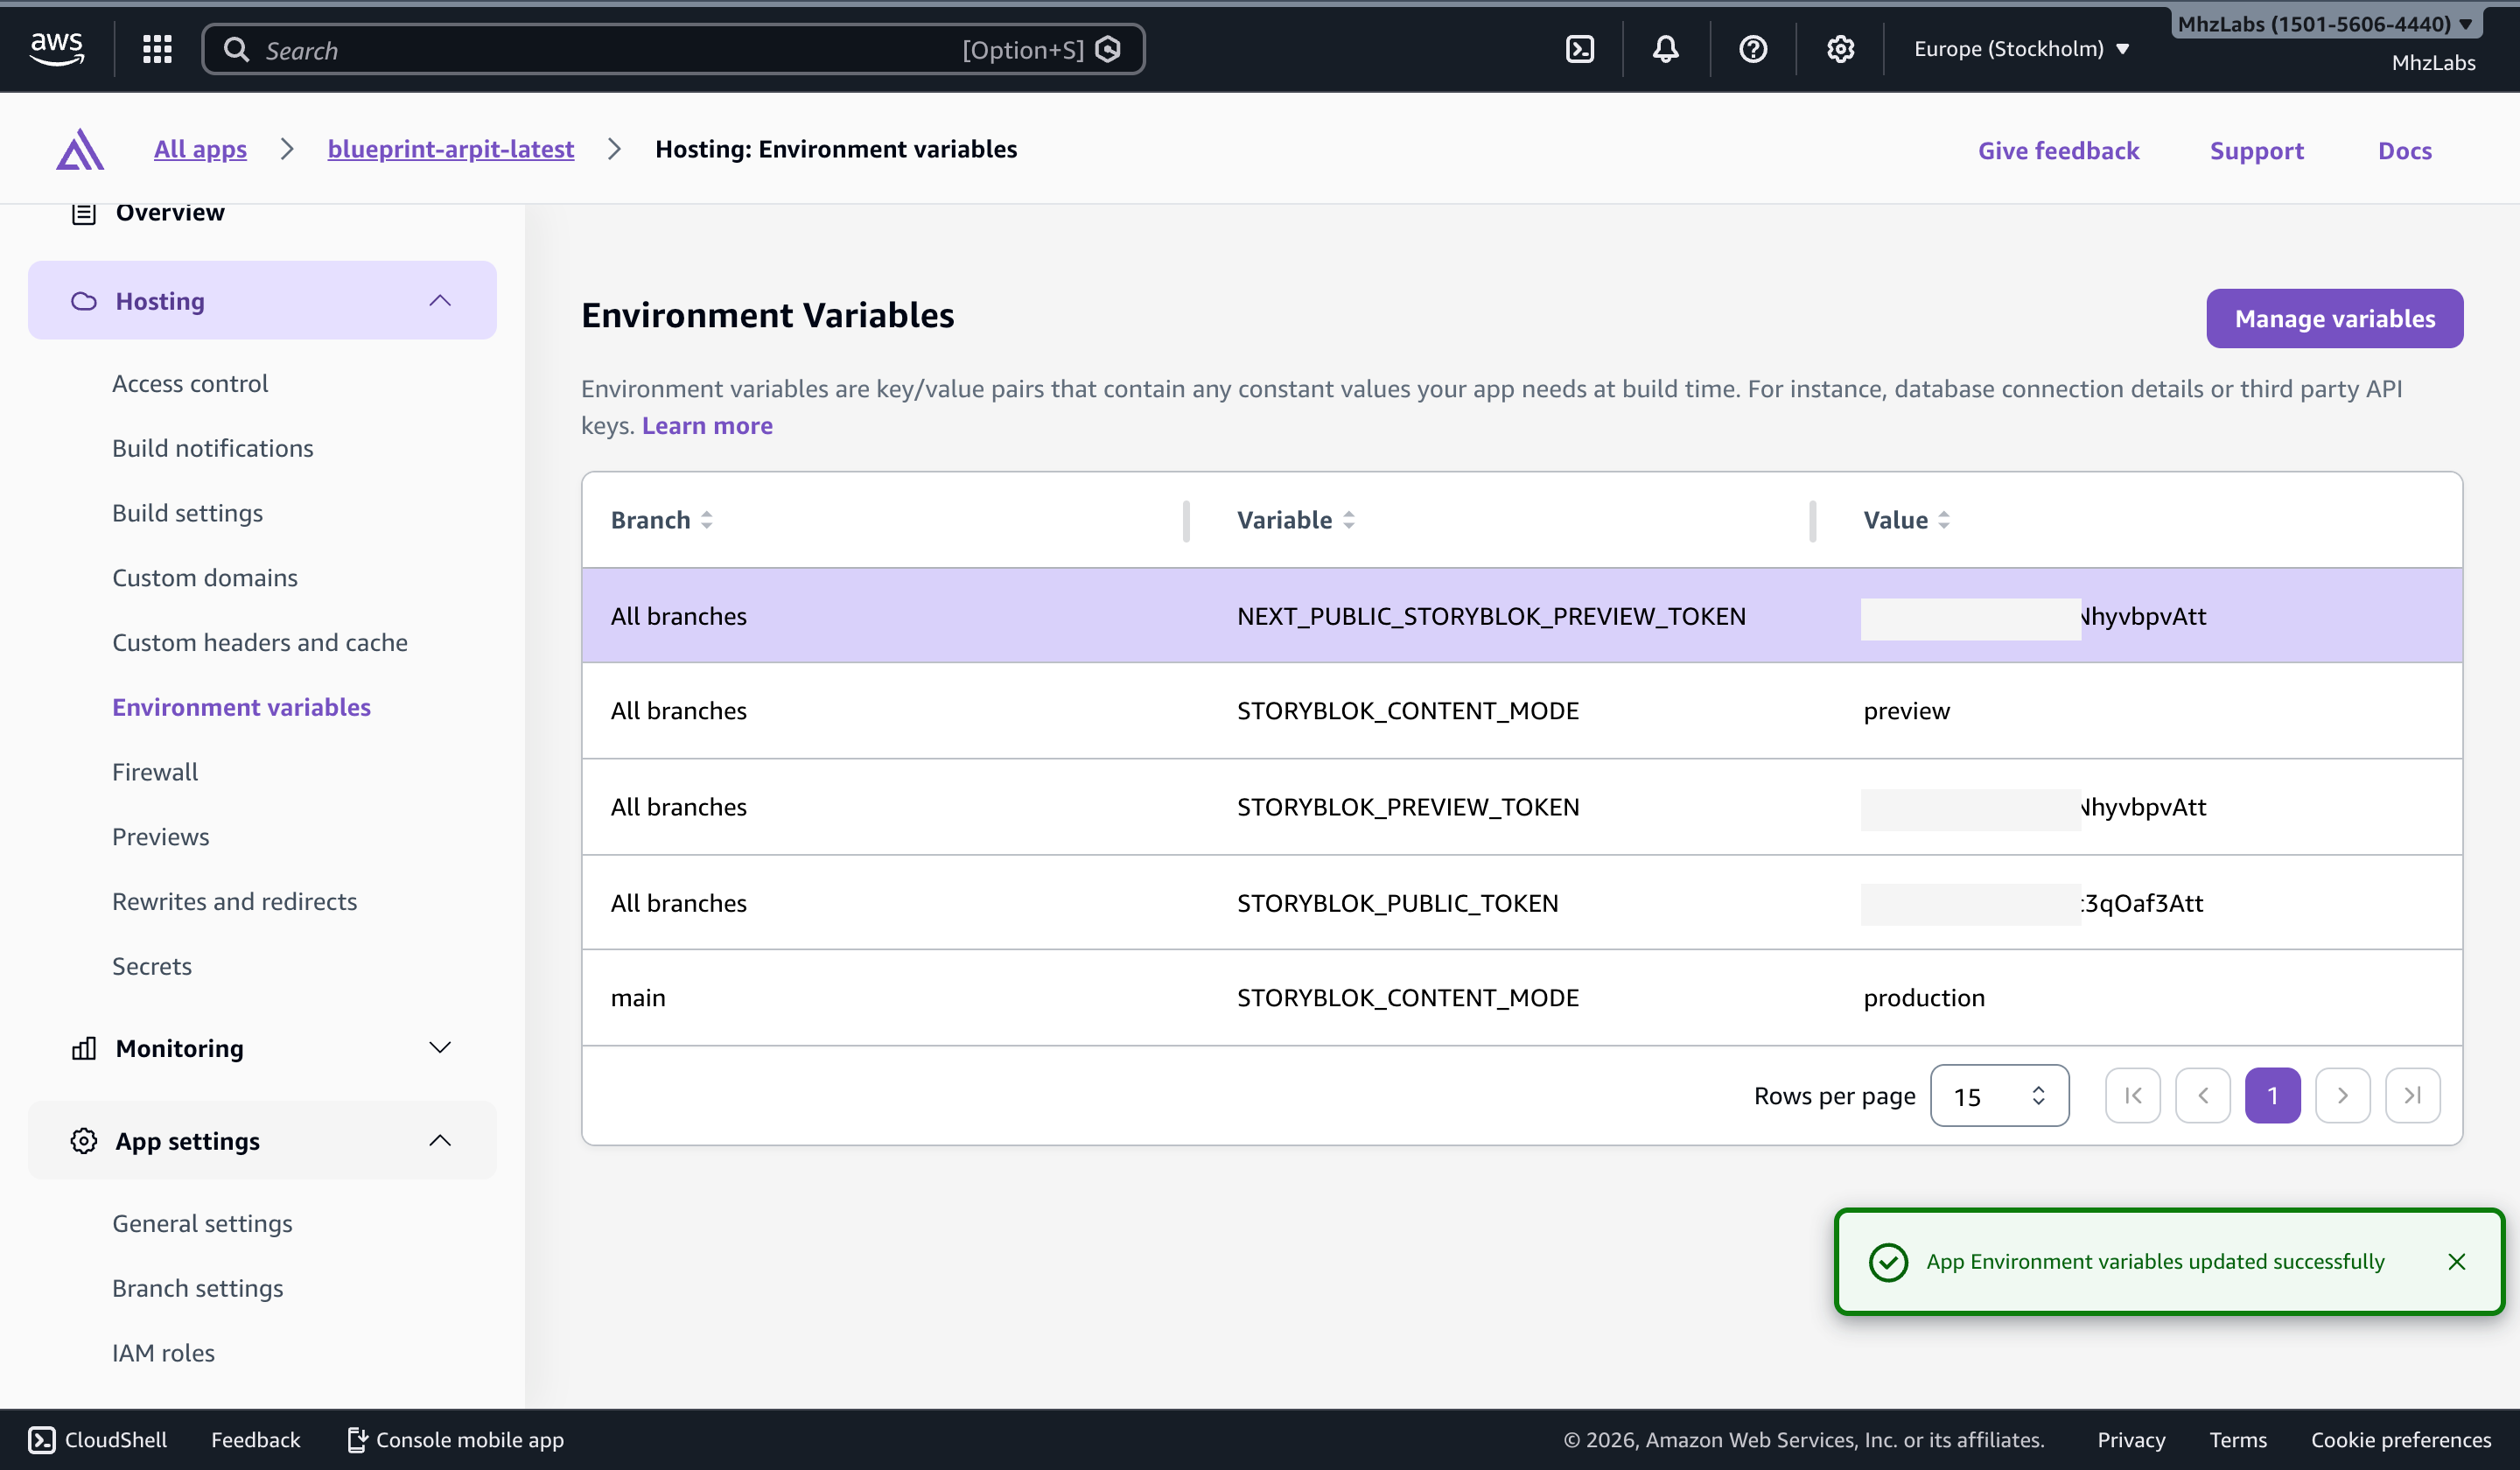
Configure environment variables
Let us now configure our Storyblok access tokens as environment variables on Amplify. We will need to configure two different types of tokens here. A public token, which allows access to published content, and a preview token, which allows access to content that is unpublished. Read more in the tokens concept.
On the Amplify console, configure the following tokens:
STORYBLOK_PREVIEW_TOKEN: This token allows access to both draft (unpublished) and published content. This token should only be used in a server-side context (for example, in API routes or server components). We will use this for preview environments.STORYBLOK_PUBLIC_TOKEN: This token grants access only to published content. This token is used for a production deployment and should also not be exposed to the client.NEXT_PUBLIC_STORYBLOK_PREVIEW_TOKEN: This token is similar to the preview token, but because it has theNEXT_PUBLICprefix, it is available for use in client components. This token should only be used in draft mode as it will be inlined into the client bundle.
Amplify does not make these tokens available at runtime by default. To make sure our code has access to these tokens, make the following changes to the build section of your amplify.yml file:
version: 1
frontend:
  phases:
    build:
      commands:
        # Make Amplify env vars available to Next.js
        # https://docs.aws.amazon.com/amplify/latest/userguide/ssr-environment-variables.html
        - env | grep -e STORYBLOK_PUBLIC_TOKEN -e STORYBLOK_PREVIEW_TOKEN -e NEXT_PUBLIC_STORYBLOK_PREVIEW_TOKEN >> .env.production || true
Fetch data
If you already followed our guide, you will have created a file where you initialized the Storyblok client server-side. For the purpose of this guide, here we will use the public token.
/**
 * Initializes the Storyblok client and registers all components.
 */
export const storyblokApi = storyblokInit({
 	accessToken: process.env.STORYBLOK_PUBLIC_TOKEN,
  use: [apiPlugin],
  components,
  apiOptions,
});
With the public token, you can only fetch published content. Also, make sure to pass an appropriate CV value to ensure you get the latest content. For the purpose of this demo, we will load the latest published stories by sending an up-to-date cv value, as shown below.
Note: While using cv: Date.now() guarantees the freshest content, it fully bypasses CDN caching and may hurt performance in production. Use this approach only for demos or previews, and consider more targeted cache-busting strategies based on your production needs.
let sbParams = {
	version: 'published',
	cv: Date.now(), // up-to-date `cv` value
};

// Get an instance of the Storyblok API that is initialized using a public token
const storyblokApi = getStoryblokApi();

// Fetch the home story
const { data } = await storyblokApi.get(`cdn/stories/home`, sbParams);
After a successful deploy, you should be able to fetch published content on the deployed website.
Set up a preview environment
There are several ways to set up a preview environment for your Next.js apps. If you want to completely isolate the preview environment from the production environment, you can set up another Amplify application and load draft content based on an environment variable. However, if you don’t want duplicate deployments, you can use branch-based deploys offered by Amplify.
First, branch off your main branch and create a branch for previews. For this demo, I’ll be using a preview branch. Once the branch is pushed to your source provider, we need to connect it to the project in the Amplify console in the Branch settings.
Next, let’s create a new environment variable called STORYBLOK_CONTENT_MODE. By default the value of the variable should be preview, but for the main branch, we will override it to production. Make sure to add this environment variable in the amplify.yml file as we did for the other variables.
Environment Variables
We will now modify our code to fetch draft content if it’s running in a preview environment. Use the newly introduced variable to load the correct access token while initializing the Storyblok SDK:
const accessToken = process.env.STORYBLOK_CONTENT_MODE === 'preview' ? process.env.STORYBLOK_PREVIEW_TOKEN : process.env.STORYBLOK_PUBLIC_TOKEN;And then load the draft or published versions of stories based on the content mode in the current branch:
let sbParams = {
		version:
			process.env.STORYBLOK_CONTENT_MODE === 'preview' ? 'draft' : 'published',
		cv: Date.now(),
};

const { data } = await storyblokApi.get(`cdn/stories/${fullSlug}`, sbParams);
After fetching the data for a particular story, render your story using the StoryblokStory component like so:
import { StoryblokStory } from '@storyblok/react/rsc';

return <StoryblokStory story={data.story} />;
The StoryblokStory component automatically loads the bridge for live preview when in the Visual Editor.
Once you push the develop branch to GitHub (or your specific source provider), Amplify will auto-deploy your code on a new URL. This URL can serve as the preview URL for your project and will always load draft content. You should configure this URL as a preview URL in the Visual Editor settings for your space.
You can set up Amplify to auto-build a preview branch for all PRs. Combined with how we have set up the STORYBLOK_CONTENT_MODE variable, the preview branches will load draft content. Learn how to set this up in the AWS Amplify guide.
Draft mode
Draft Mode is a Next.js feature specially designed for loading unpublished content. This allows you to fetch draft content from Storyblok without switching deployment URLs. If you prefer this method, set it up using the tutorial.
Then, we will use the NEXT_PUBLIC_STORYBLOK_PREVIEW_TOKEN we set up earlier. Note the usage of the isDraftMode variable. This variable should be passed as true to getStoryblokApi when draft mode is enabled. Based on your draft mode setup, this component must be conditionally loaded only when in draft mode.
import { storyblokInit, apiPlugin } from "@storyblok/react/rsc";

export const storyblokComponents = {
 page: Page,
 hero: Hero,
 article: Article,
};

export const getStoryblokApi = (isDraftMode = false) => {
 const accessToken = isDraftMode
   ? process.env.NEXT_PUBLIC_STORYBLOK_PREVIEW_TOKEN
   : process.env.STORYBLOK_PUBLIC_TOKEN;

 return storyblokInit({
   accessToken,
   use: [apiPlugin],
   components: storyblokComponents,
   enableFallbackComponent: true,
 })();
};
The NEXT_PUBLIC prefix in our environment variable inlines this value into the client-side bundle. As a result, the token becomes visible to anyone inspecting the page source. For this reason, it should only be used in Draft Mode, which we enable in our preview environments behind authentication and restrict to editors.
Final thoughts
Once set up correctly, Amplify is an impressive hosting platform for your Storyblok apps built on Next.js. Branch-level environments make preview deployments straightforward, and running everything on the server ensures that your Storyblok tokens are secure. Amplify’s developer experience and abstractions let you focus on shipping rather than getting lost in configuration.
