Roles
Roles let space owners and admins control access to resources and actions. Storyblok offers two types of roles:
- Default: Admin, Editor, and Owner roles have predefined permissions that cannot be changed.
- Custom roles match the project's content requirements and the organization's editorial team.
Custom roles define which users can perform which tasks. For example, a German translator role in a multilingual project grants users associated with it full access to German content and read-only access to English content.
Other types of users, such as content managers and designers, may have roles that grant them access to specific blocks and assets, respectively.
Permissions
Section titled “Permissions”Permissions determine which resources and actions a role (and its assigned users) can access.
Storyblok supports an extensive list of permissions that admins can set to manage access and either allow or deny actions in stories, blocks, fields, assets, languages, datasources, tags, and apps.
Depending on your role, you may be able to view or set permissions. To manage permissions, open Settings → Roles, select the role, then open the relevant tab.
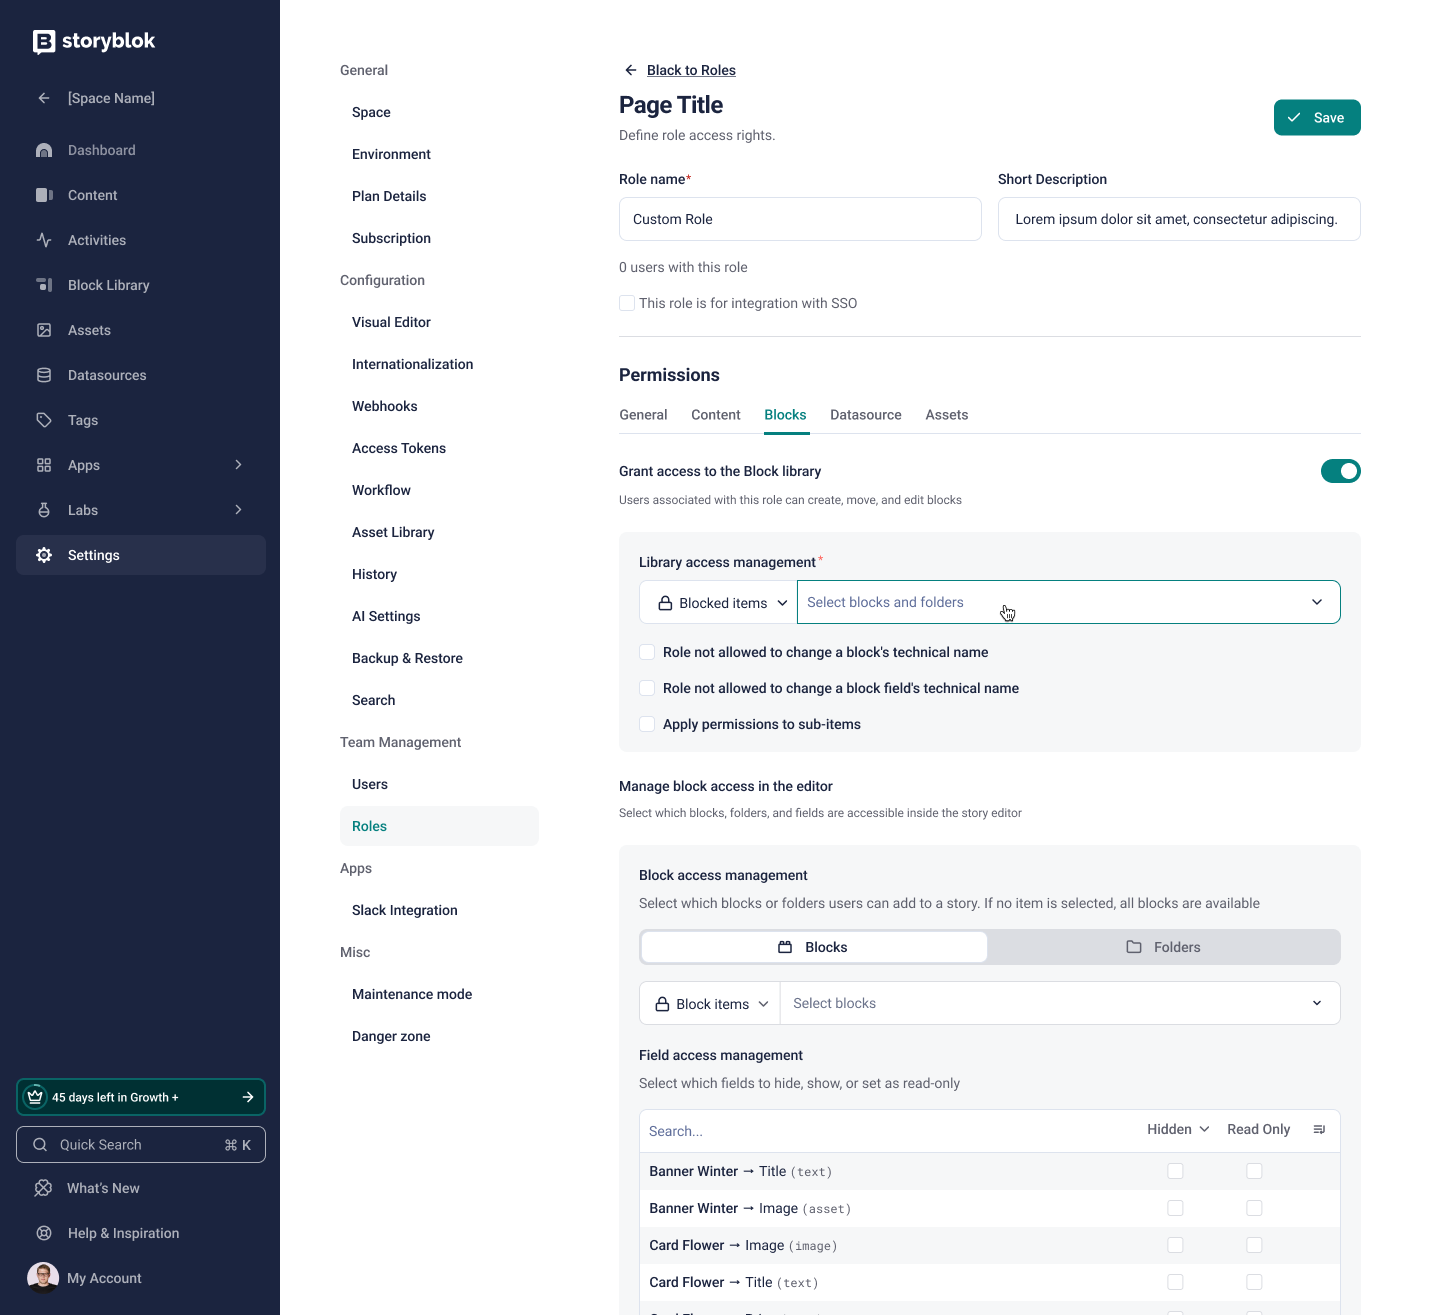
The Blocks permissions tab in the custom roles settings page
Use roles with workflows and releases
Section titled “Use roles with workflows and releases”Roles are particularly useful when using features such as workflows and releases to streamline content reviews and manage access to sensitive materials.
Workflows
Section titled “Workflows”Workflows offer editorial teams a flexible way to manage the content authoring process. For example, instead of manually requesting a review from an editor, add multiple editors to a Reviewer role. Then, notify everyone at once that a story has moved to a Needs review workflow stage.
To assign a role to a story, open Workflow from the right toolbar. Select the stage, and choose the role from the Assign to dropdown.
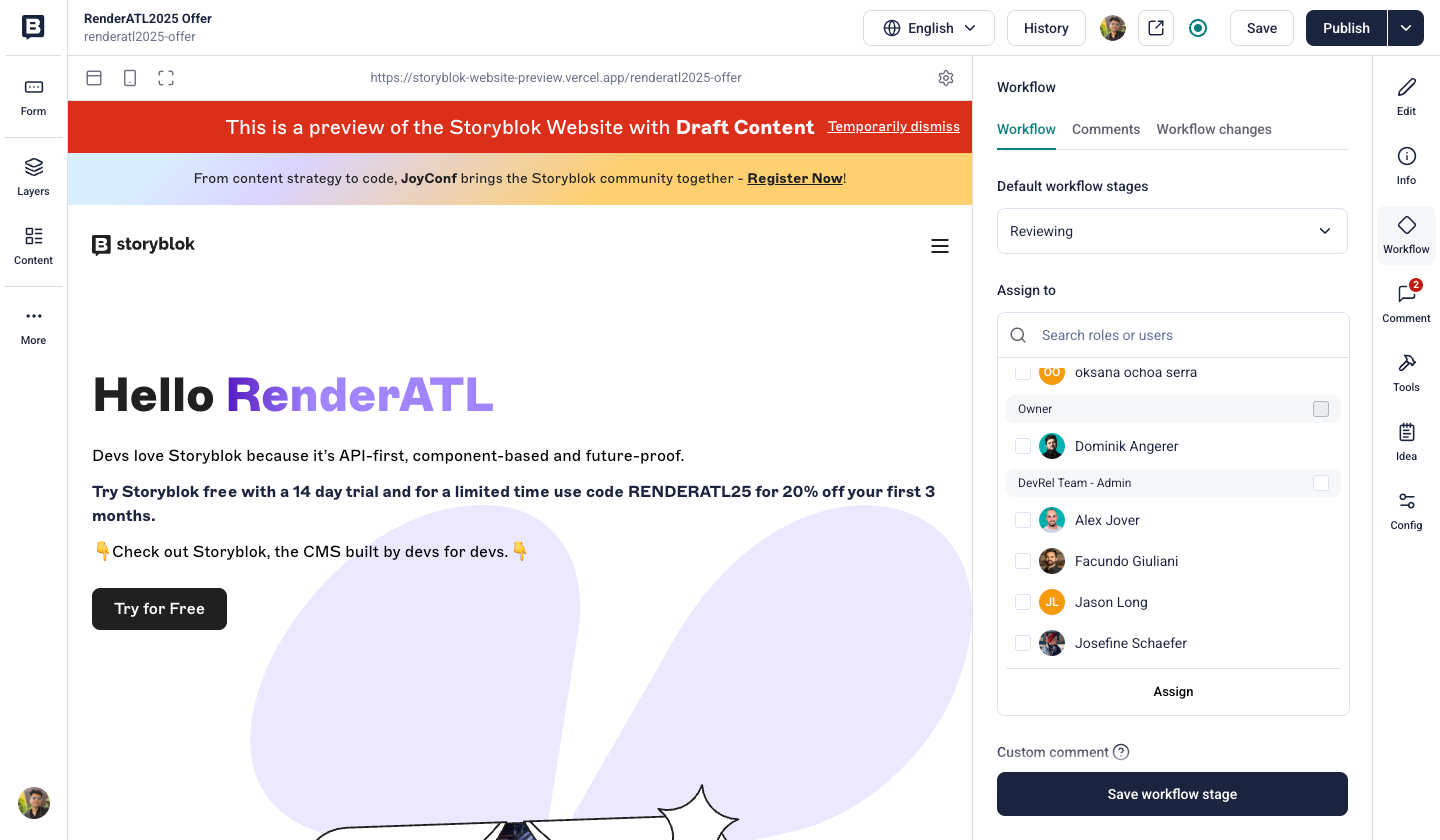
Assign a workflow to a role
Releases
Section titled “Releases”The Releases App helps plan scheduled publication and prevent unauthorized access to confidential content.
To restrict access to a release based on roles, open the Content area and select the relevant release. Choose Restricted and assign the allowed roles from the Select users and roles dropdown.
Was this page helpful?
This site uses reCAPTCHA and Google's Privacy Policy (opens in a new window) . Terms of Service (opens in a new window) apply.
Get in touch with the Storyblok community