How to crop images in V2
In Storyblok UI V1, The field-type Image (old) has the option "Force crop" to force the user to crop the image before the upload.
At the moment, Storyblok UI V2 doesn't have this option, but it's coming soon on the Image (old) and Asset field types. Meanwhile, if you need to crop an image, it's recommended to use the crop feature on the Image Editor.
To use the Crop on the Image editor within the Visual Editor, follow these steps:
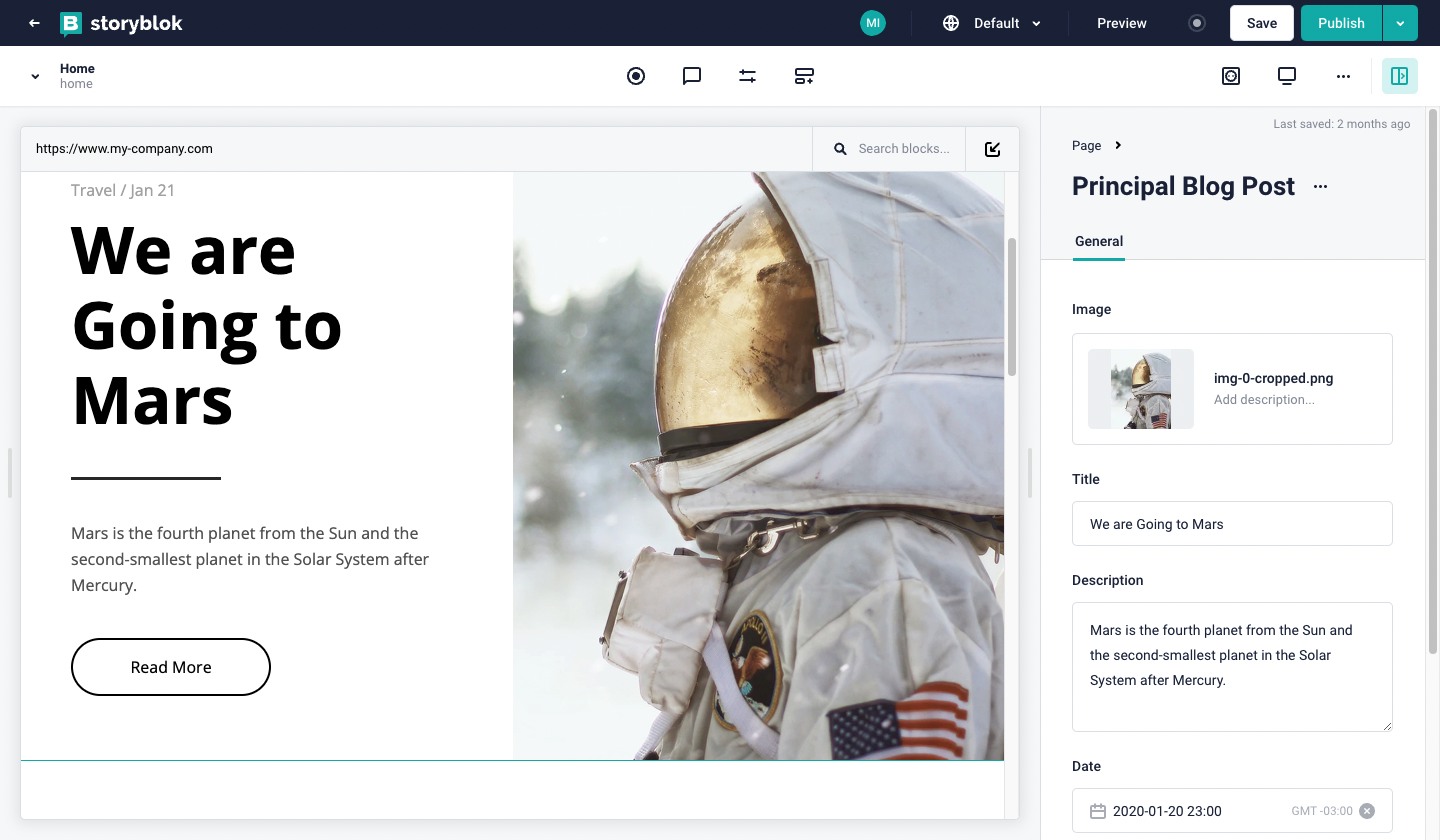
- Click to select the asset
1
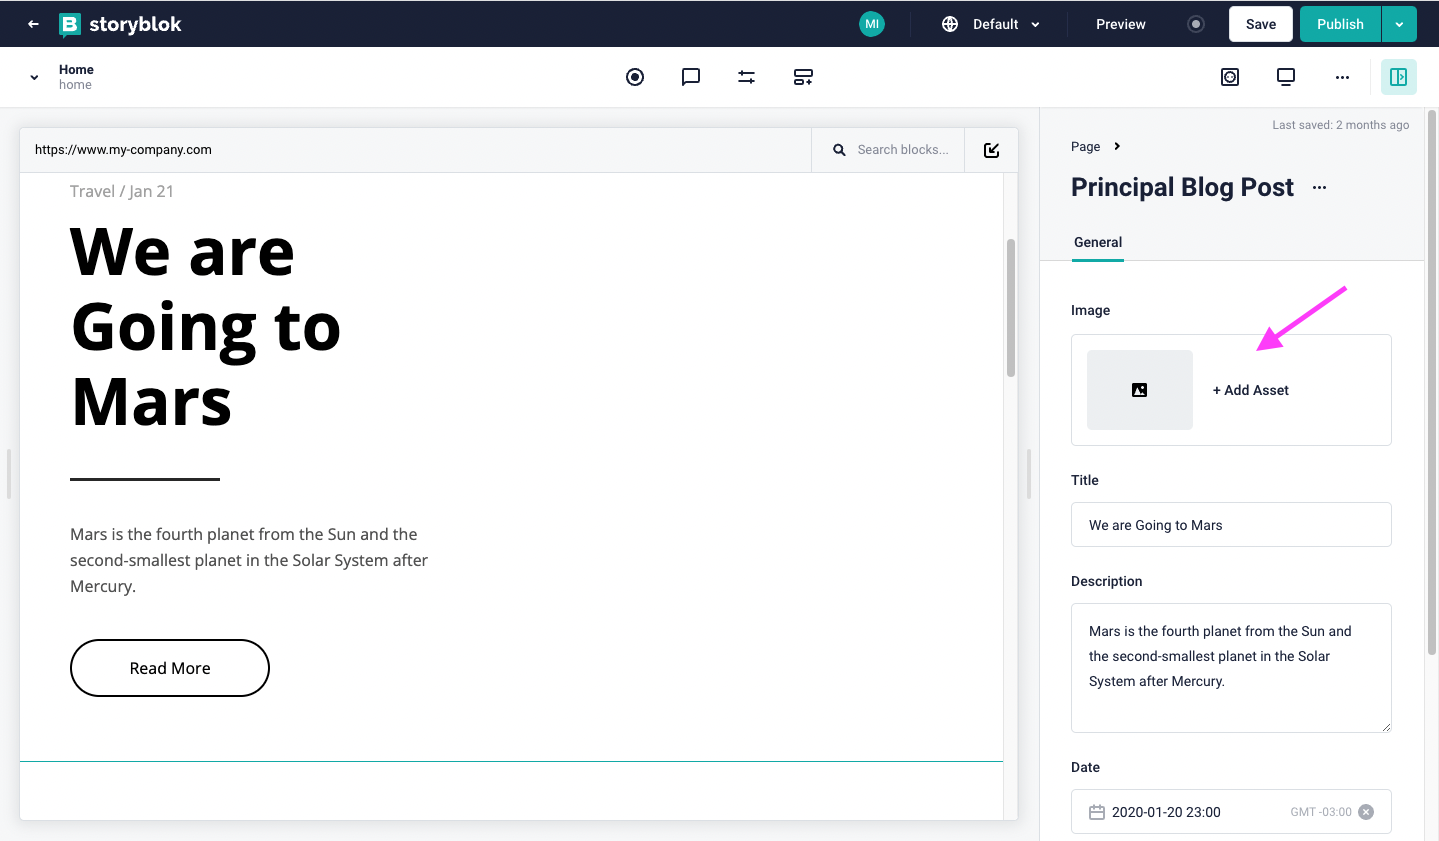
- Find the image you want to crop or upload a new image

1
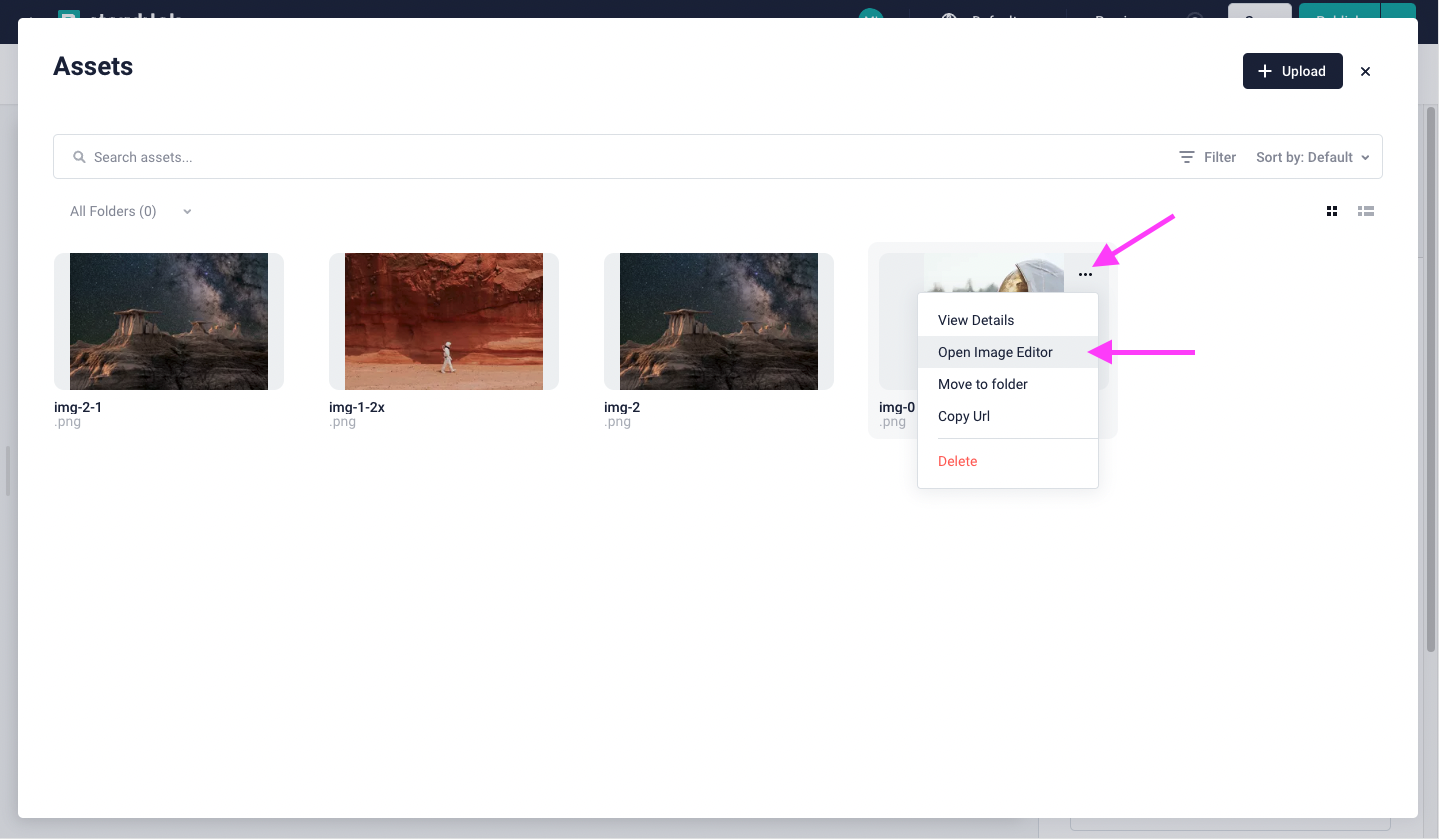
- Click on the actions button
- Select the option "Open Image Editor"
1
2
- Select the crop shape
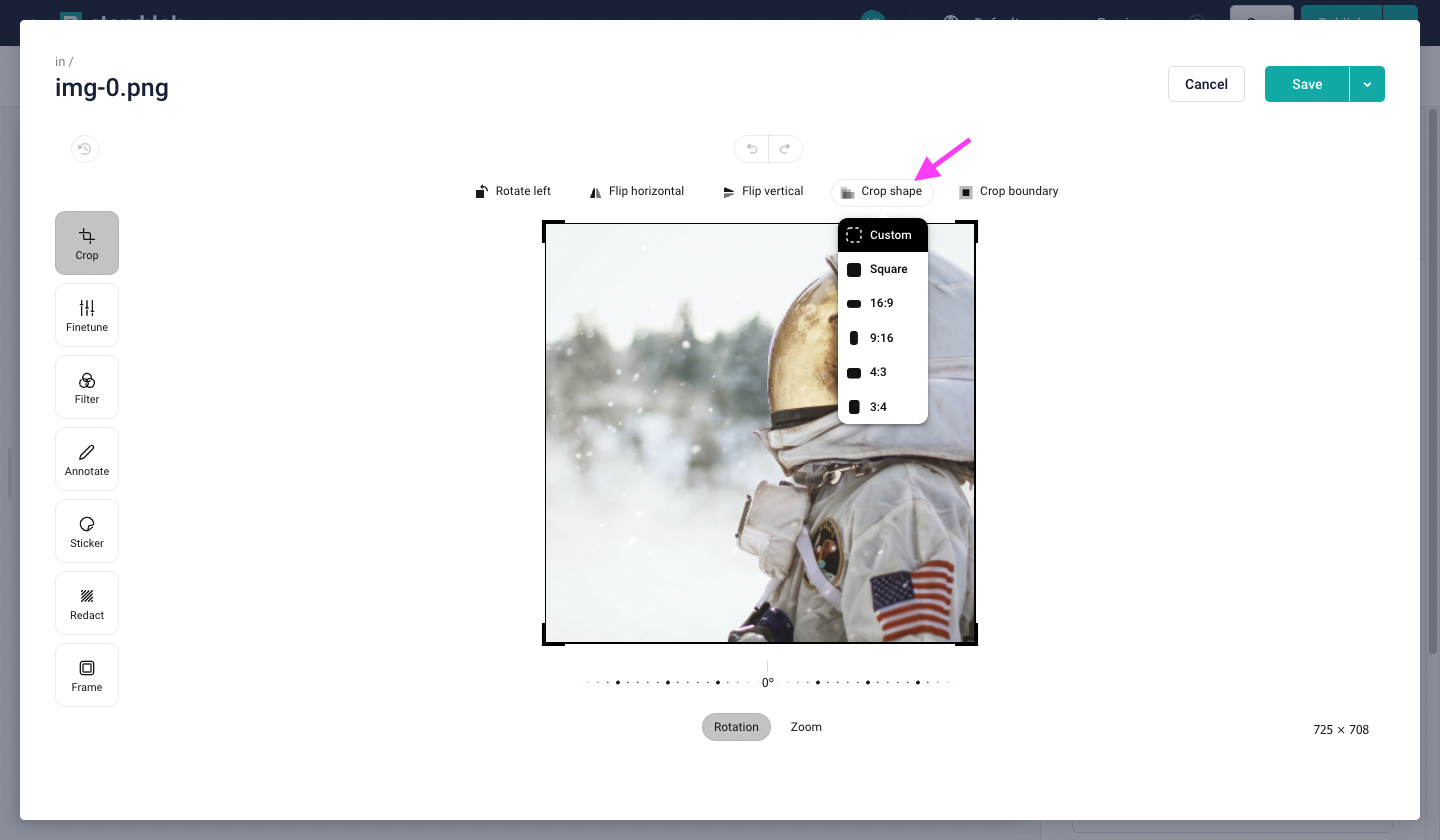
1
- Define the crop area
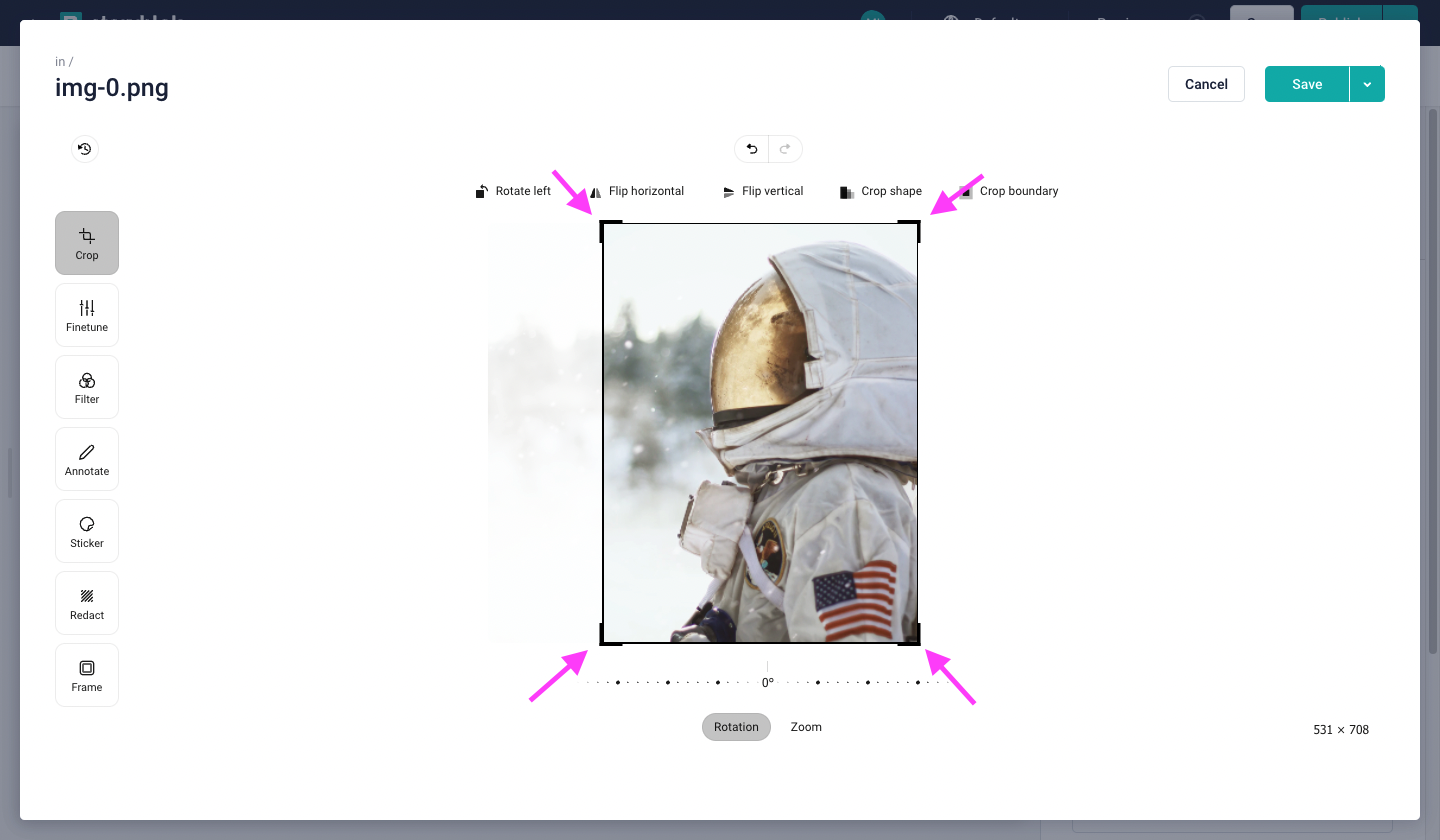
- Save the image or Save it as new if you don't want to modify the original asset

1
- Select the cropped image
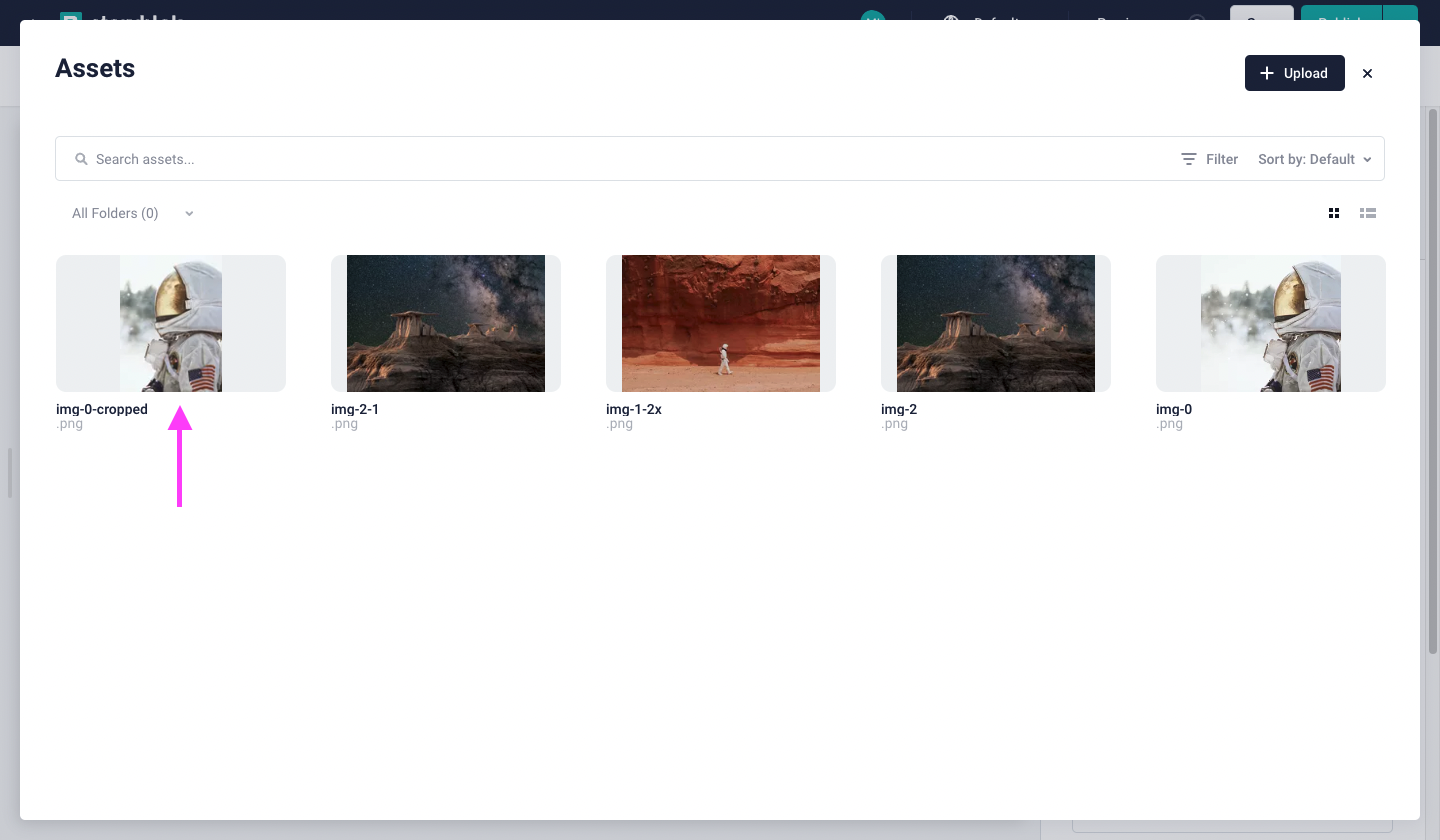
1
- Done! Your cropped image is in your Story!