Render Storyblok Stories Dynamically in Angular
Storyblok is the first headless CMS that works for developers & marketers alike.
This short tutorial will show us how to start making a real website with Angular and Storyblok. We will add a layout that includes a navigation bar and a footer to our website to make it look better. We will also see how we can add new pages and render them dynamically according to the added components inside them.
Requirements
This is a part of the Ultimate Tutorial Guide for Angular. You can find the previous part of the series here, which shows you how to integrate Storyblok and Angular in 5 minutes. We recommend you take a look at that tutorial before starting this one.
We will be using the code from the 5 minutes tutorial as a starting point. You can find it here.
Adding a Layout
Let’s add a layout to our website by creating a static navigation bar and a footer. We will look at how to create dynamic navigation bars in an upcoming tutorial of this series.
Make two components in your components folder, navigation and footer.js
Add the following code to component -
<div class="dsc-navigation ">
  <div>
    <a href="/">
        <img
          className="h-20 w-auto sm:h-10 hidden sm:block"
          src='https://a.storyblok.com/f/88751/251x53/0d3909fe96/storyblok-primary.png'
          alt="Storyblok"
        />
    </a>
  </div>
  <div>
    <div>
      <a href="/about" lassName="text-base font-medium text-gray-500 hover:text-gray-900">About</a>
    </div>
    <div>
      <a href="/blog" className="text-base font-medium text-gray-500 hover:text-gray-900">Blog</a>
    </div>
    <div>
      <a href="/services" className="text-base font-medium text-gray-500 hover:text-gray-900">Services</a>
    </div>
  </div>
</div>.dsc-navigation {
height: 80px;
display: flex;
justify-content: space-between;
align-items: center;
padding: 0.5rem 1rem;
}Similarly, add the following code to your Footer component -
<footer>
    <span >
        Copyright © 2017-2022 <a href="https://www.storyblok.com/">Storyblok GmbH</a>.
    </span>
</footer>
Now we need to add our layout to our app component file. Add the following code to the app.component.html file -
<app-navigation></app-navigation>
<div class="dsc-skeleton-content">
  <div *ngIf="story.content">
    <ndc-dynamic [ndcDynamicComponent]="components[story.content.component]" [ndcDynamicInputs]="story.content">
    </ndc-dynamic>
  </div>
</div>
<app-footer></app-footer>
Now, we need to add the story name to the API call.
Replace the app.component.ts file code with the following -
import { Component, OnInit } from '@angular/core';
import { StoryblokService } from './services/storyblok.service';
import { Components } from './components';


@Component({
  selector: 'app-root',
  templateUrl: './app.component.html',
  styleUrls: ['./app.component.css']
})
export class AppComponent implements OnInit {
  story = {content: null, name: ''};
  components = Components;
  storyName="";

  constructor(private storyblokService: StoryblokService) {
    this.storyName=location.pathname!="/"?location.pathname:"home";
    window.storyblok.init();
    window.storyblok.on(['change', 'published'],  function() {
      location.reload()
    });
    window.storyblok.on('input', (event) => {
      if(this.story && event.story.content._uid === this.story.content._uid){
        this.story = event.story
      }
    })
  }

  ngOnInit() {
    if (location.pathname)
      this.storyblokService.getStory(this.storyName, {version: 'draft'})
        .then(data => this.story = data.story);
    }
}
After hitting save, our home story should look something like this -
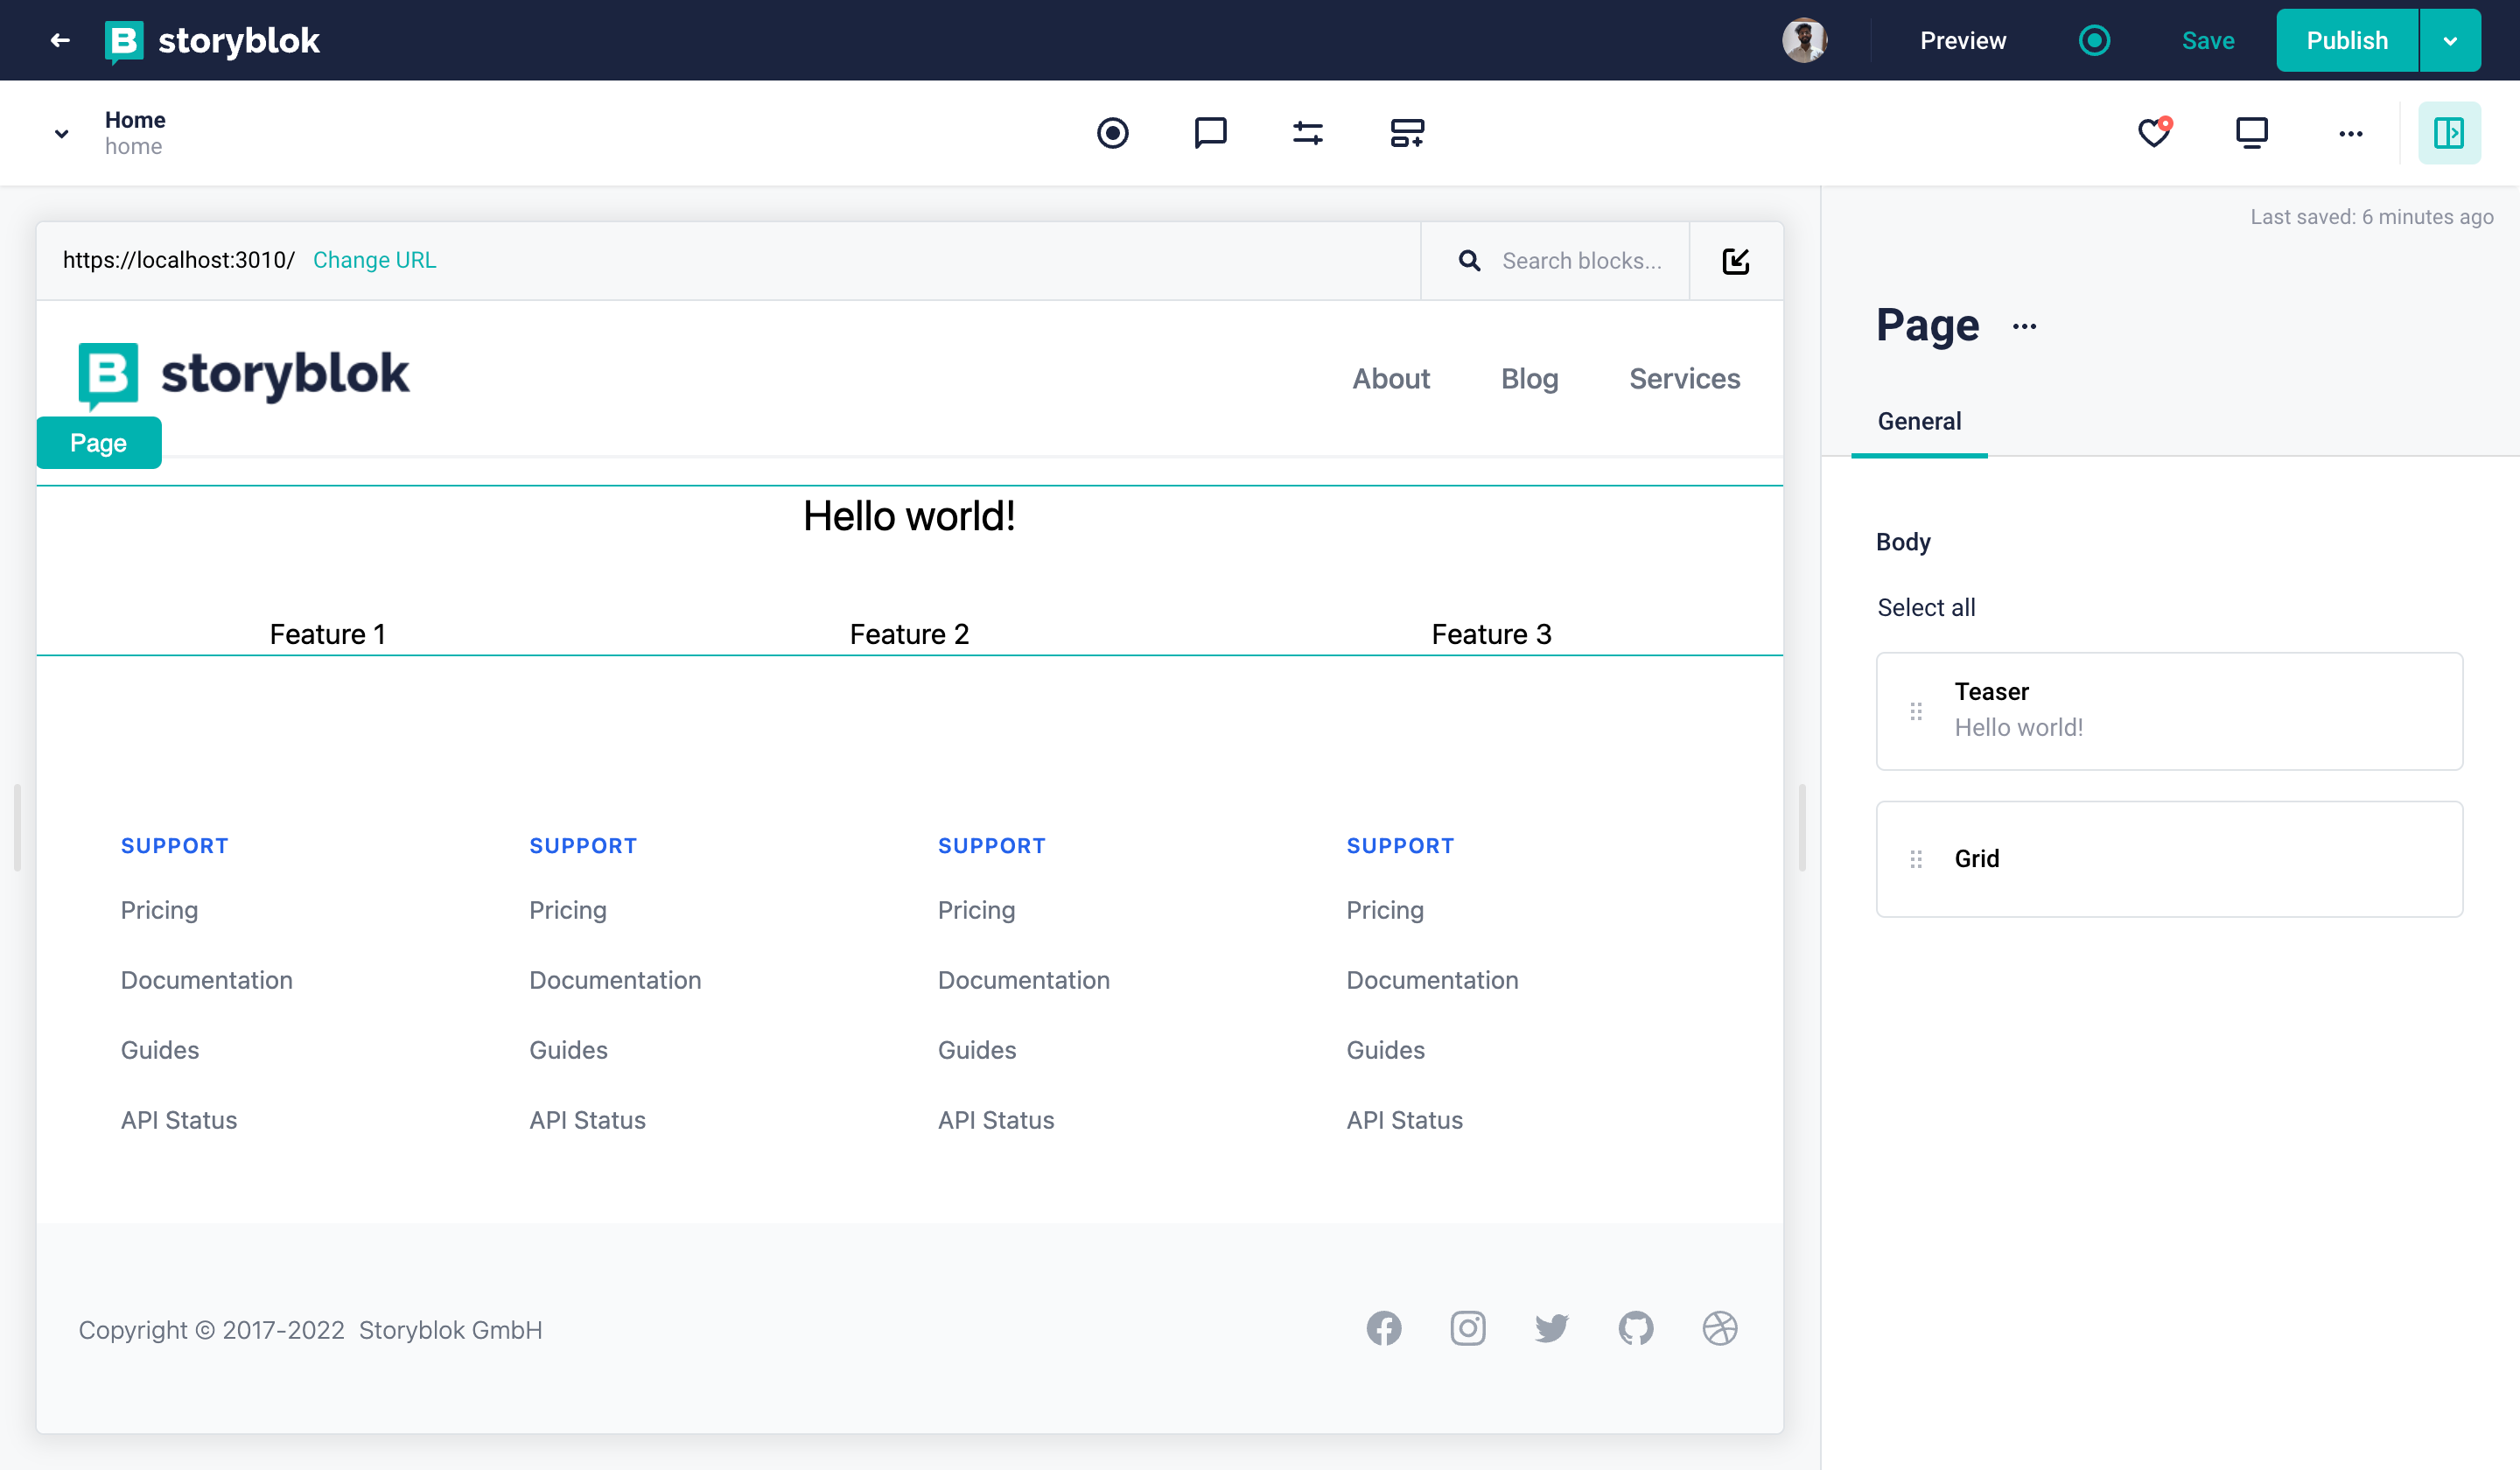
Home Story with a Layout
Right now, we can see that we have three entries in the navigation menu - About, Blog, and Services. But we don’t have any stories created for them. So, if we try to go on any of those links from our browser, we will get 404 - This page could not be found. Let’s add these stories to our space.
Adding pages to Storyblok
To create a new story, we need to go to the Content section {1} in our space. Once we are there, we will see a button Create New {2} on the top right corner. Click on the button. We will see two options - one to create a new story and another one to create a new folder. Let’s click on Story {3}
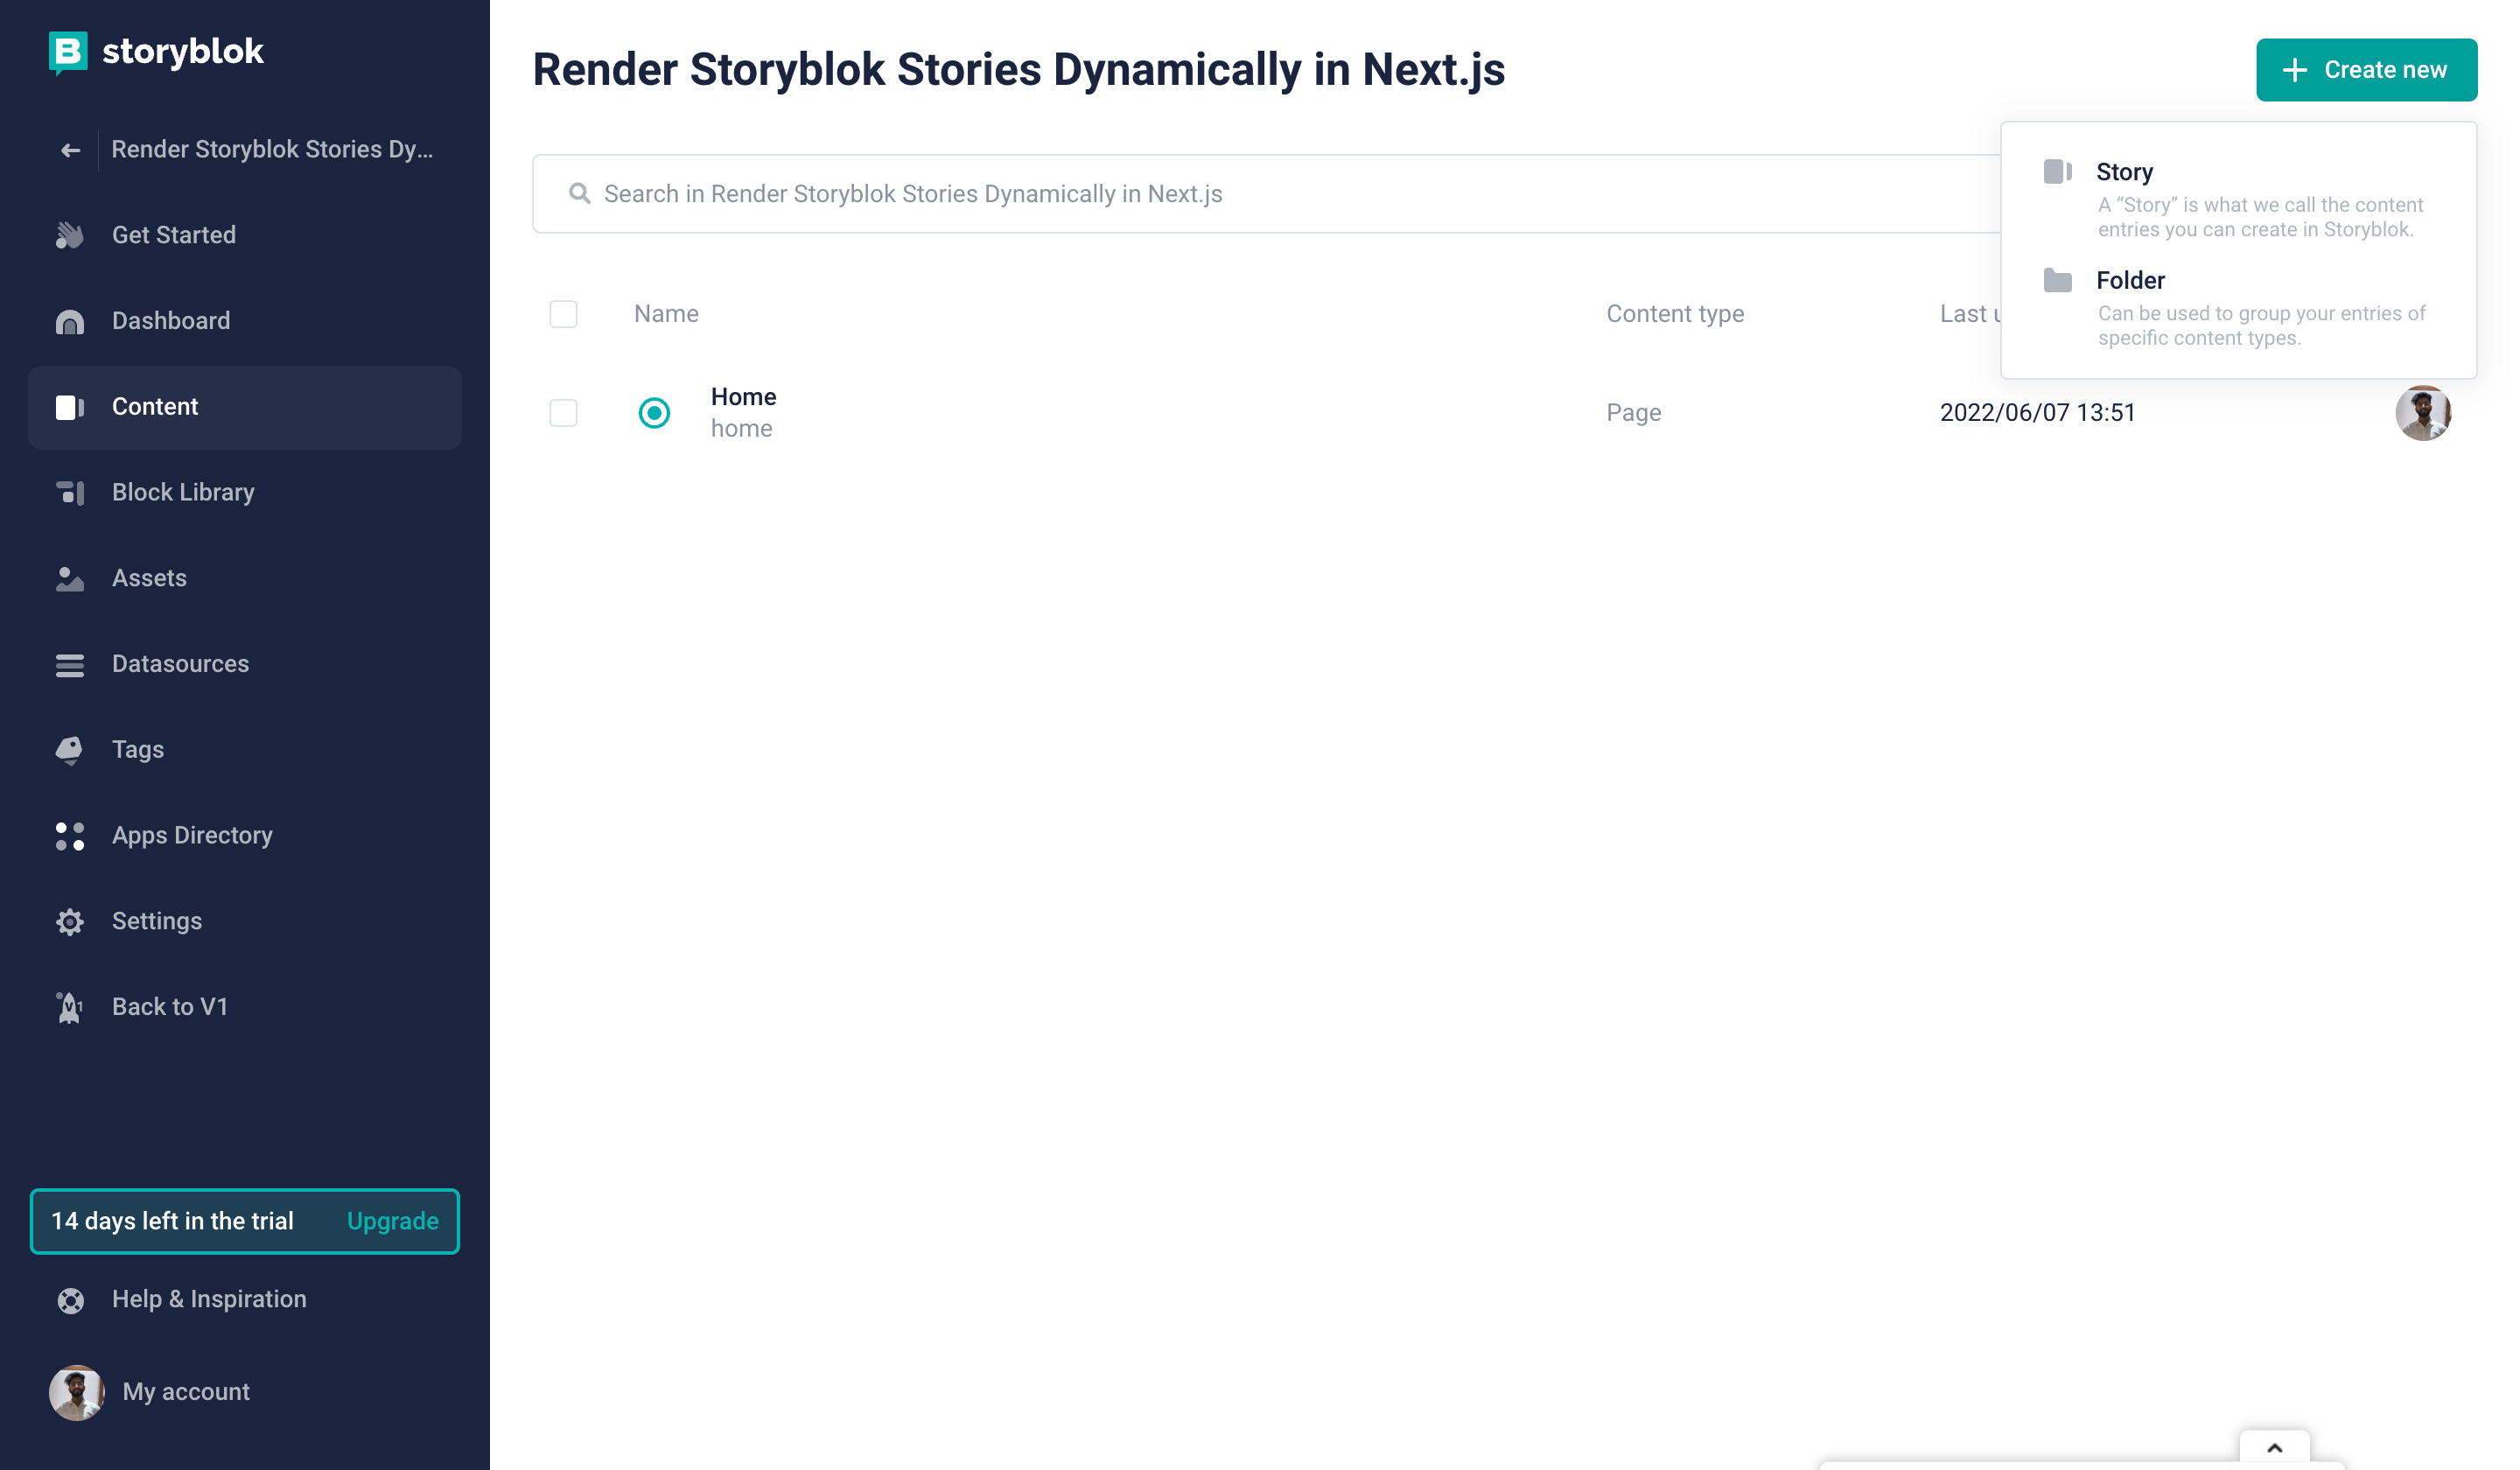
Create Button
Once we click on it, we will get a popup with a couple of fields to create a new story. Let’s create an about page. Fill the Name {1} and Slug {2} fields as in the image below -
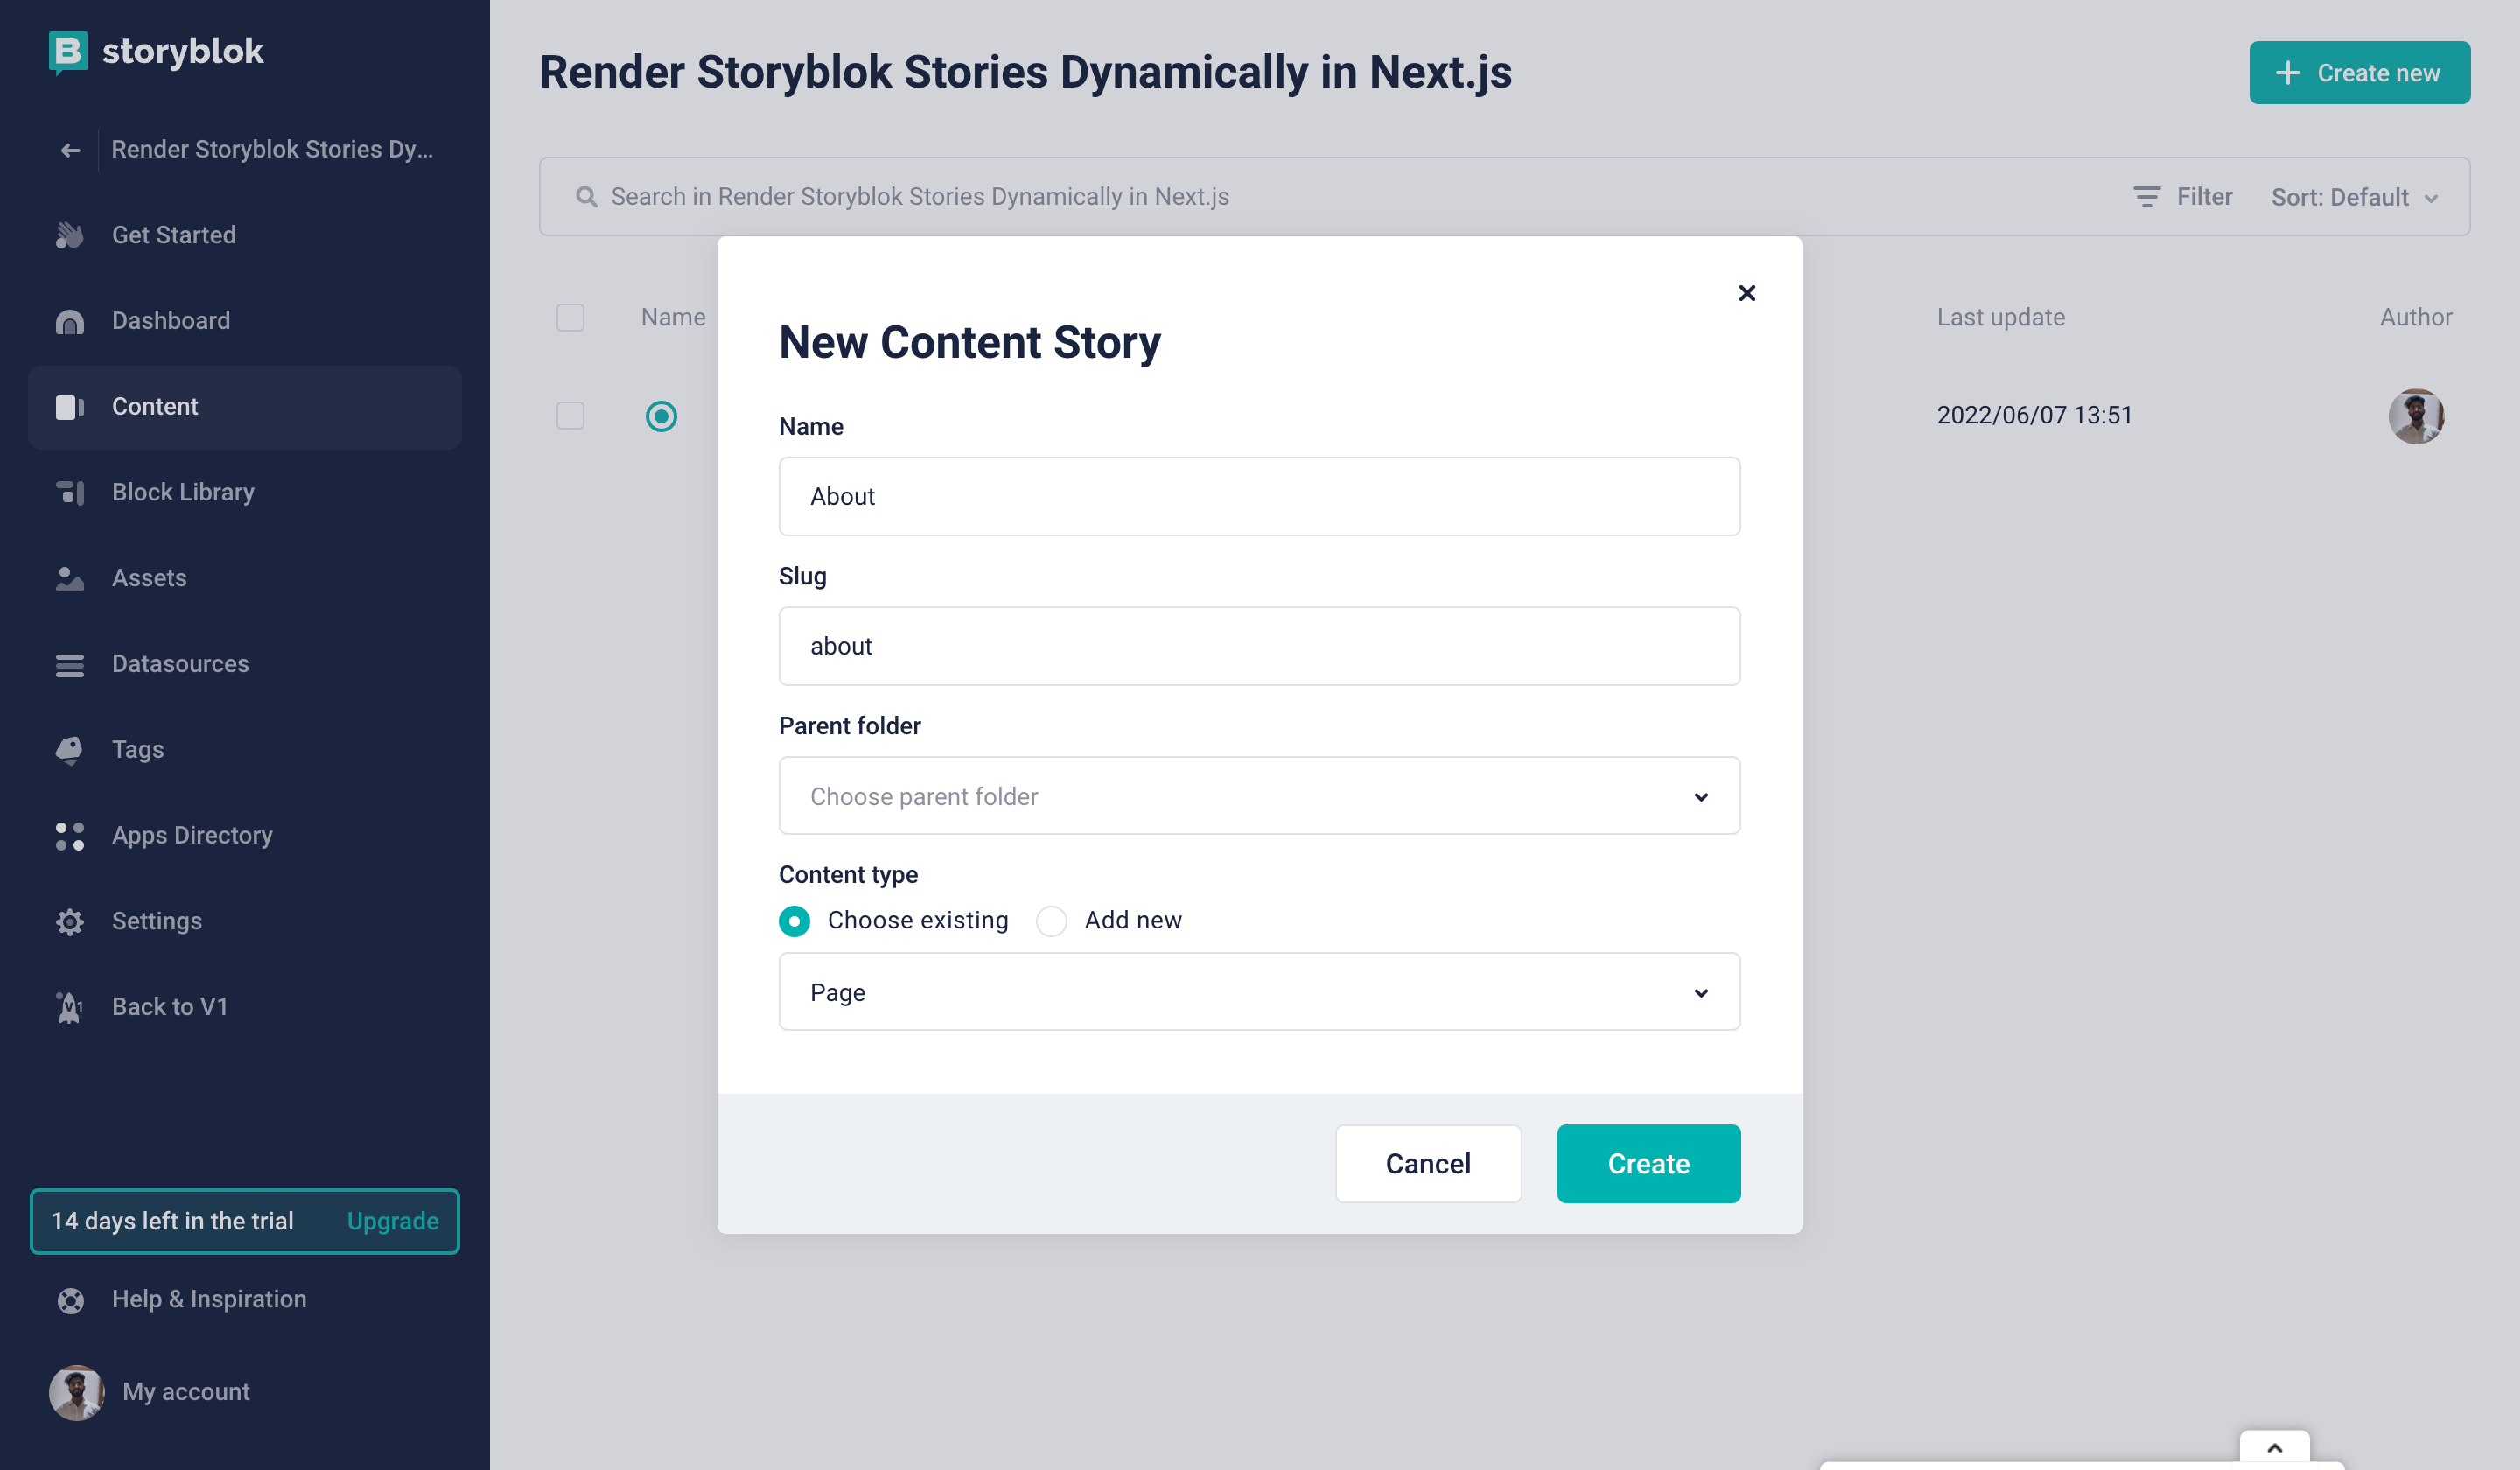
Create Story
Once we hit Create we will get a new story added, and we will have a page with just our layout.
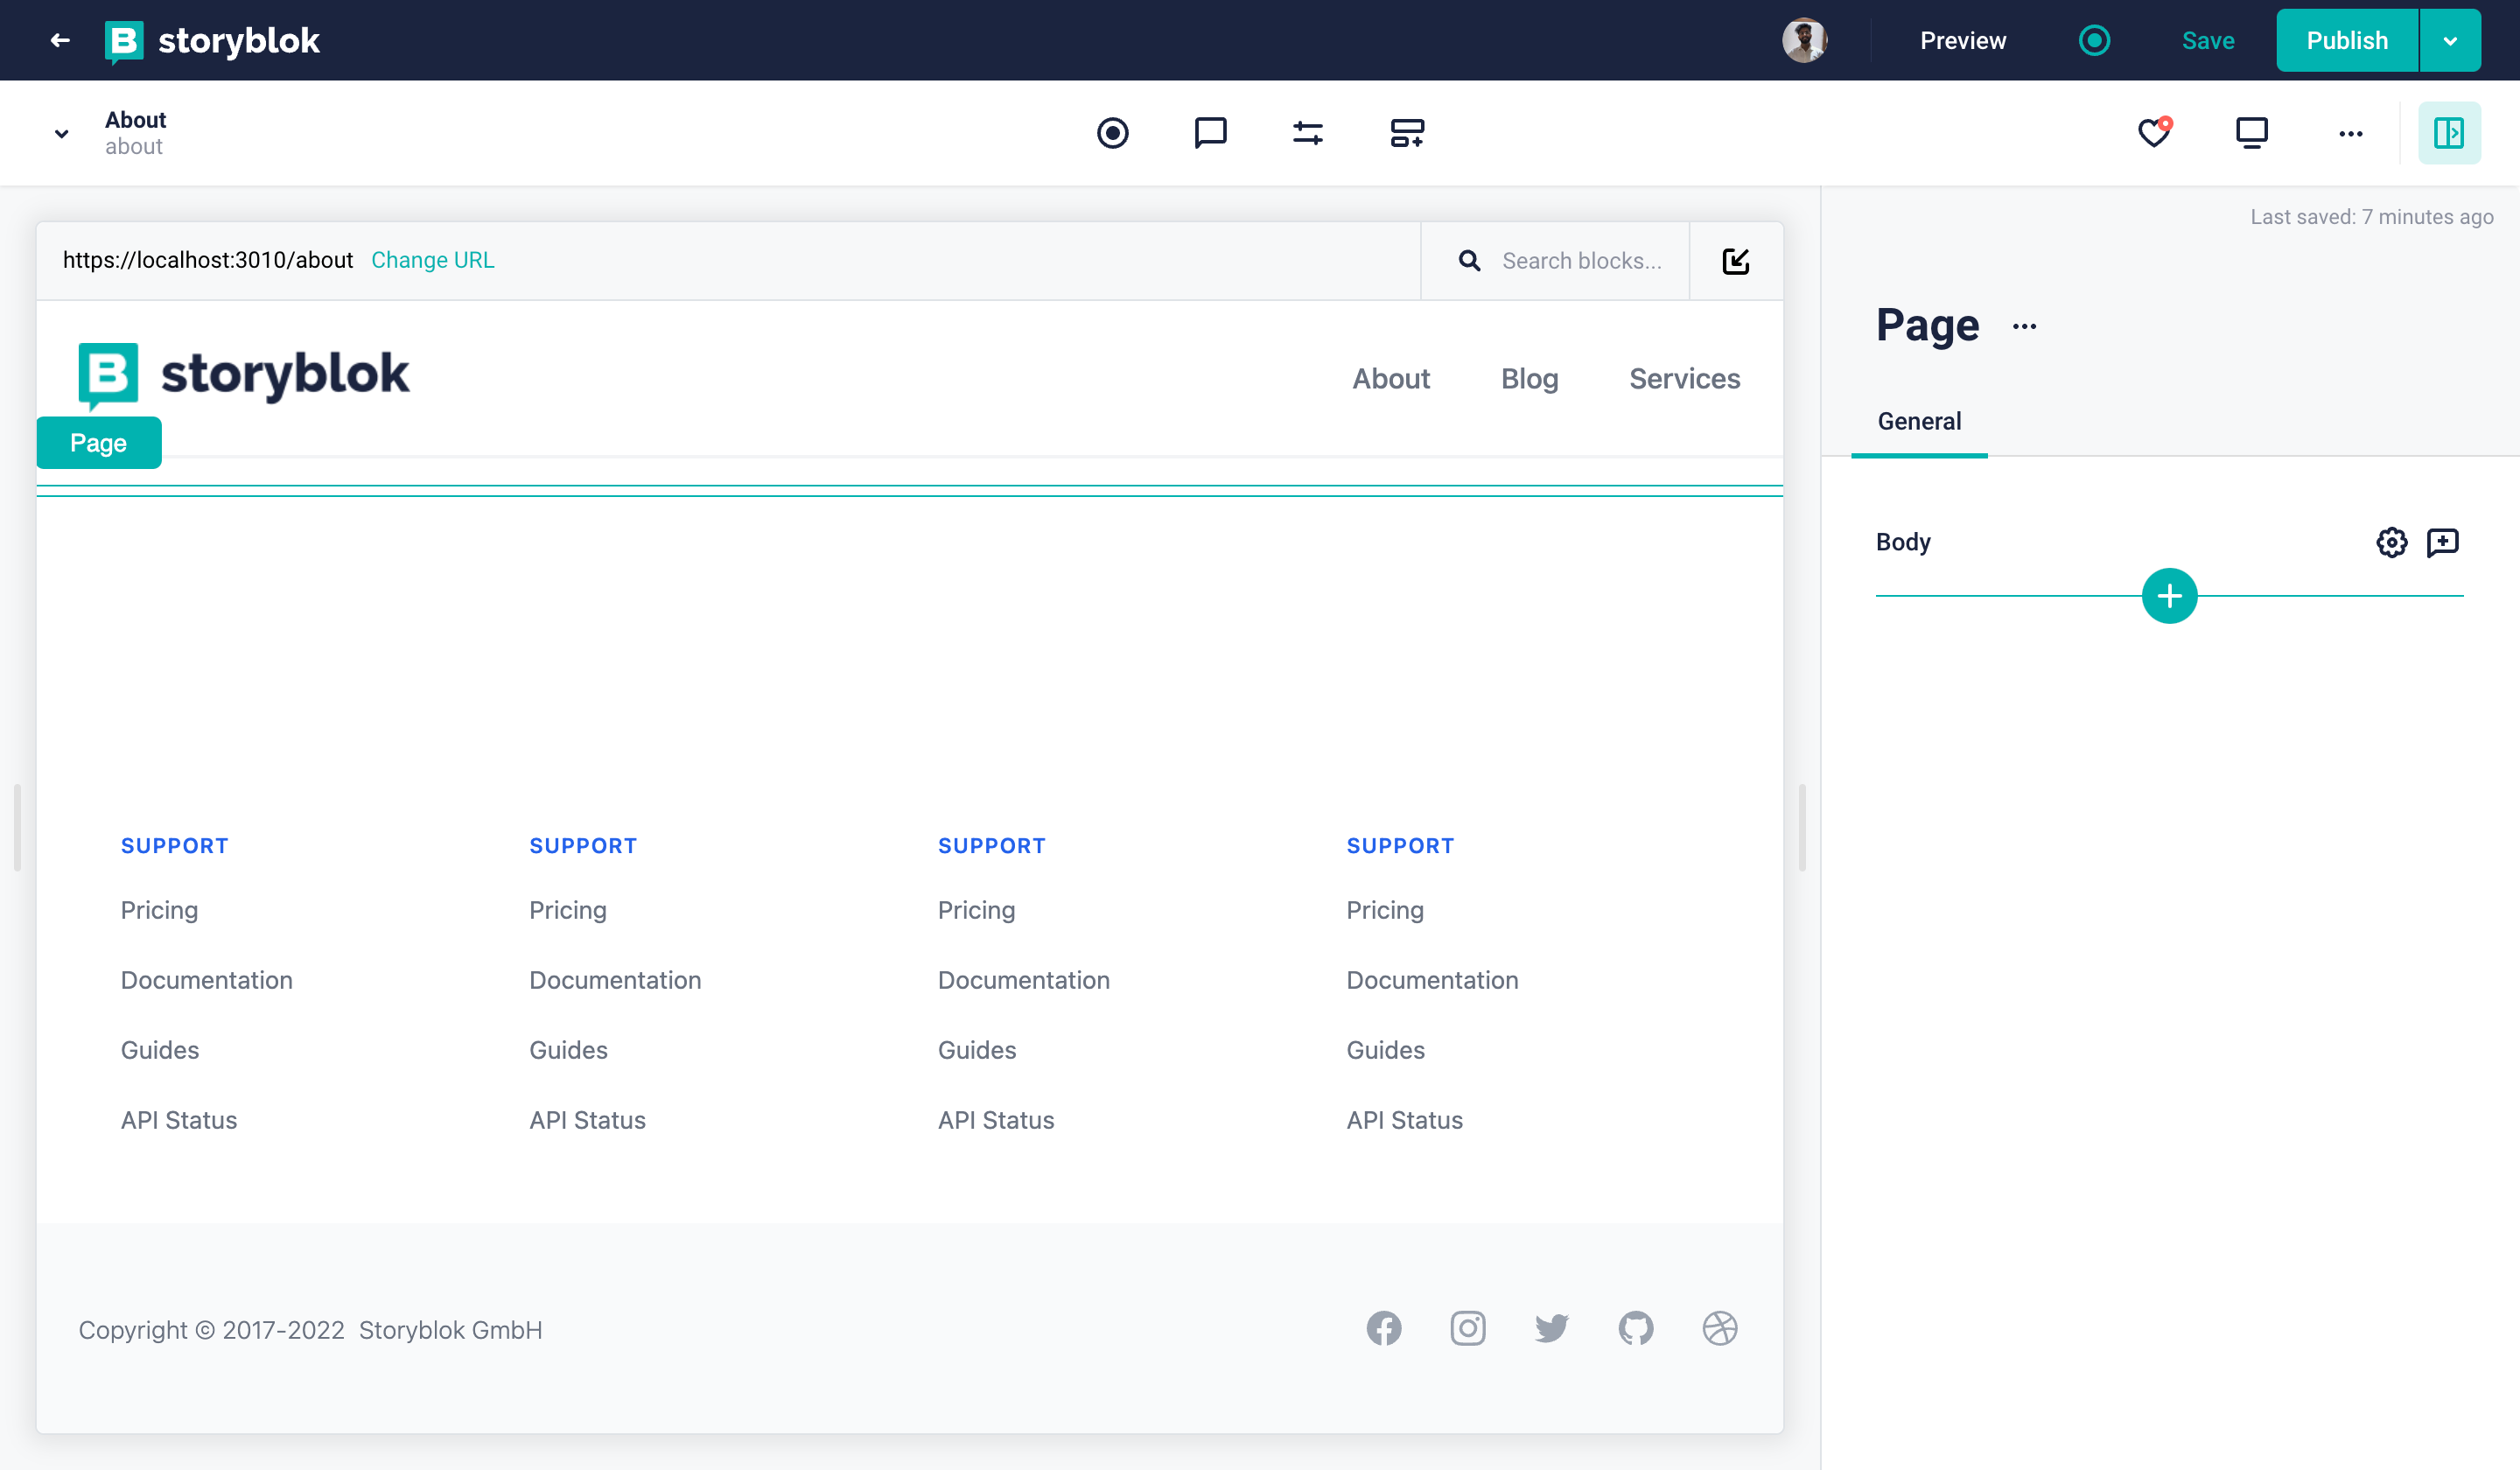
About Page
We can similarly create the Blog and the Services page as well. These stories are getting loaded with the […slug].js file, which is catching the routes. Now, let’s also see how we can add the existing components to any of the pages.
On the right-hand side of the about story, we can see the empty body with a plus button that will allow us to add existing components to the page. If we click on it, we will see the following-
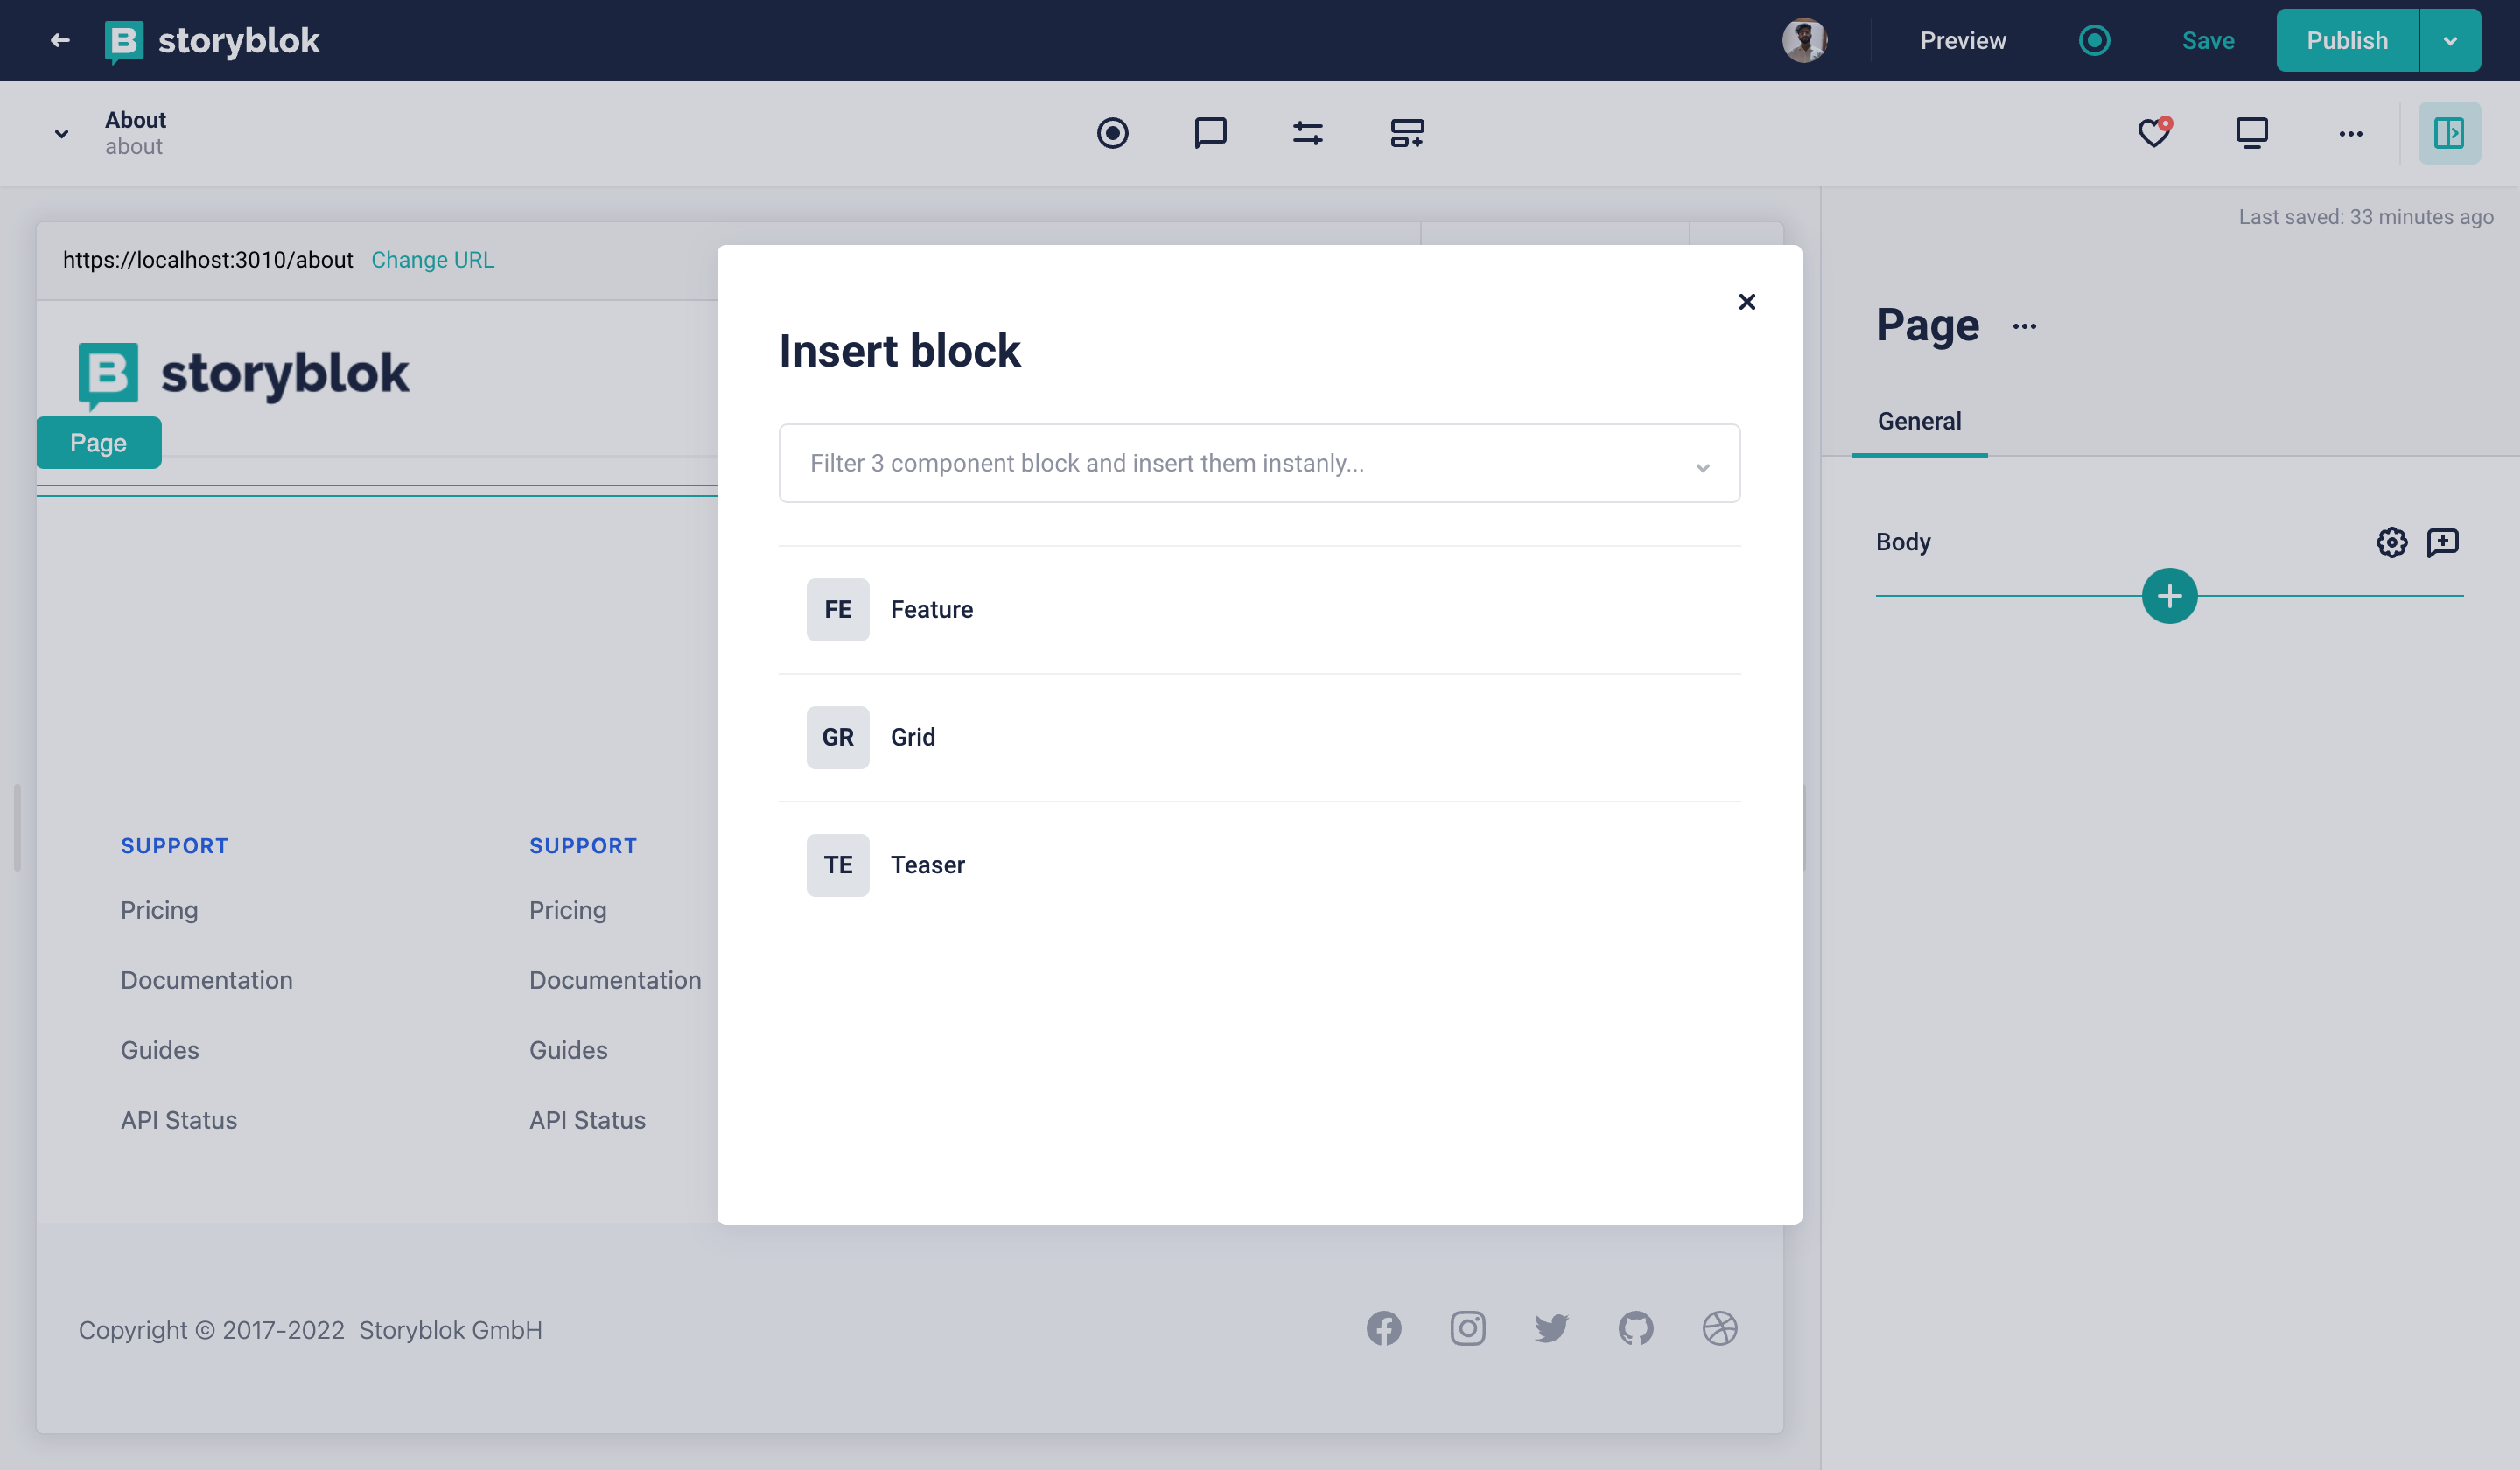
Add Components
We have a list of existing components, and we can choose any of them. Let’s add the Teaser component, and fill in the Name field for that. As soon as we start filling the content in, we see the changes on the visual editor as well.
Once we hover on the right-hand side, we should see a similar plus button below the Teaser. Let’s add a Grid component along with three Features as columns, similar to what we have on the home story. We should see something like this now -
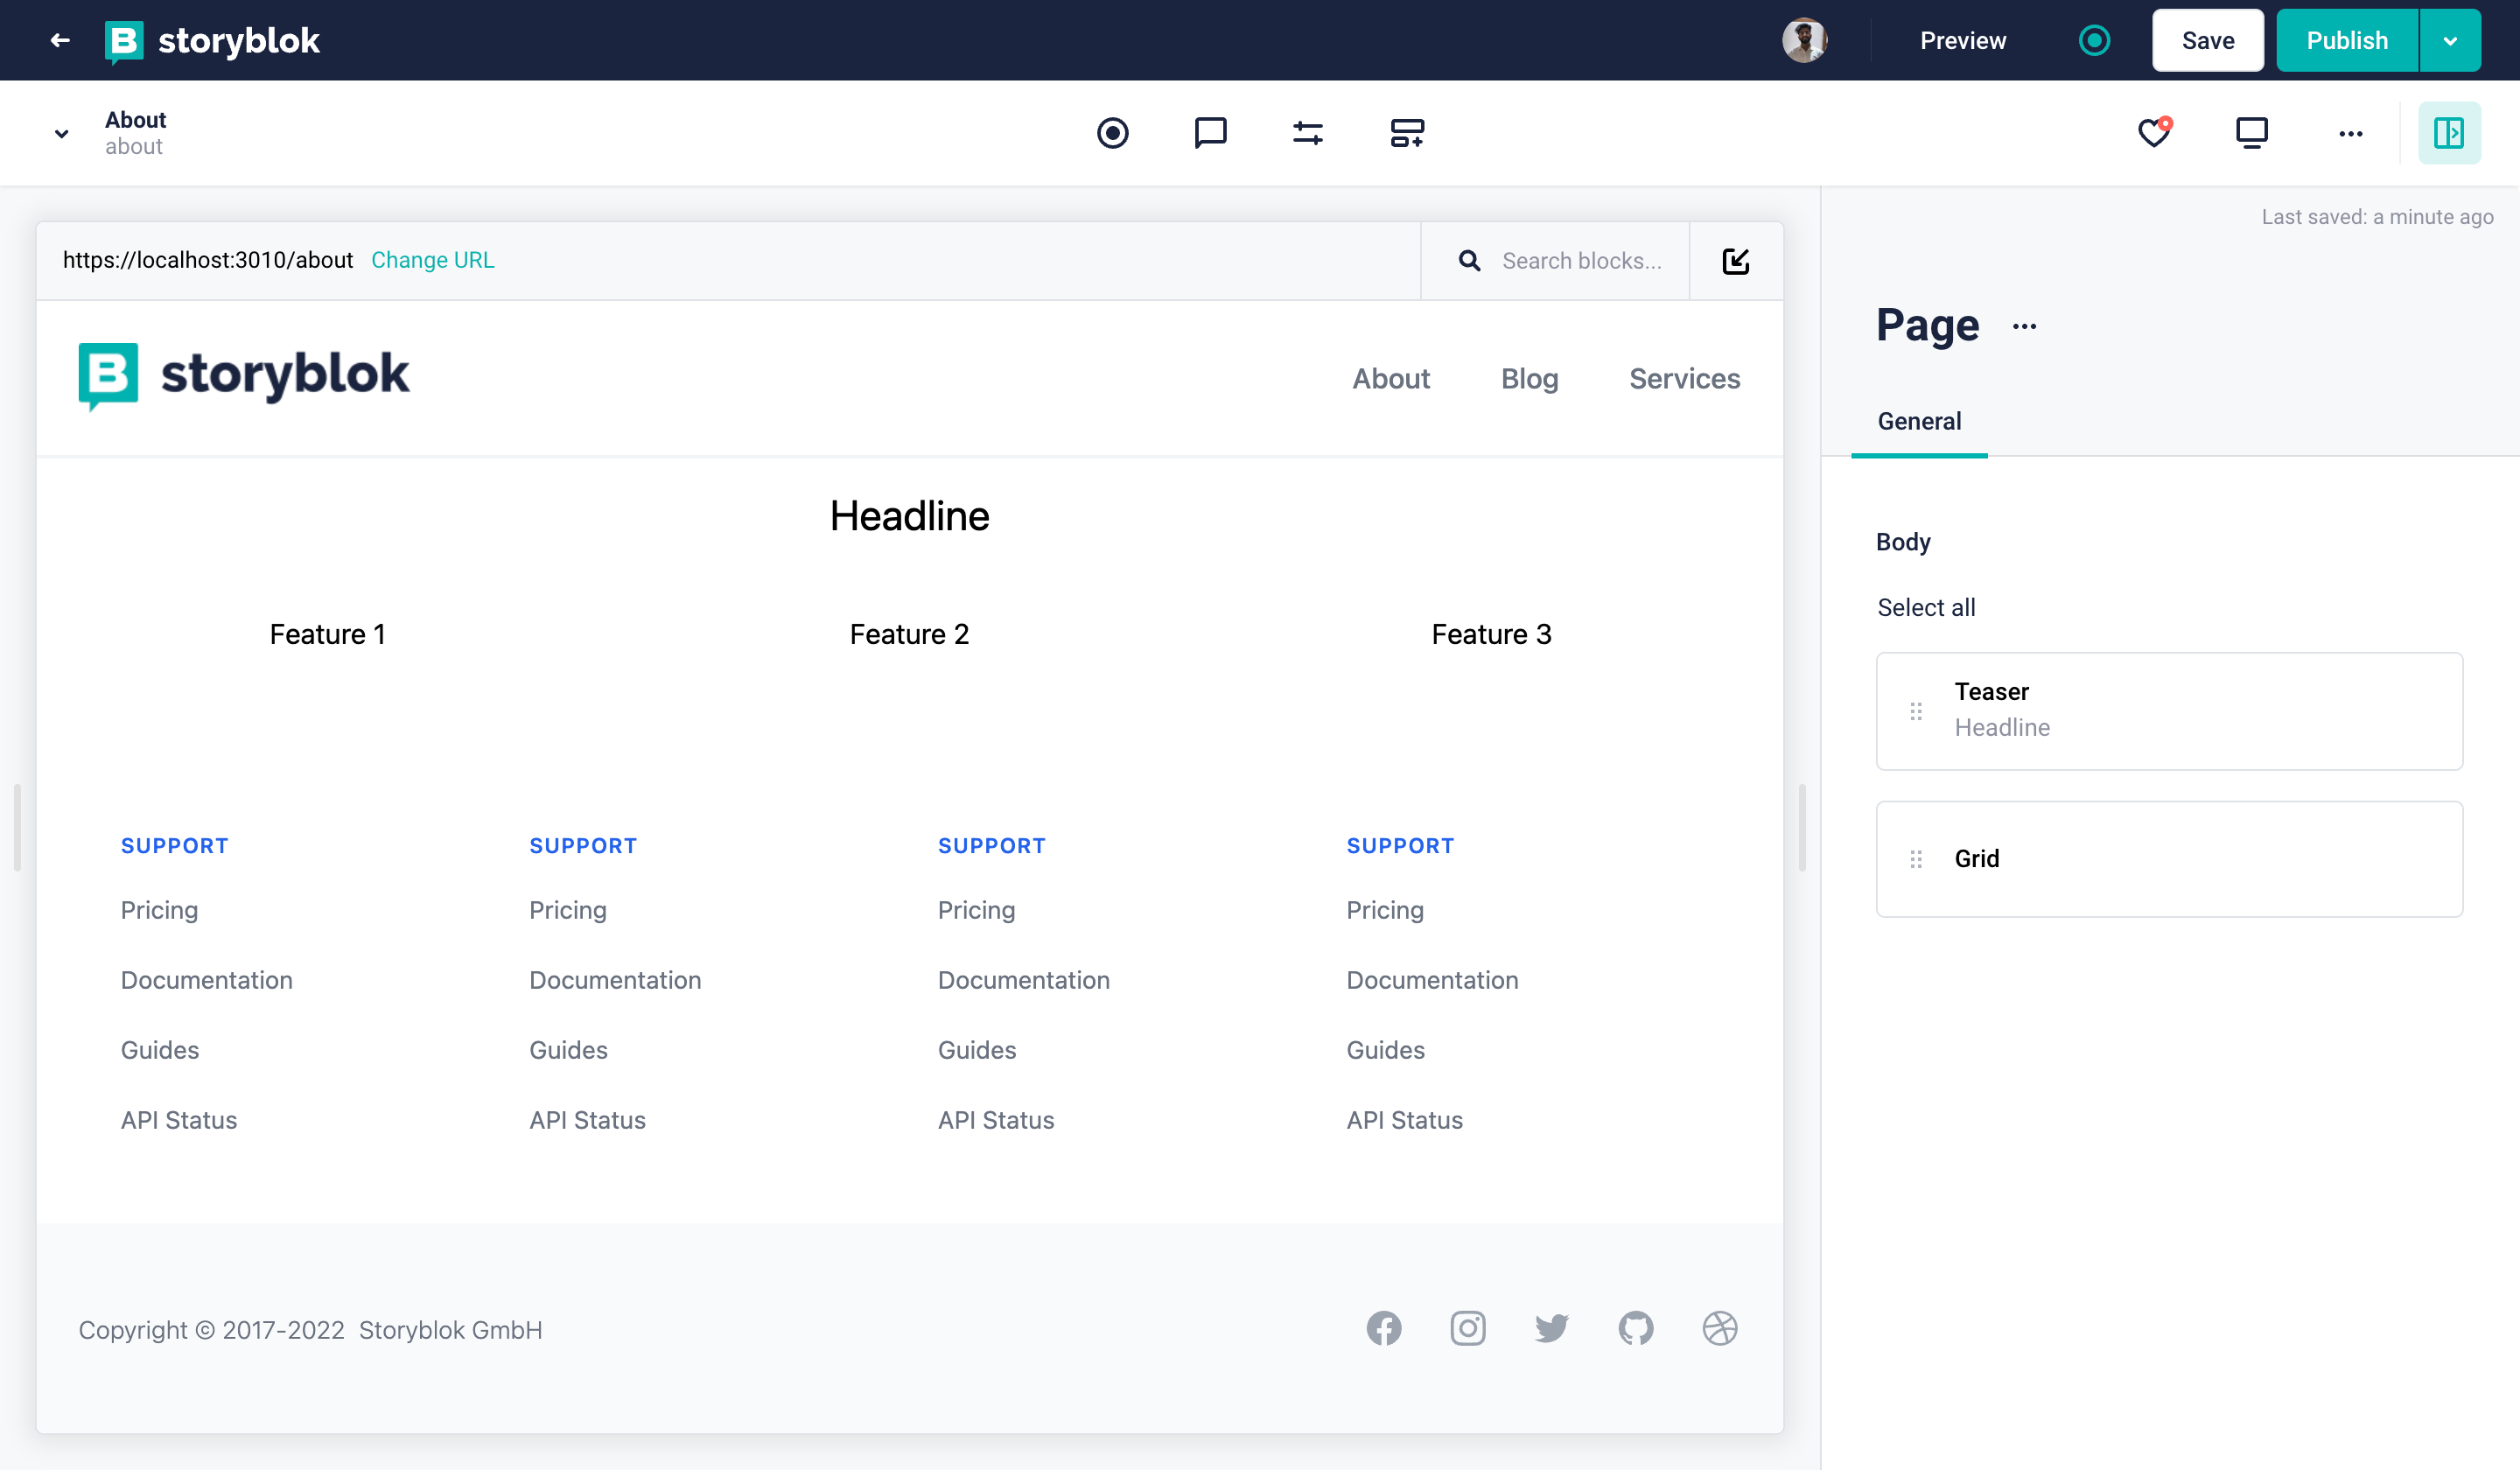
Grid Addition
In a similar way, we can add any other components and they will be rendered automatically. We could add another Grid and it should look something like this -
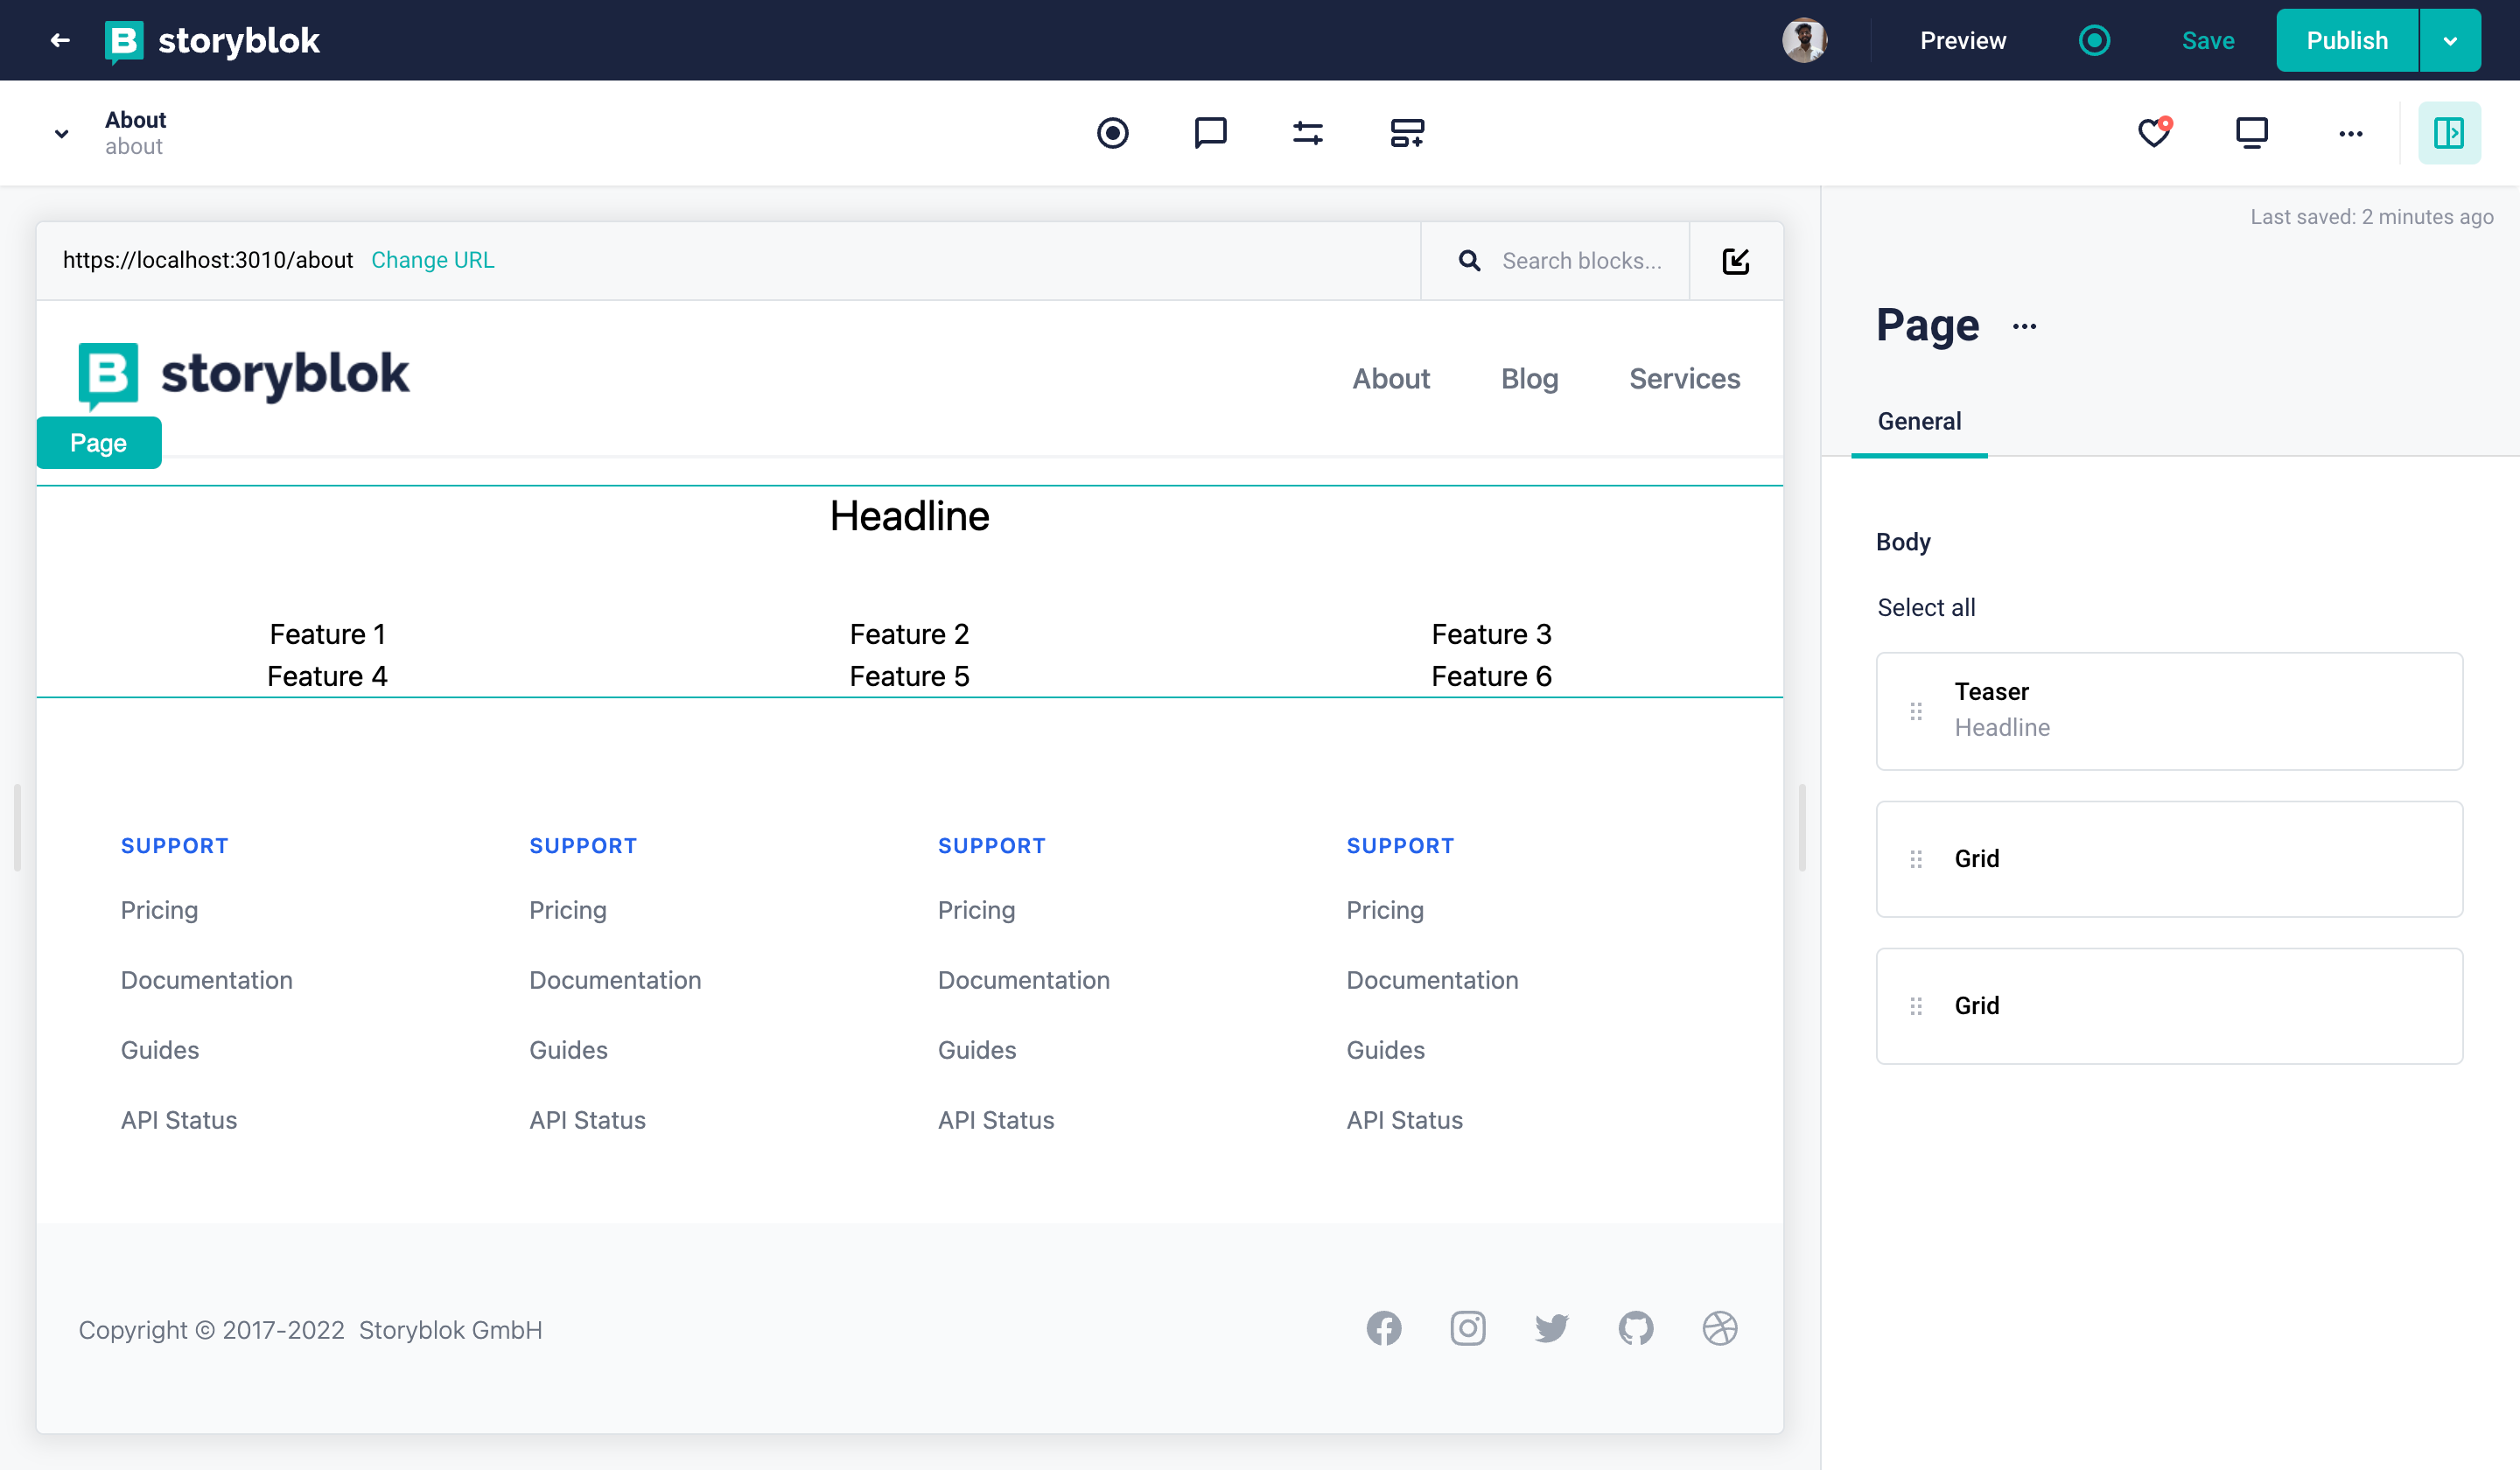
Dynamic Rendering
We can even add more components anywhere we like in the about story, if we have those created. Now, we could also add the components of choice to the two other stories, Blog and Services, as well.
Wrapping Up
In this tutorial, we saw how to start creating a real website after we set up a project using Storyblok and Angular. Additionally, we learned how to create new stories and pages along with the dynamic rendering of the components wherever we place them.
You can find the next tutorial of this series to create a dynamic navigation bar and footer here.
After that tutorial, we will see how to create components with more fields and types from scratch along with extending the behavior of the existing ones. You can find the tutorial soon.
| Resource | Link |
|---|---|
| Storyblok Angular Ultimate Tutorial | https://www.storyblok.com/tp/the-storyblok-angular-ultimate-tutorial |
| Storyblok Technologies Hub | https://www.storyblok.com/technologies |
