Visual Editor
The Visual Editor is the interface for your content in Storyblok. It gives you tools for writing, editing, arranging, and managing your content.
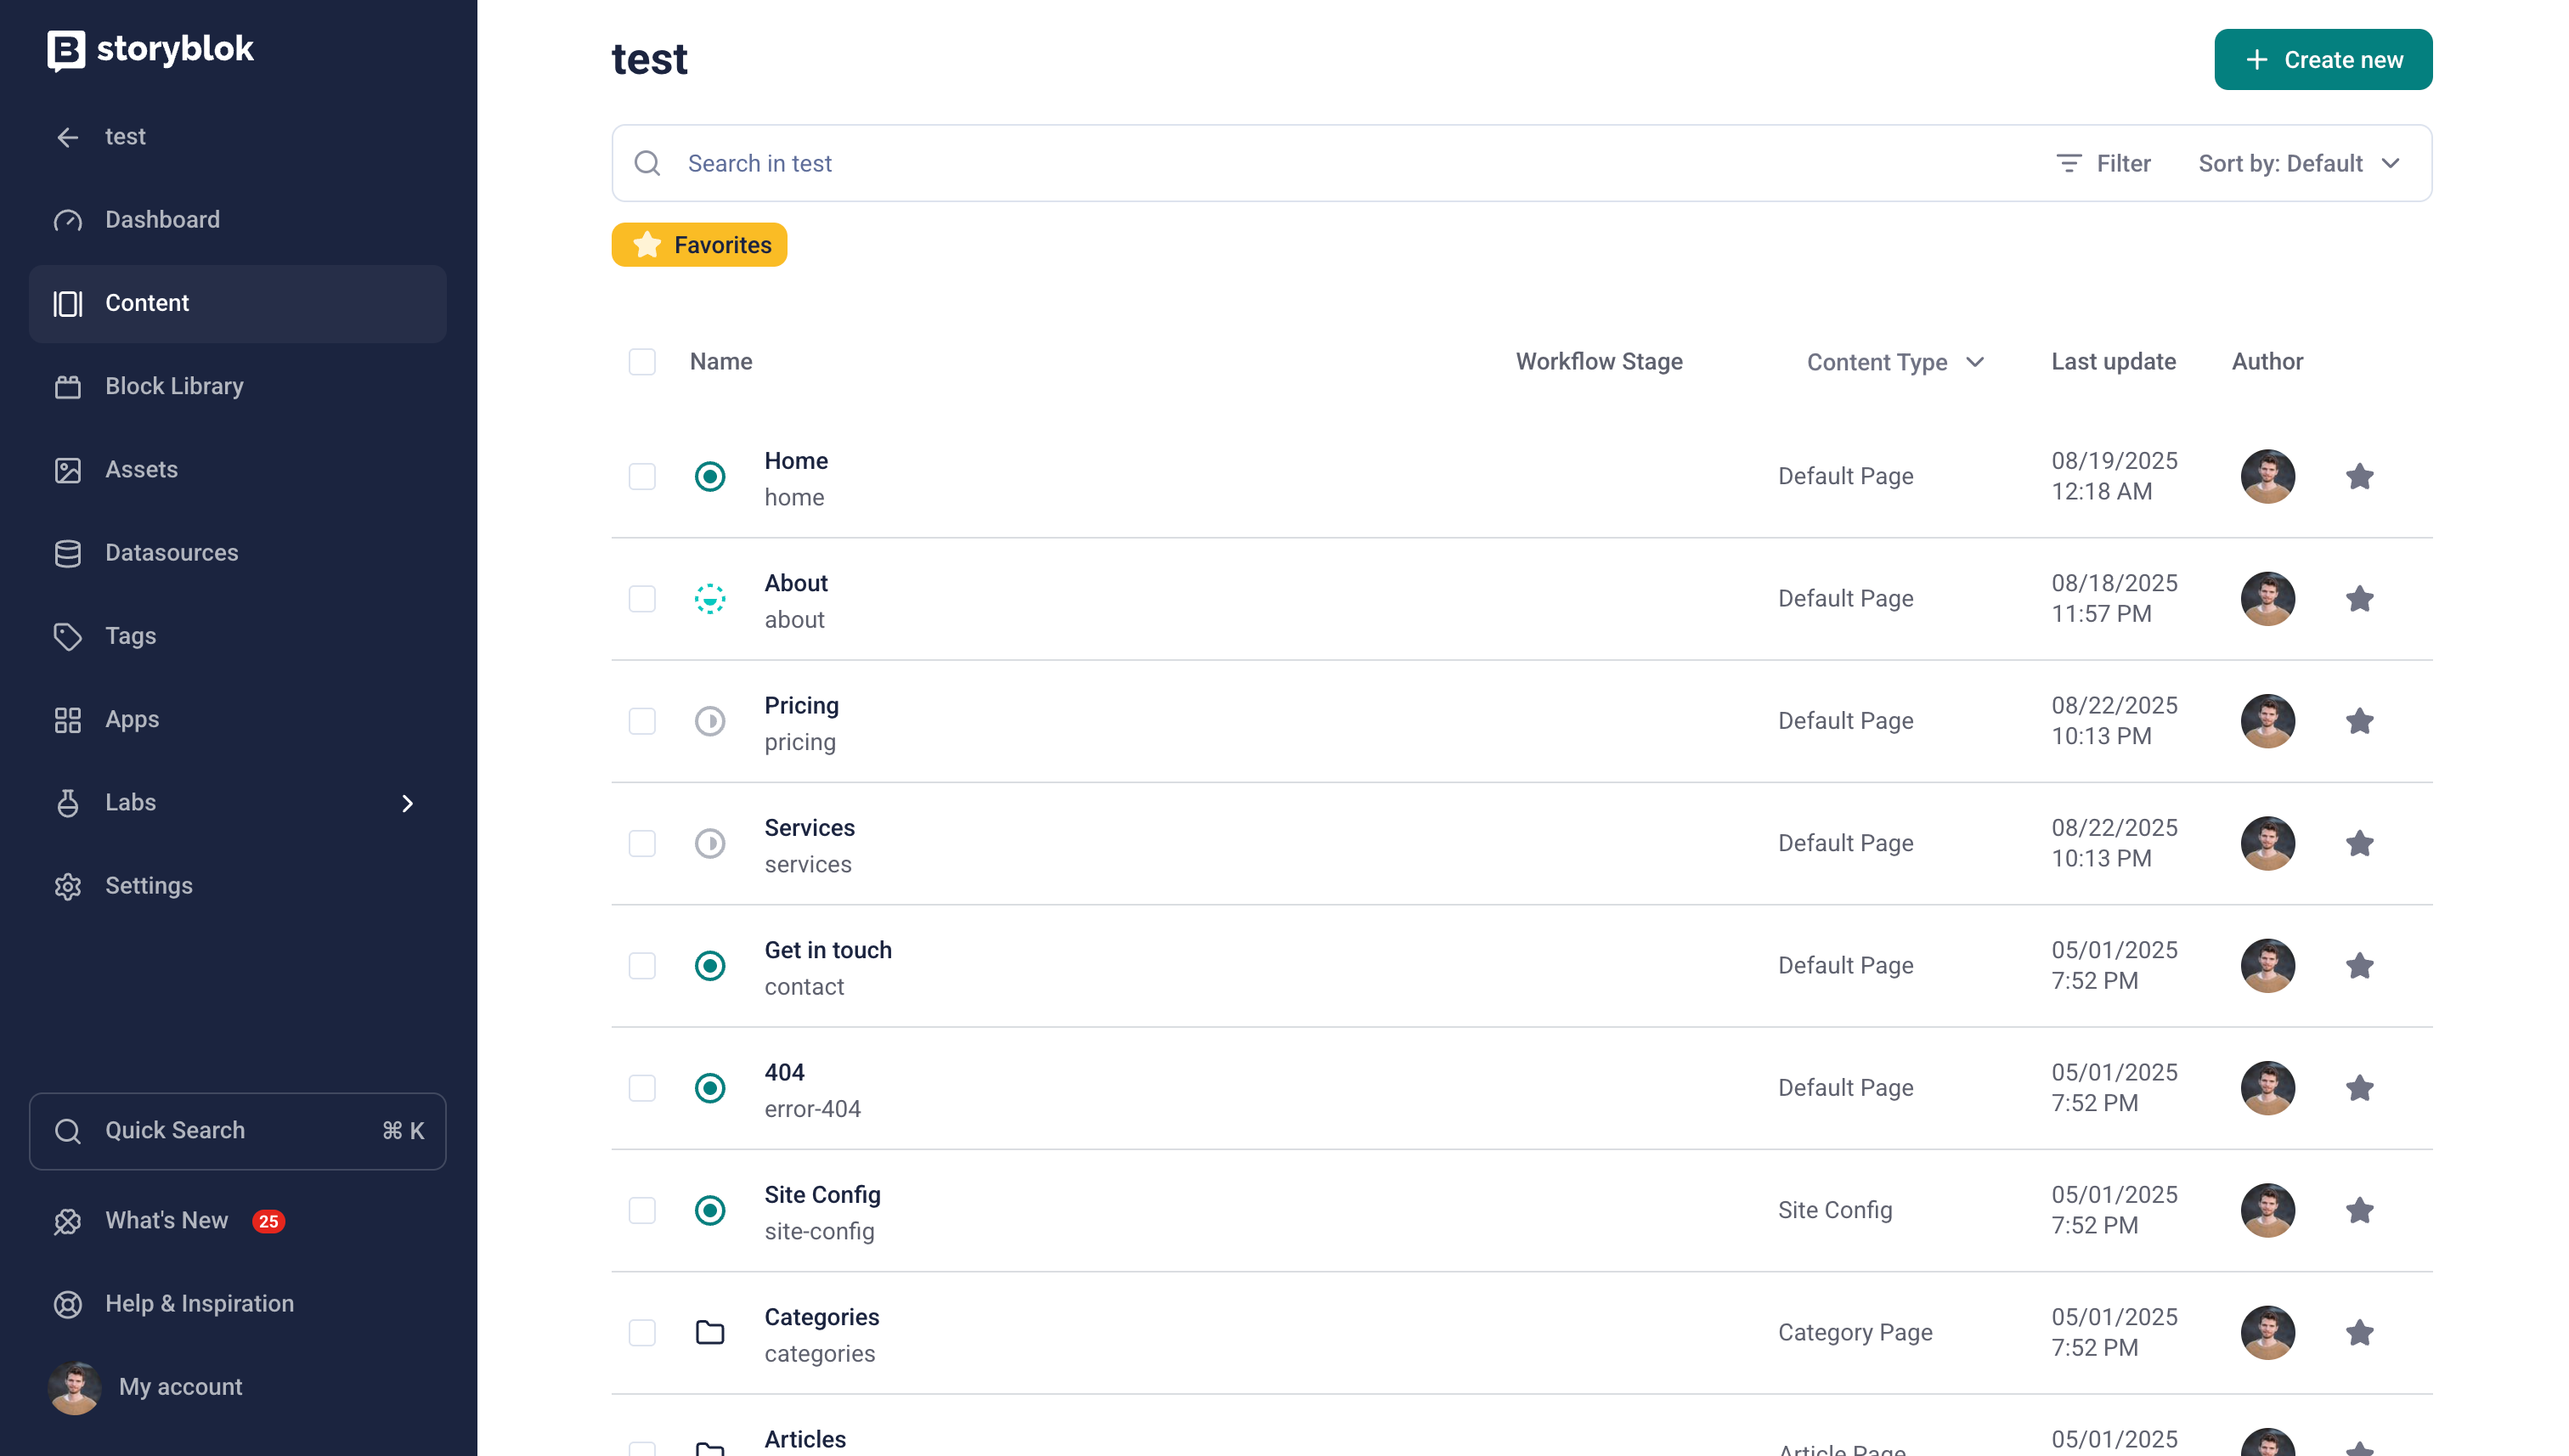
Select any story from the Content section of your space and open it in the Visual Editor.
Preview
Section titled “Preview”In the left toolbar, the Form/Visual button hides and reveals a visual preview of your website. The preview shows a draft rendering of your website. The preview also includes context menus with editing controls when you hover over blocks. To edit the block's contents, select it from the preview.
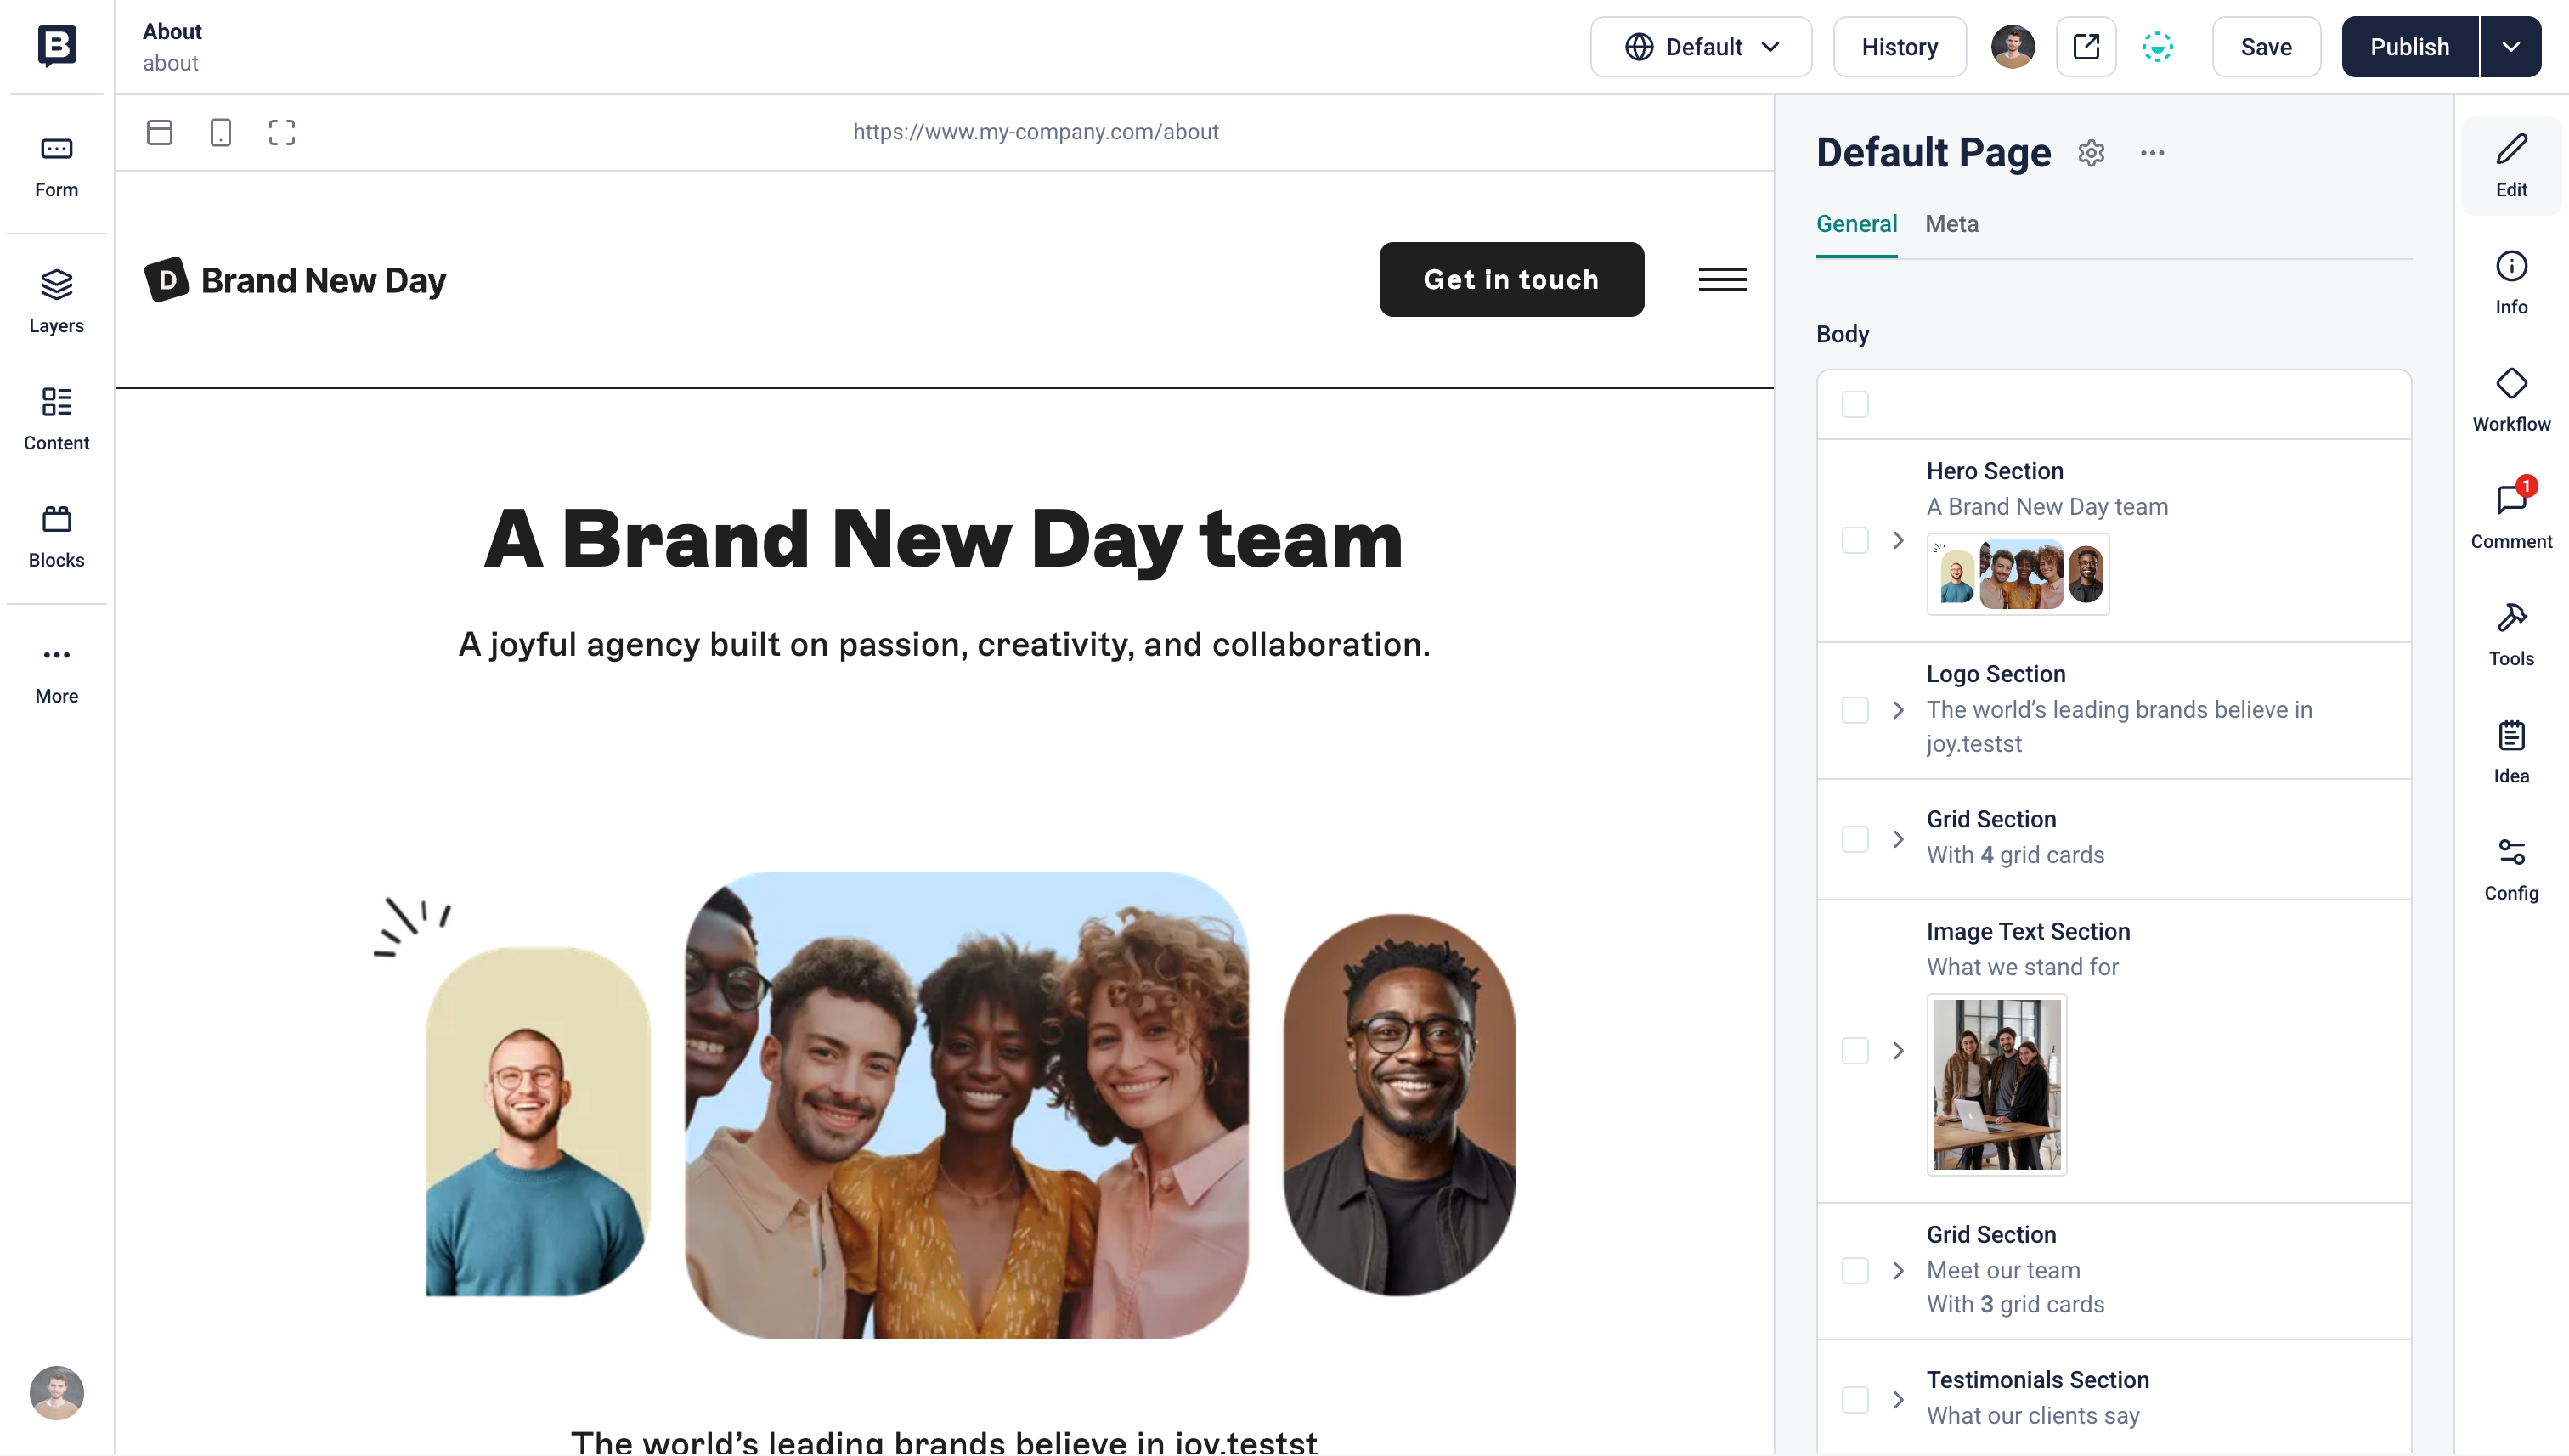
A preview rendered in the Visual Editor
To preview your content at different screen sizes, select Desktop, Mobile, or Full-width in the top toolbar.
To open a standalone preview in a new tab, select Open preview in the top toolbar.
The form view displays a group of input fields for your content. The order of fields depends on the structure set up by your developer.
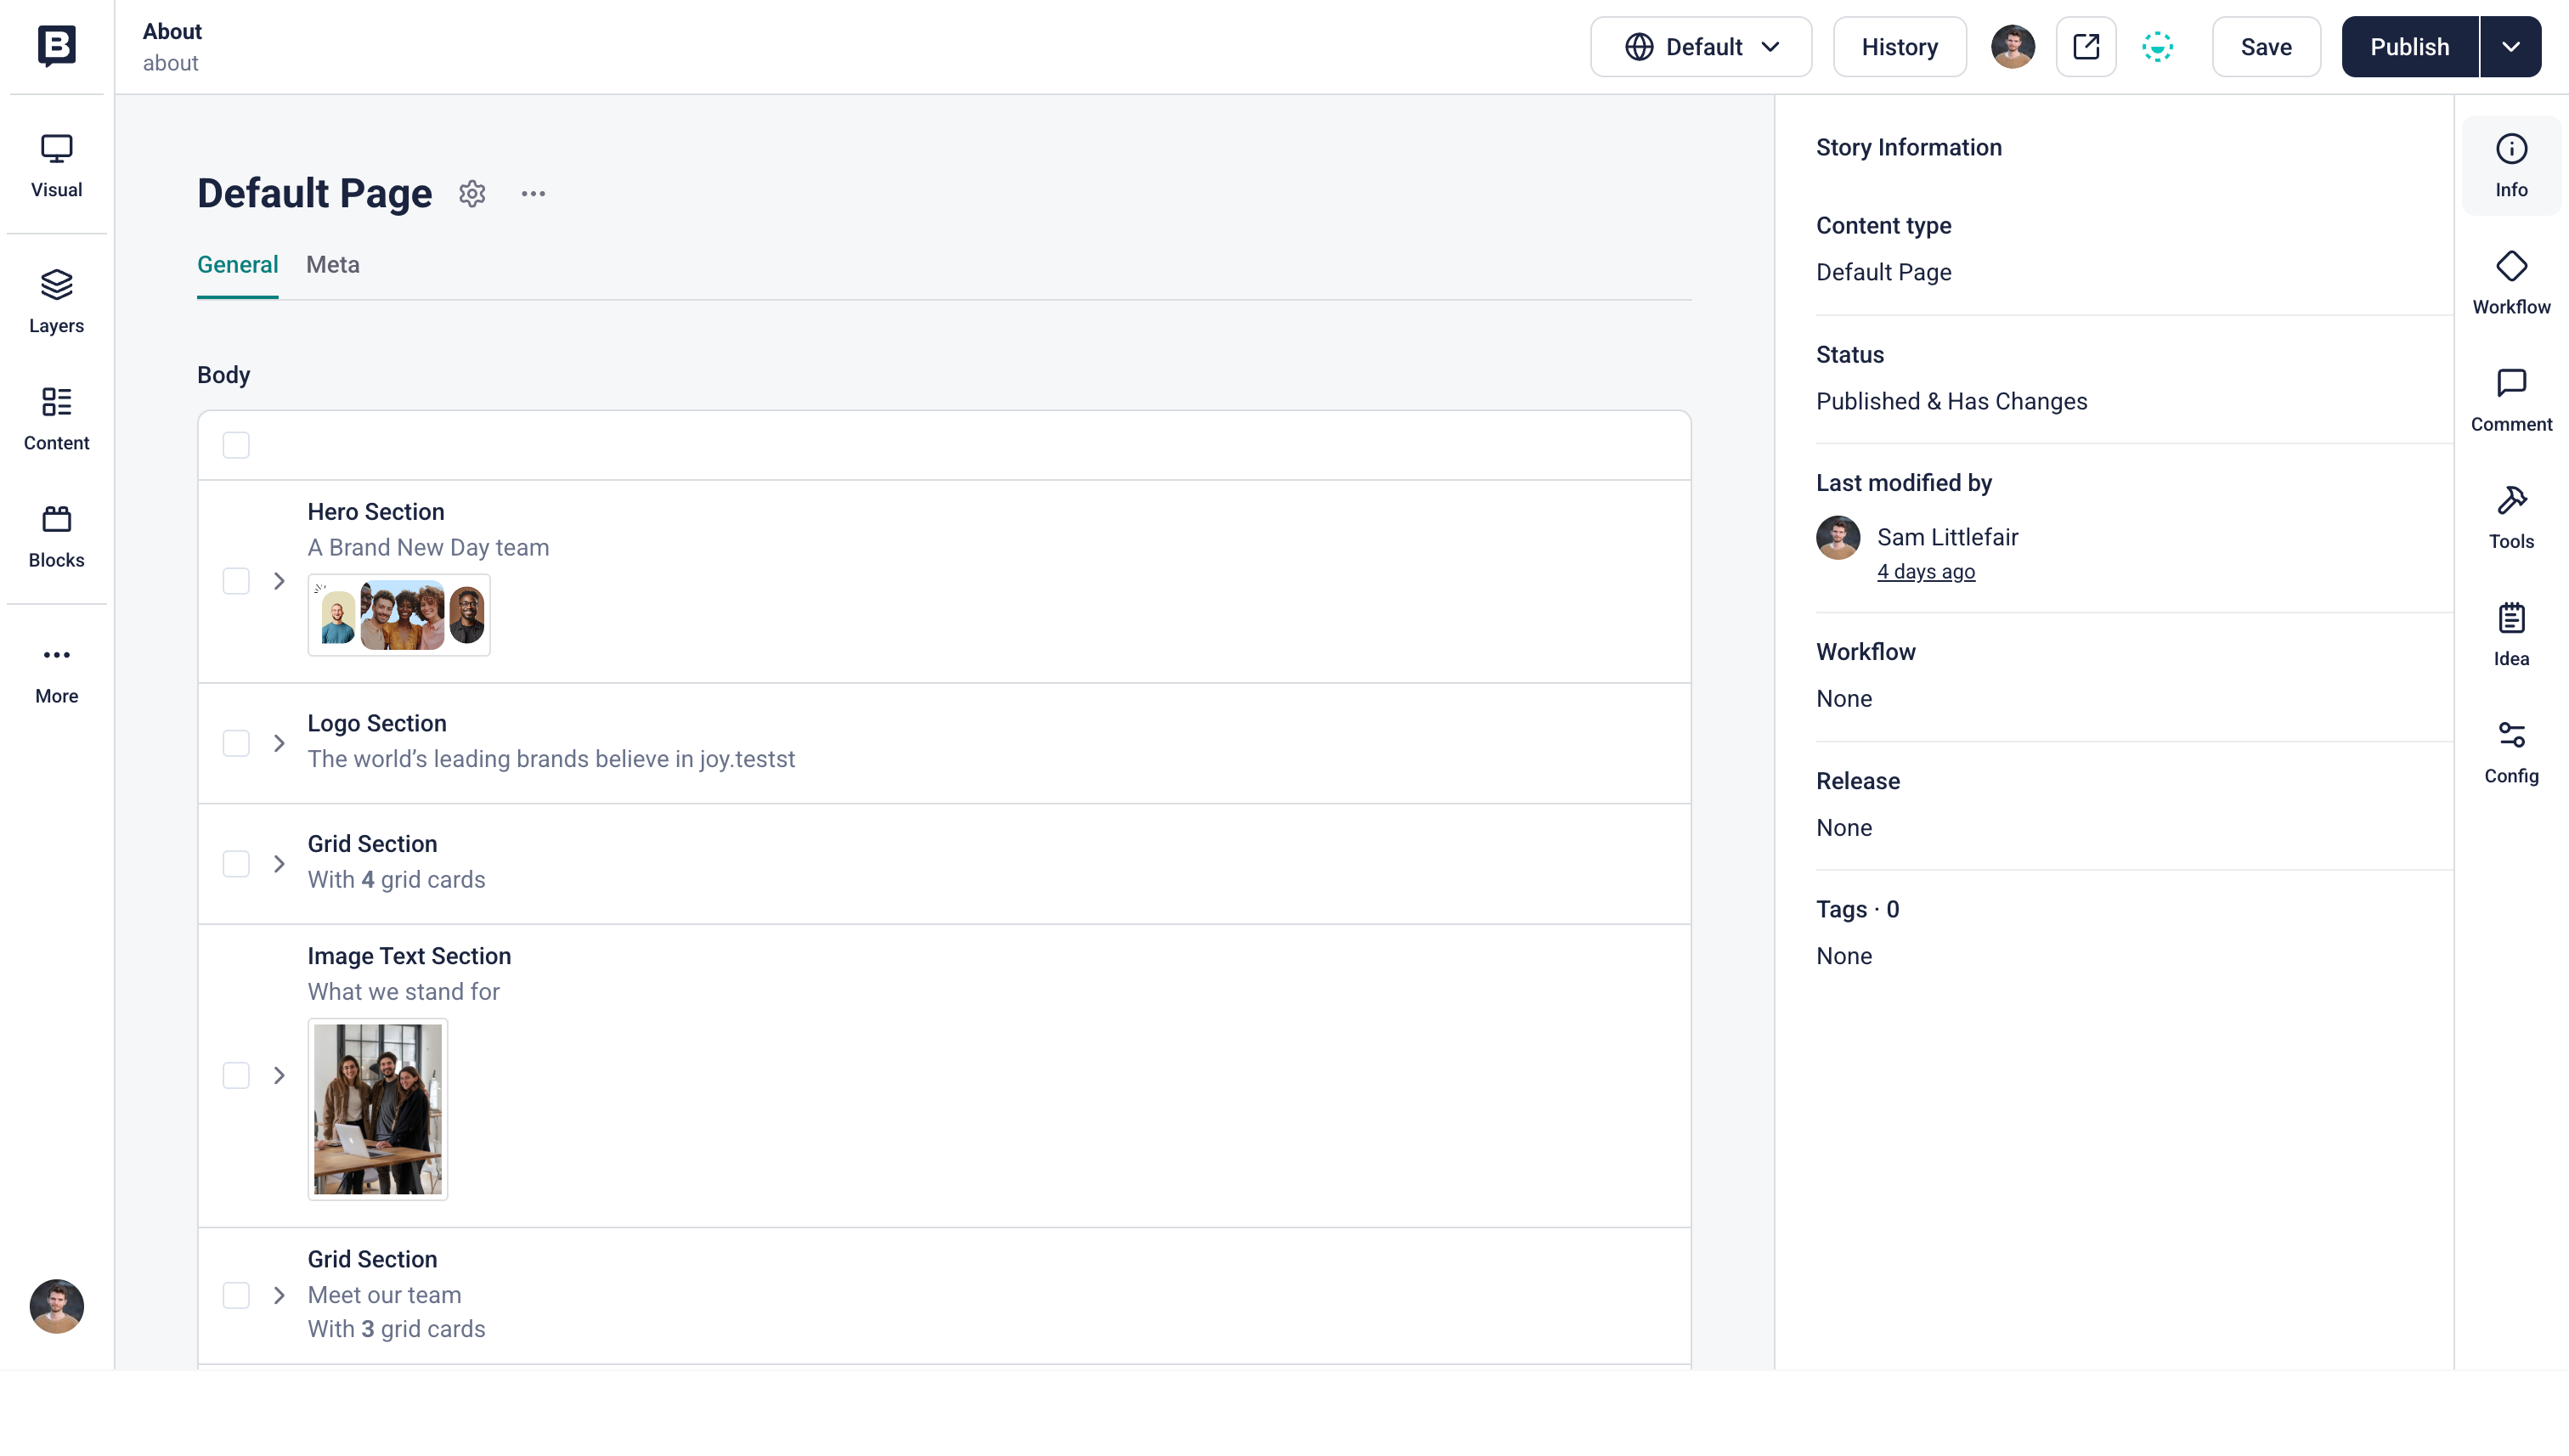
The form view in the Visual Editor
Create and edit your content in the form fields, preview the result, and save the changes.
Blocks
Section titled “Blocks”The input fields support many types of content, but there's one type of field that is more capable than others: the blocks field.
A block is a piece of content, usually a few fields that work together to compose a larger element, like a grid of product cards or an image gallery.
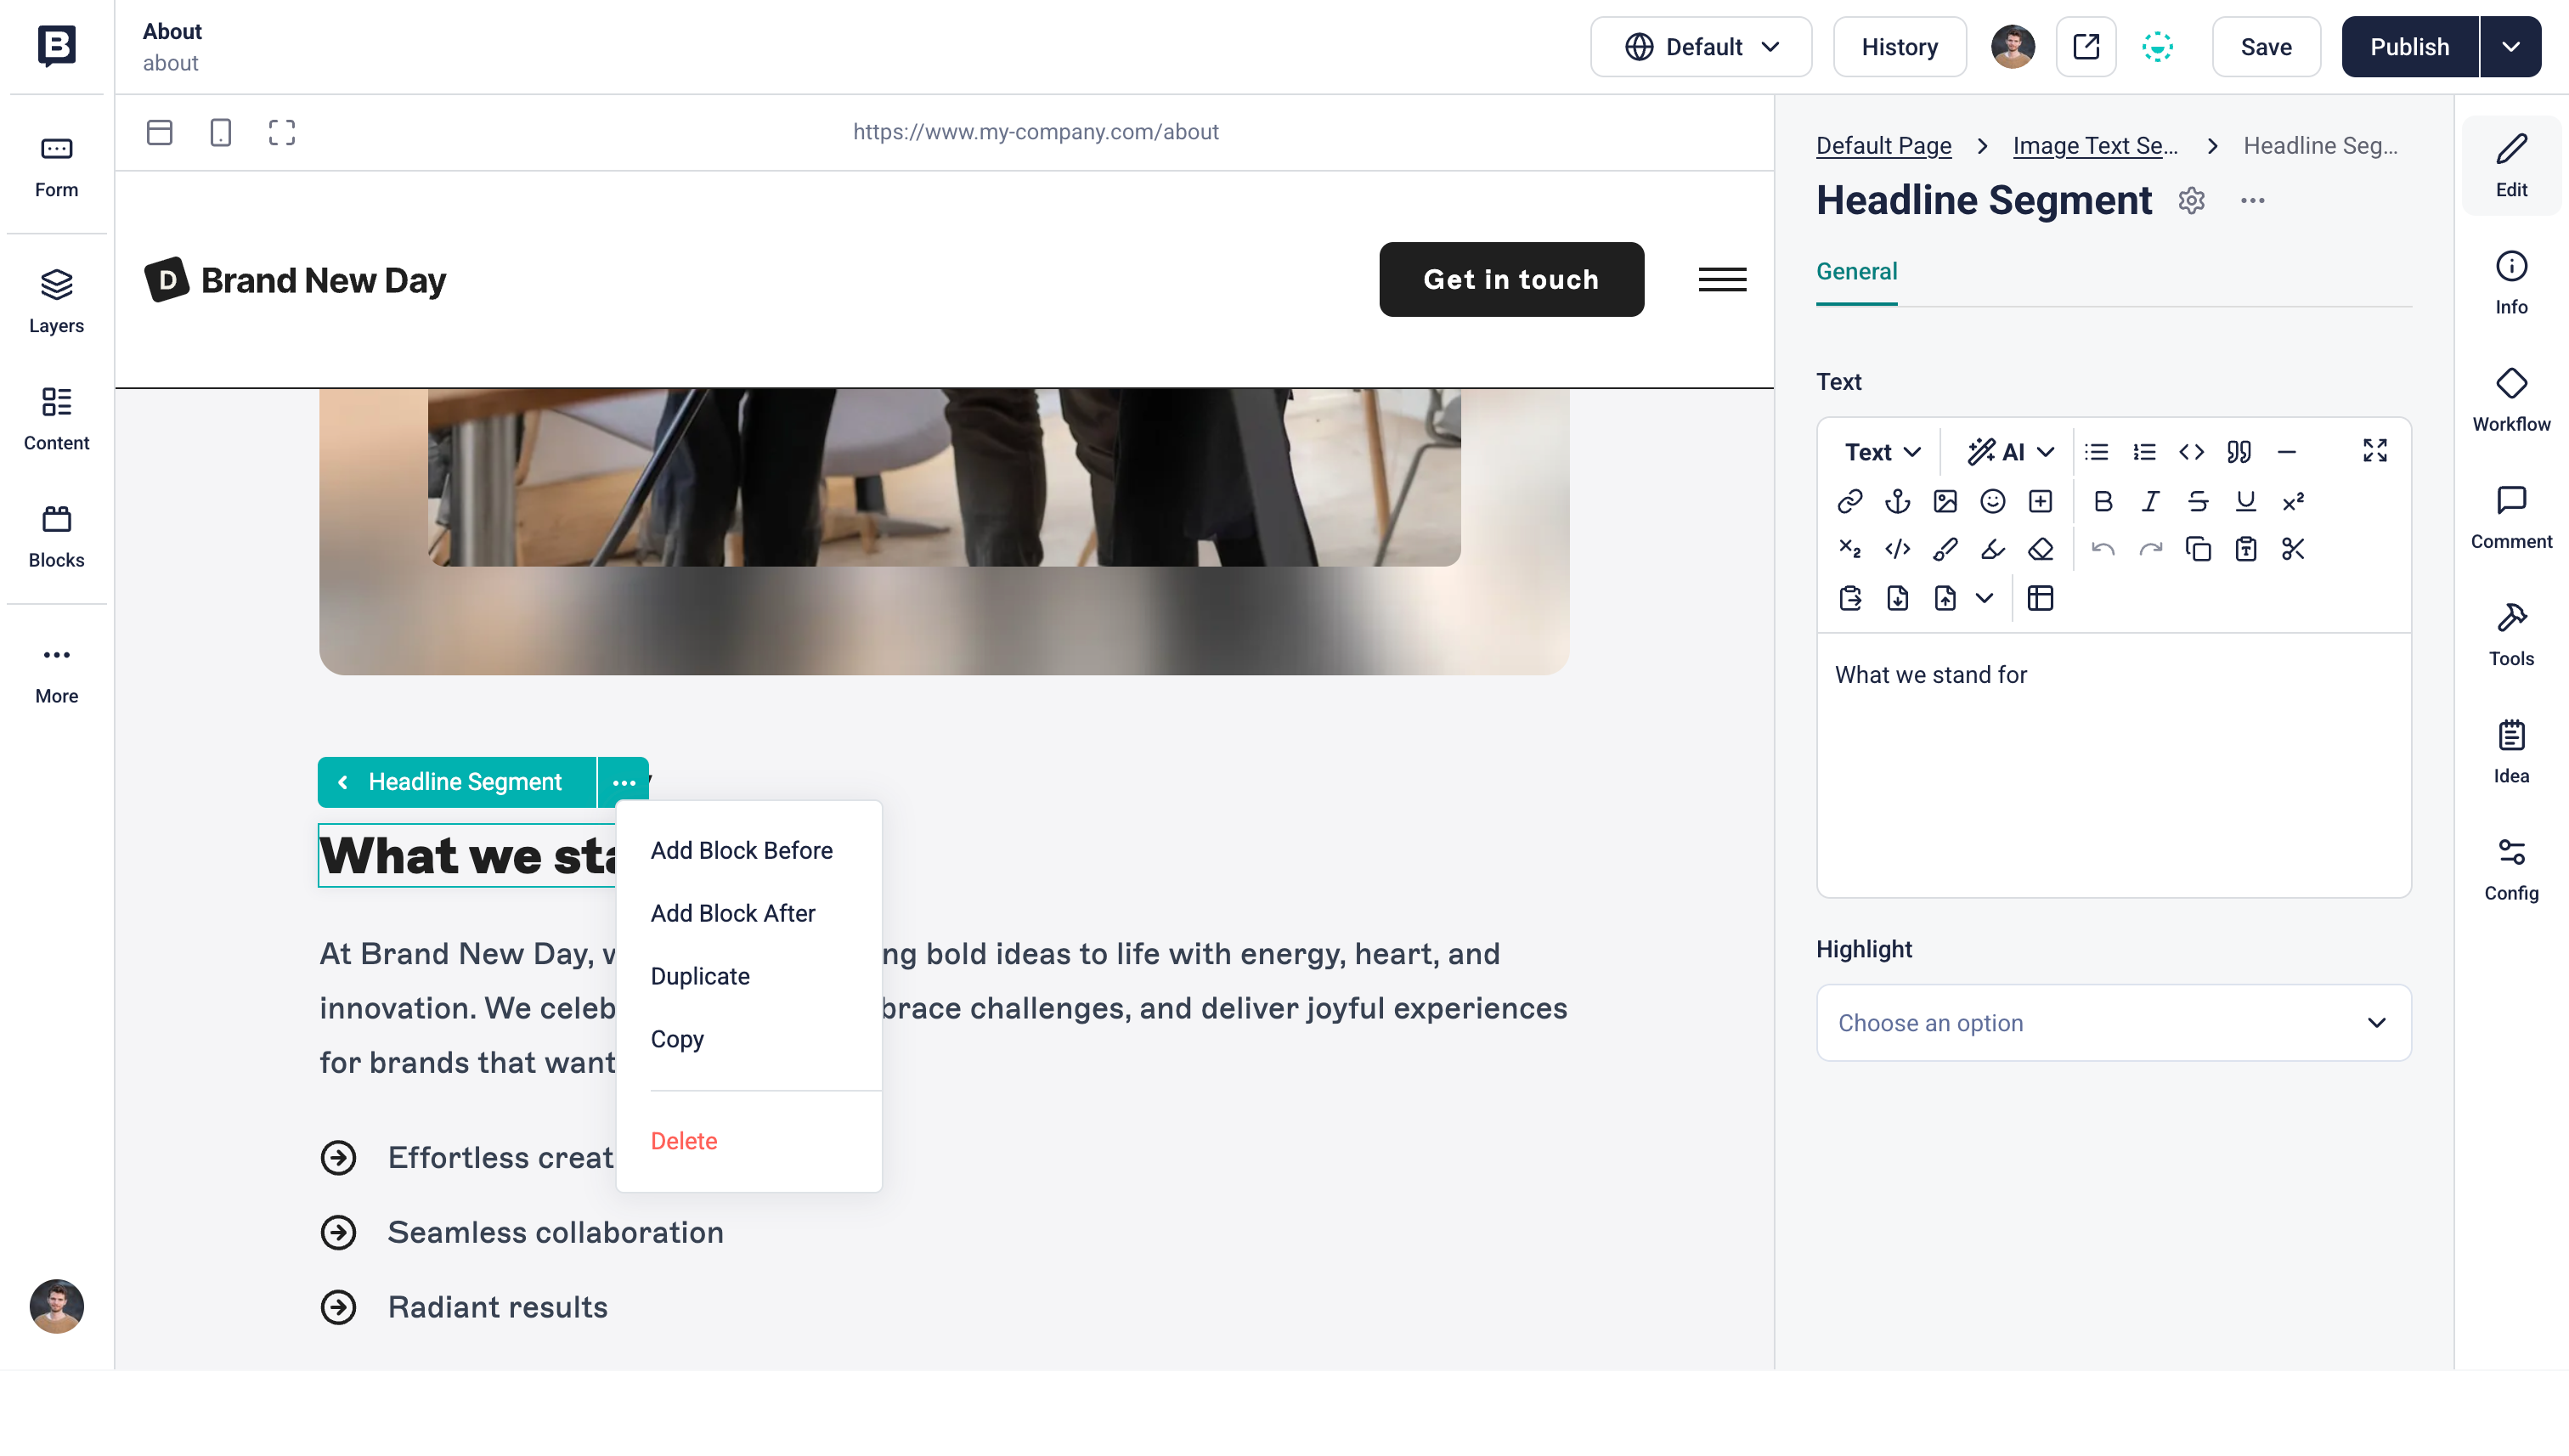
Edit a block in the Visual Editor
Blocks often make up the main body of a web page. For example, a blog post might have a “Body” field that can contain “Rich Text”, “Image”, and “Author” blocks. Editors can add, delete, and rearrange these blocks to compose content.
To add a block, hover over the borders of a blocks field to reveal a plus-sign icon, and select the block from the popover slider.
Presets
Section titled “Presets”Presets are blocks that come pre-filled with content. Admin users can create presets and define their content.
To create a preset of an existing block, select the three-dot menu ⋯ at the top of the block, choose Open Presets, and add a new preset. To illustrate the preset, upload a screenshot. Save, then open the new preset and select Fill preset with current content.
To set a specific preset as the default state for new blocks, open the Presets tab of the block editor and star the relevant preset.
Rich Text
Section titled “Rich Text”Most writing in Storyblok happens in the rich text editor. A story can have any number of rich text fields with different configurations. Depending on the field configuration, the editor supports many types of content:
- Headings
- Bullet lists
- Numbered lists
- Code blocks
- Links
- Anchors
- Emojis
- Custom styles
- Tables
- Images
- Blocks
- Horizontal rules
Use the rich text field's toolbar to format text and insert elements.
Depending on the setup defined by your developer, you might be able to insert other blocks into a rich text field: select Add block in the toolbar.
An internal link defines a relationship to another piece of content without manually writing a URL. To create an internal link, open a link field (that has internal linking enabled) and use the folder browser or search bar to find the appropriate story.
To edit the linked story, select Stack view, and view the linked story in a floating editor. Make changes, save, and click anywhere outside the window to return to the original story. To open the linked story in the main editor, select Open.
Anchors
Section titled “Anchors”An anchor is a unique ID marked with a hash sign (#), which you can link to from any story. Anchor links are useful when you want to link directly to a specific section within a story.
First, create an anchor in the story to which you link: in a rich text field, select an anchor position, and then select Set anchor from the toolbar. Specify the word that serves as an anchor. Back in the original story, create an internal link as explained above, and select Define the anchor ID of the link. Finally, provide the same word you specified before. For example, my-anchor.
Story settings
Section titled “Story settings”To edit the story settings—such as the name, slug, tags, or date—open Config in the right toolbar.
The story's slug is a unique ID used to define this web page's URL, together with the folder name and website domain. For example, https://www.storyblok.com/docs/manuals/visual-editor.
Comments
Section titled “Comments”Use comments to start discussions with team members, or leave notes for yourself.
Every field in the Visual Editor has a comment button, which opens a new discussion. To add a comment, select Start a discussion next to the field. To tag teammates, type @ followed by their name. Tagged users receive an email notification with a link to the comment.
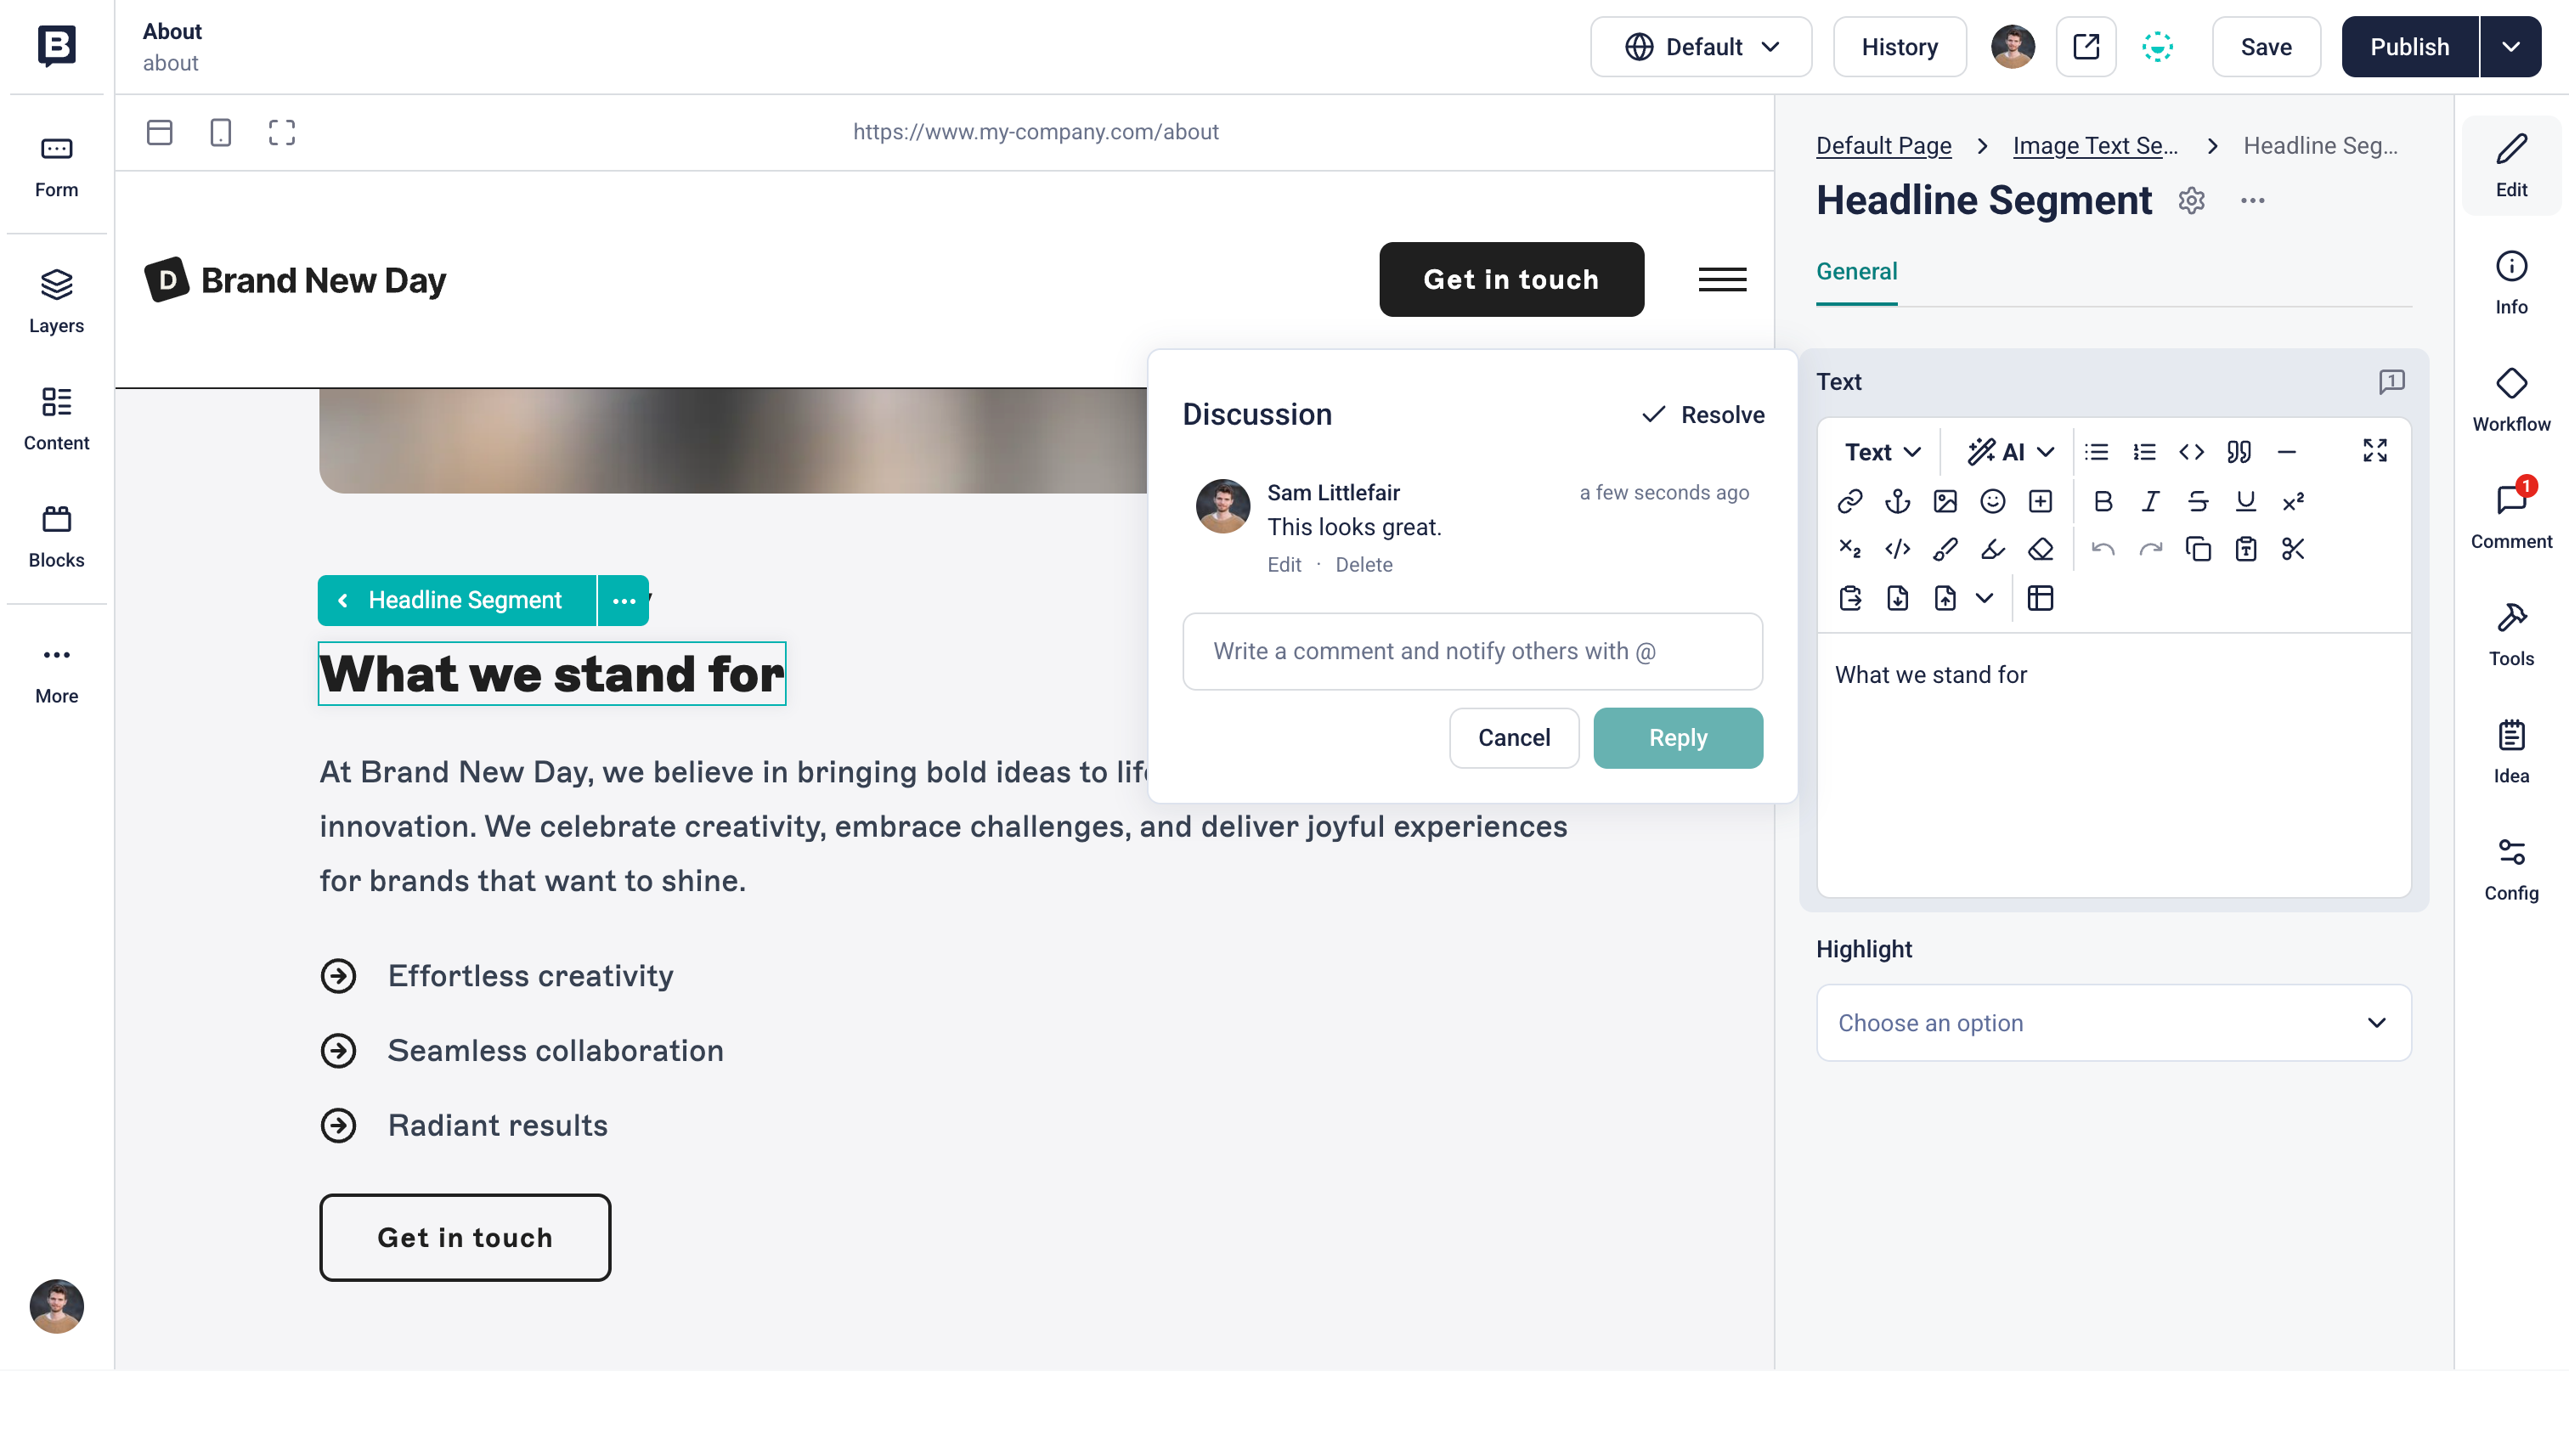
A discussion in the Visual Editor
To review all discussions in a story, open Comments in the right toolbar. Select a comment to read, reply, or resolve. The Resolved tab lists all resolved comments chronologically.
To view all your replies and mentions, open the space Dashboard and select My Mentions.
The left toolbar
Section titled “The left toolbar”The left toolbar contains three utilities to quickly access resources (depending on your user role).
- Layers: view all the blocks in the current story.
- Content: search through the stories in your space.
- Blocks: view all available blocks.
The More menu in the left sidebar provides links to other resources in your space.
Status
Section titled “Status”A story's status determines its visibility to your website visitors. Stories have four statuses: unpublished, published, changed, and scheduled.
The status reflects the most-recently saved version of the story.
The Content section, showing stories in different statuses
In the Visual Editor, a status indicator appears next to the Save button. The indicator has three states:
- Draft: a gray vertical semicircle inside a solid circle.
- Published: a green solid circle inside a solid circle.
- Changed: a horizontal green semicircle in a dashed circle.
Scheduled articles are marked with a clock icon.
A new story is unpublished. This story only appears in preview versions of your website.
Published
Section titled “Published”After selecting Publish, the story is published. This story is accessible to your website visitors.
Changed
Section titled “Changed”After making changes to a published story, the story is changed. The changes only appear in preview versions until you republish the story.
Scheduled
Section titled “Scheduled”A draft or changed story might also be scheduled. In that case, the changes go live on a specified date.
To schedule a story, select More Options (next to Publish), choose Schedule Publishing, and set the date and time. After this point, any saved changes are added to the scheduled story.
Instead of a Publish button, scheduled stories display a Save & Schedule button. Selecting this button reveals two options:
- Save & Schedule: use this option to change the schedule.
- Publish it now: use this option to ignore the planned publication date and publish the current version immediately. This clears the automatic schedule.
Advanced usage
Section titled “Advanced usage”The Visual Editor has deep integrations with the rest of the Storyblok ecosystem. Learn how to use Storyblok's features to enhance your content management:
- History: track changes to content over time.
- Ideas: brainstorm new content.
- Assets: upload and manage files in your space.
- Image Editor: edit your images within Storyblok.
- Experiments: run A/B tests on different versions of the same story.
Was this page helpful?
This site uses reCAPTCHA and Google's Privacy Policy (opens in a new window) . Terms of Service (opens in a new window) apply.
Get in touch with the Storyblok community