Using Storyblok Algolia in Nuxt 3
Storyblok is the first headless CMS that works for developers & marketers alike.
In this article, I will guide you through the process of creating a DXP using Nuxt 3, Algolia, and Storyblok. But we won't just add them to our project. We will also utilize StoryblokAlgoliaIndexer using a serverless function to index Algolia with new content added to Storyblok. That will allow us to search using Algolia for content that was added via Storyblok CMS.
If you get lost at some point, here is a GitHub repository with the code from this article: https://github.com/Baroshem/nuxt3-algolia-storyblok
What is Algolia?
Algolia (opens in a new window) is a Flexible Search & Discovery Hosted API that enables developers to build next-generation apps with composable APIs, delivering relevant content in milliseconds.
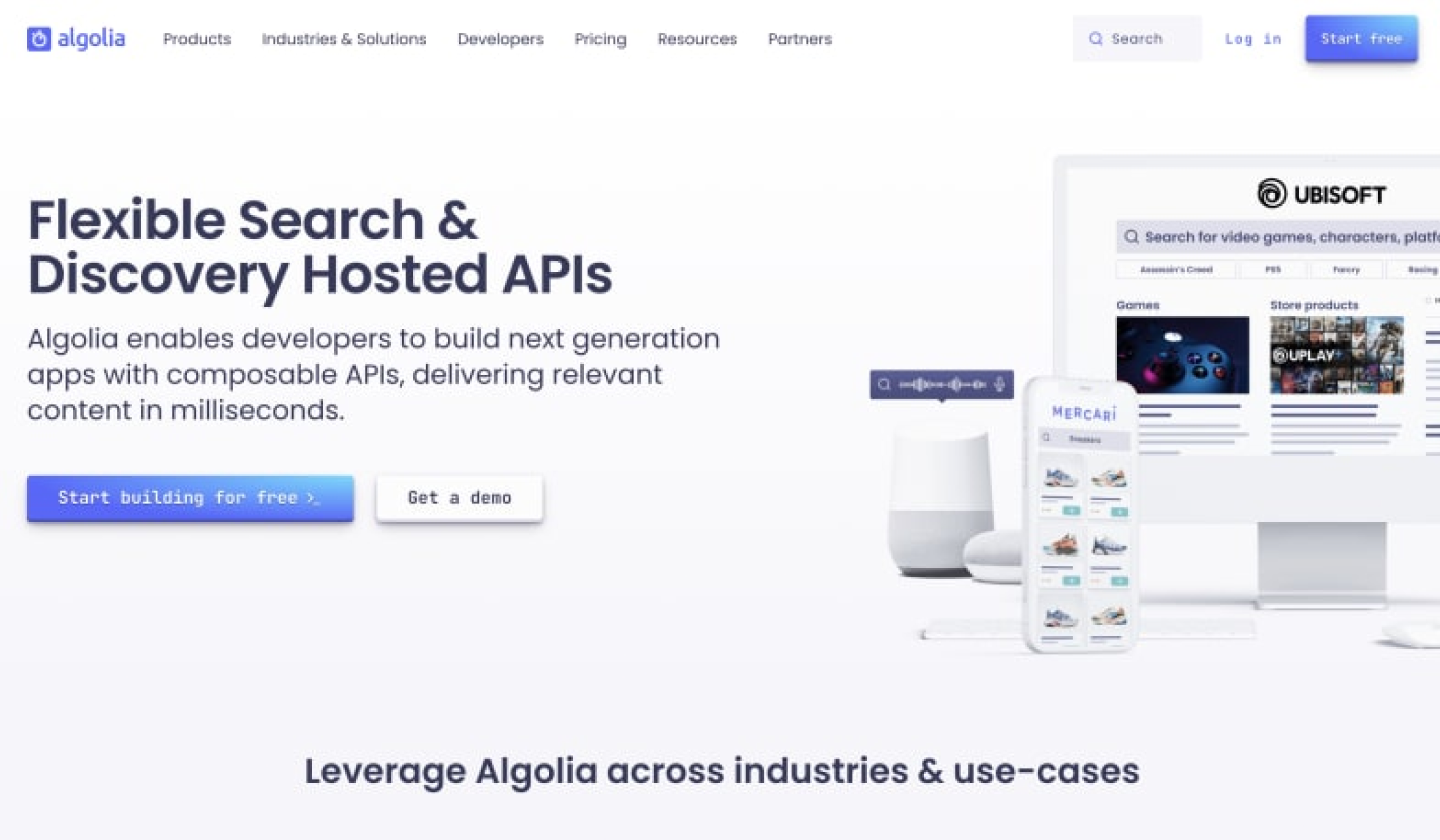
Algolia homepage
In other words, Algolia is a very powerful search engine that works quite similar to Elastic Search allowing for fast content delivery that matches current queries.
You can read more about Algolia here
Nuxt 3 with Algolia
In this section, I will guide you step by step through the process of integrating your Nuxt 3 project with Algolia.
If you get lost at some point here a GitHub repository with the final project that you can take a look at here.
Setting up a boilerplate Nuxt 3 project
Let's start with generating an empty Nuxt 3 project. We can do this by typing the following command in your terminal:
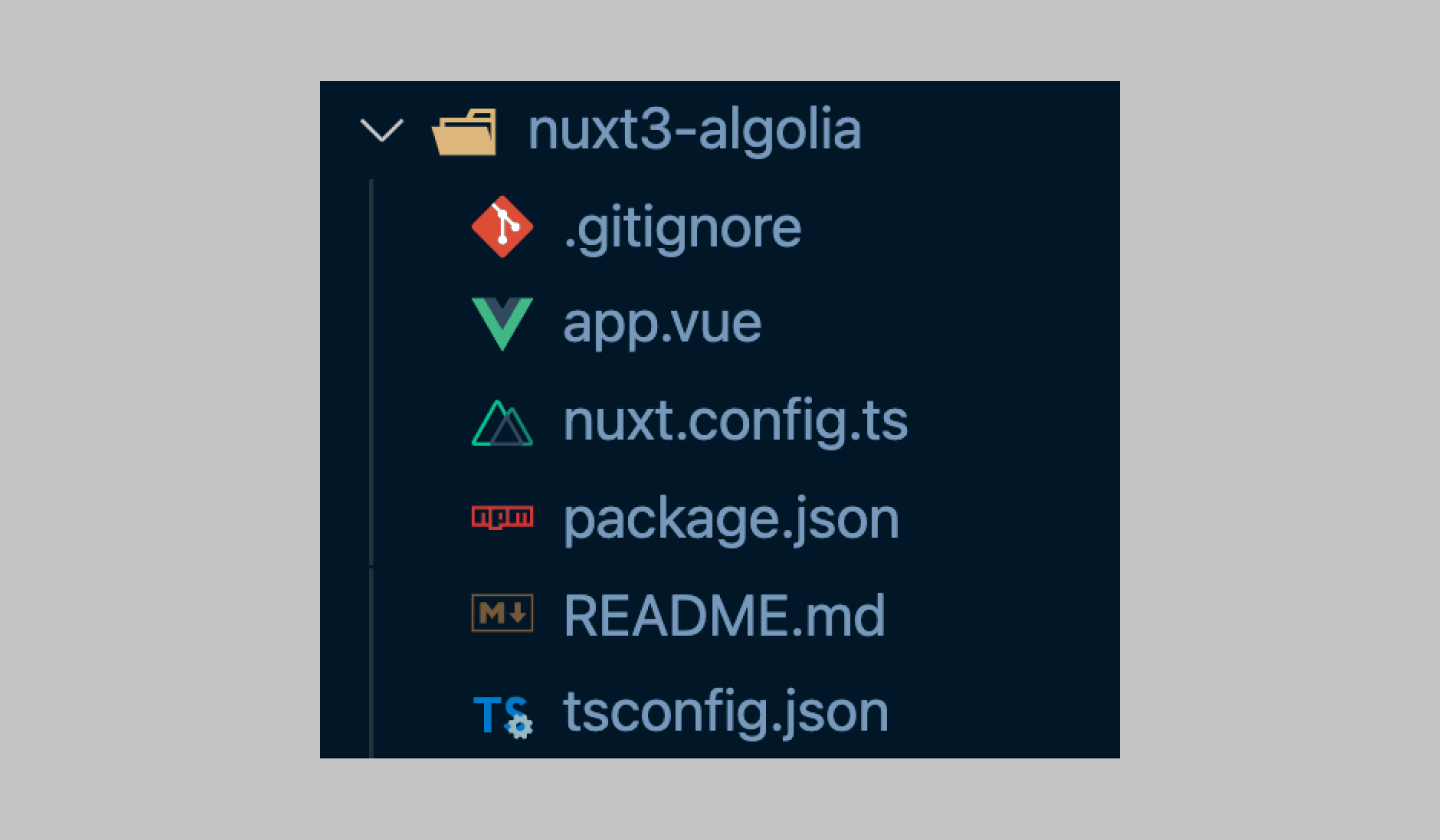
npx nuxi init nuxt3-algoliaWhen you open your newly created project in your code editor you should see the following result:
Now, let’s install dependencies of the project:
npm installAnd start the project to see if it is working as expected:
npm run devIf everything went good, we should see the following results in our browser:
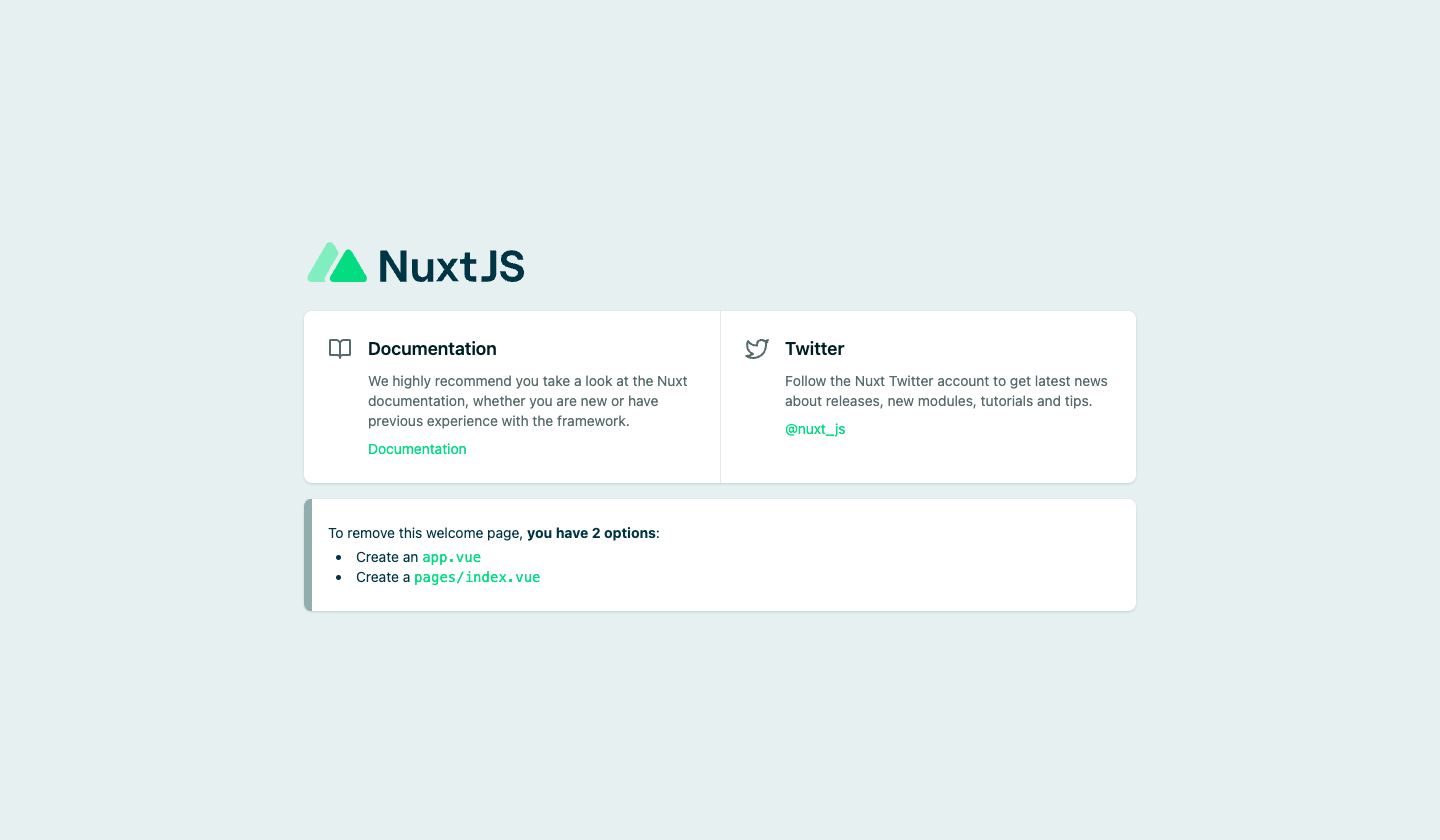
Nuxtjs homepage on localhost
Setup Algolia account and add data
In this step, I will just mention that at this point you should have an Algolia account and an index filled with some test data or your own data. When it will be done, make sure to save the search API key and application ID from your Algolia settings as they will be used in the next section.
For the sake of this tutorial I have generated some dummy data in Algolia for Ecommerce so my Search dashboard looks like.
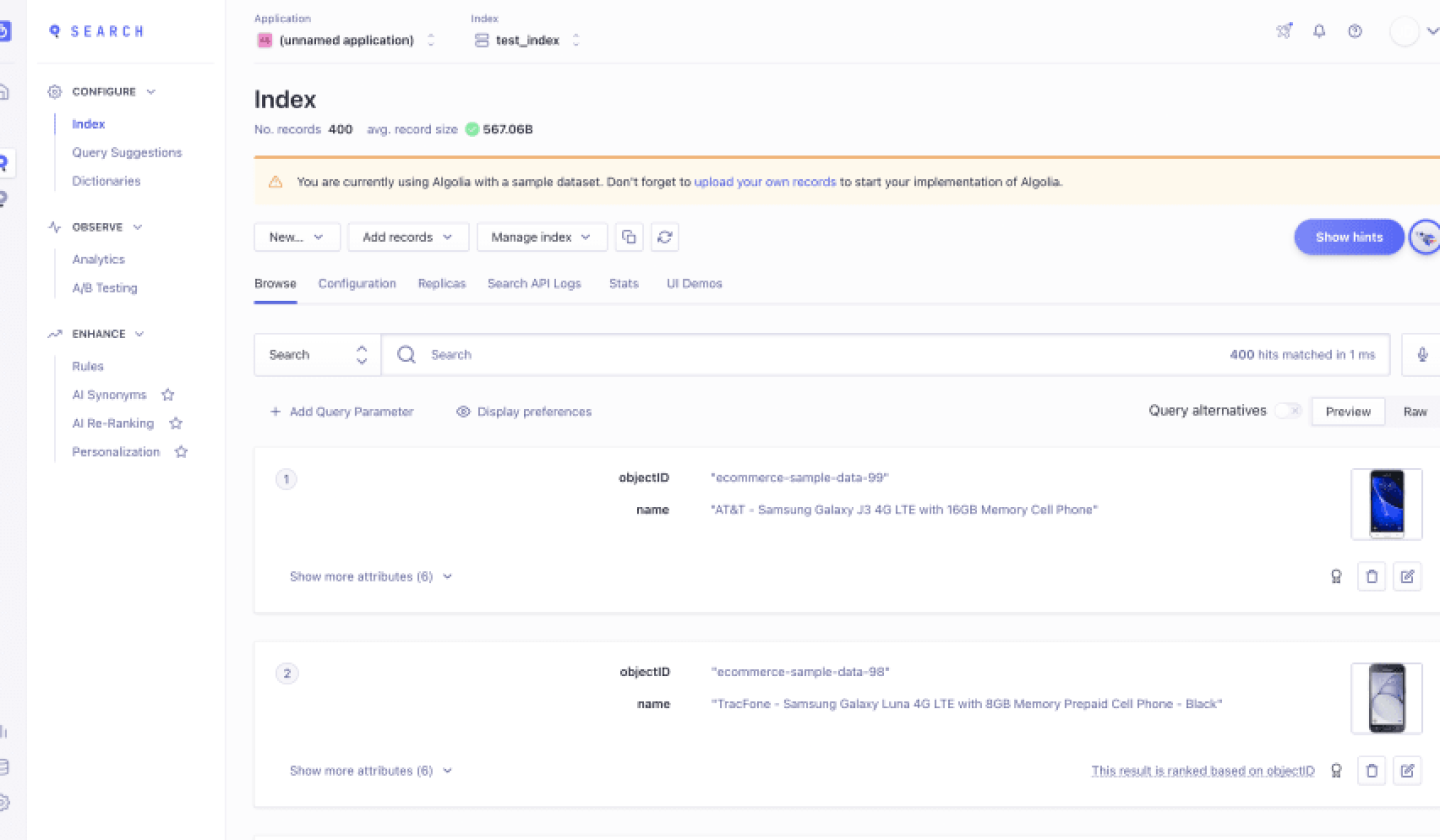
Algolia user dashboard
When generating a new index make sure to remember this name as it will be used in the next section.
Adding Algolia to Nuxt 3
Algolia provides a very good package that allows us to integrate a JavaScript project with Algolia API. However, in this project, we will be using a Nuxt module instead because it provides similar functionality by using handy composables like useSearch and useAlgolia - https://github.com/nuxt-community/algolia-module.
First, let's install the Algolia module in our Nuxt 3 project like so:
npm install @nuxtjs/algoliaNext, add @nuxtjs/algolia to buildModules inside nuxt.config.ts:
import { defineNuxtConfig } from 'nuxt3'

export default defineNuxtConfig({
  buildModules: [
    ['@nuxtjs/algolia', {
      apiKey: '<YOUR_SEARCH_API_KEY>',
      applicationId: '<YOUR_APPLICATION_ID>'
    }]
  ],
})
By adding the module to buildModules, we can automatically import composables so that you can use them in your application without the need to import them.
After that, add following script setup section in your app.vue:
<script setup>
const { result, search } = useSearch('test_index') // pass your index as param

onMounted(async () => {
  await search({ query: 'Samsung' });
})
</script>
Let's discuss in more detail the code above.
- We are calling a
useSearchcomposable and we pass the name of the index created in the Algolia dashboard as a parameter - We are destructuring the
resultproperty andsearchmethod from this composable. searchmethod will be used to call algoliasearch to search for a certain query.resultis a reactive computed value containing the result of the search method.- We are calling a
searchmethod insideonMountedlifecycle hook asynchronously and passing a query as an object property with a value of 'Samsung'.
To display the result in the browser you can add results in your template to see the actual result of the search as done below:
<template>
  <div>
    {{ result }}
    <NuxtWelcome />
  </div>
</template>
And that's it. You have now access to data delivered by Algolia that can be used to display some results to the users.
Adding Storyblok to the project
In this section, we will add Storyblok CMS to our Nuxt 3 application.
Before all, let's create a .env file with tokens and keys (we will need them in the next section):
ALGOLIA_SEARCH_API_KEY=
ALGOLIA_APP_ID=
ALGOLIA_ADMIN_KEY=
STORYBLOK_ACCESS_TOKEN=
First, let's install the required dependencies:
npm install --save-dev @storyblok/nuxt@next axiosNext, register the module in nuxt.config.ts
import { defineNuxtConfig } from 'nuxt3'

// https://v3.nuxtjs.org/docs/directory-structure/nuxt.config
export default defineNuxtConfig({
  build: {
    transpile: ['#app'] // Temporary workaround for issues in Storyblok module
  },
  buildModules: [
    ['@nuxtjs/algolia', {
      apiKey: process.env.ALGOLIA_SEARCH_API_KEY,
      applicationId: process.env.ALGOLIA_APP_ID,
    }],
    ['@storyblok/nuxt', {
      accessToken: process.env.STORYBLOK_ACCESS_TOKEN
    }]
  ],
})
Automatic indexing of Algolia using Storyblok content
For that, we will use a storyblok-algolia-indexer package that will do the index update for us. We will only need to trigger it after updating content in Storyblok.
Let's install the storyblok-algolia-indexer first.
npm install storyblok-algolia-indexerNext, create /server/api/storyblok.ts API extension (you can read more about them here) with the following code.
import StoryblokAlgoliaIndexer from 'storyblok-algolia-indexer';
import type { IncomingMessage, ServerResponse } from 'http'

export default (_req: IncomingMessage, res: ServerResponse) => {
  new StoryblokAlgoliaIndexer({
    algoliaAppId: process.env.ALGOLIA_APP_ID,
    algoliaApiAdminToken: process.env.ALGOLIA_ADMIN_KEY,
    algoliaIndexName: 'storyblok',
    storyblokContentDeliveryApiToken: process.env.STORYBLOK_ACCESS_TOKEN,
  })

  res.statusCode = 200
  res.end('Algolia indexed with the data from Storyblok!')
}
Here is we are registering a new server/api extension that will be used to trigger the indexing process. Inside of it, we are instantiating a new StoryblokAlgoliaIndexer with all required environment variables. This will automatically call both services and update indexes accordingly. After the whole process, we are sending a status code of 200 and a message.
You can easily test if this is working by simply going http://localhost:3000/api/storyblok. After that, you should see
Algolia indexed with the data from Storyblok! # browser
Index stored with 1 Entries. # terminal
To make it easier for future projects we could utilize the Storyblok webhooks to do the automatic index update for us.
Webhooks are the HTTP POST requests that are being sent after a certain condition is met (in Storyblok case, publish or save content). Webhooks will be sent to certain URL addresses so that you can use serverless functions or deploy our Nuxt 3 application to Vercel/Netlify or any other hosting service and just call this URL i.e. https://nuxt-algolia-storyblok.vercel.app/api/storyblok
To learn more about webhooks you can go here
Here, we can also create some simple components in Storyblok using this guideline (opens in a new window).
The next step now will be to display the Algolia results. For that, let's create AlgoliaResult.vue component:
<template>
  <div>
    <h2>Result from Algolia</h2>
    <p>{{ result }}</p>
  </div>
</template>
<script setup lang="ts">
const { result, search } = useSearch('storyblok')
onMounted(async () => {
  await search({ query: 'Test' });
})
</script>
In here we are calling the useSearch composable and passing a storyblok index. Next, we will call the search method and as a query send a Test phrase (as we have two teaser components with names Test, and Test 2)
We can also create StoryblokStories.vue component that will enable to fetch stories to the app and display them accordingly:
<template>
  <div>
    <h2>Stories from Storyblok</h2>
    <pre>{{ state }}</pre>
  </div>
</template>

<script setup lang="ts">
const storyapi = useStoryApi();
const { data } = await storyapi.get('cdn/stories', { version: 'draft' });
const state = reactive({ stories: data.stories });

onMounted(() => {
  useStoryBridge(state.story.id, story => (state.story = story));
})
</script>
Let's stop for a second here and explain the individual steps:
- We are calling
useStoryApicomposable - We are calling the get method for the draft version of our stories and destructuring the
dataobject from it - We are creating a reactive state with the data
- We are calling
useStoryBridgecomposable insideonMountedto enable reacting to events in Storyblok
Finally, let's add both components to app.vue component.
<template>
  <div>
    <h1>Nuxt 3 with Storyblok CMS & Algolia Search (incl. automatic indexing)</h1>
    <algolia-result />
    <storyblok-stories />
  </div>
</template>
When we switch to the browser we should see something like this:

Storyblok algolia with Nuxt 3
It's not pretty I know but in this tutorial, our focus is on data fetching and modification. What you can see, is that we have two sections; Algolia and Storyblok.
- The result that is fetched from Algolia (that was populated after the automatic indexing using Storyblok content)
- Stories from Storyblok that we have created inside of the CMS
Summary
Well done! You have successfully built a Nuxt 3 application with integrations to Algolia and Storyblok (including automatic indexing). Keep in mind that this example is only the beginning of how you can integrate these tools together but this should give you a solid understanding of the core concepts.
| Resources | Link |
|---|---|
| How to integrate Algolia with your Headless CMS | https://www.storyblok.com/tp/headless-algolia-integration |
| How to index entries from Storyblok with Algolia | https://www.storyblok.com/tp/index-storyblok-algolia |
| Nuxt-algolia | https://github.com/nuxt-community/algolia-module |
| Storyblok Nuxt.js module | https://github.com/storyblok/storyblok-nuxt/tree/next |
| Storyblok algolia indexer | https://github.com/Baroshem/storyblok-algolia-indexer |
