Show the Blog Content in Nuxt Using Storyblok API
Storyblok is the first headless CMS that works for developers & marketers alike.
This article is written in cooperation with VueDose. To start reading from the beginning check out the first article or use TOC at the bottom to jump to any other article.
At this point in the guide, you learned to create a basic blog with static data, and, in the last article, you created the blog structure on Storyblok in order to create:
- Articles
- Authors
- Topics
Now it's time to use the Storyblok Content Delivery API to fetch the blog content and show it in our Nuxt blog.
Use Storyblok API
The easiest way to connect to the Storyblok API is to use the storyblok-nuxt module. Install it:
npm install storyblok-nuxtAnd add it to the modules section on your nuxt.config.js file:
modules: [
  [
    'storyblok-nuxt',
    {
      accessToken: process.env.STORYBLOK_KEY,
      cacheProvider: 'memory'
    }
  ]
]
In the accessToken option, you need to write your Storyblok access token key. Let's load it from a .env file using the STORYBLOK_KEY key. Thus, you're making sure your environment variables are loaded in a secure and convenient way.
Now create the token on Storyblok. Go to Settings > API Keys and create a new public key. That's the one you'll use to communicate to Storyblok API.
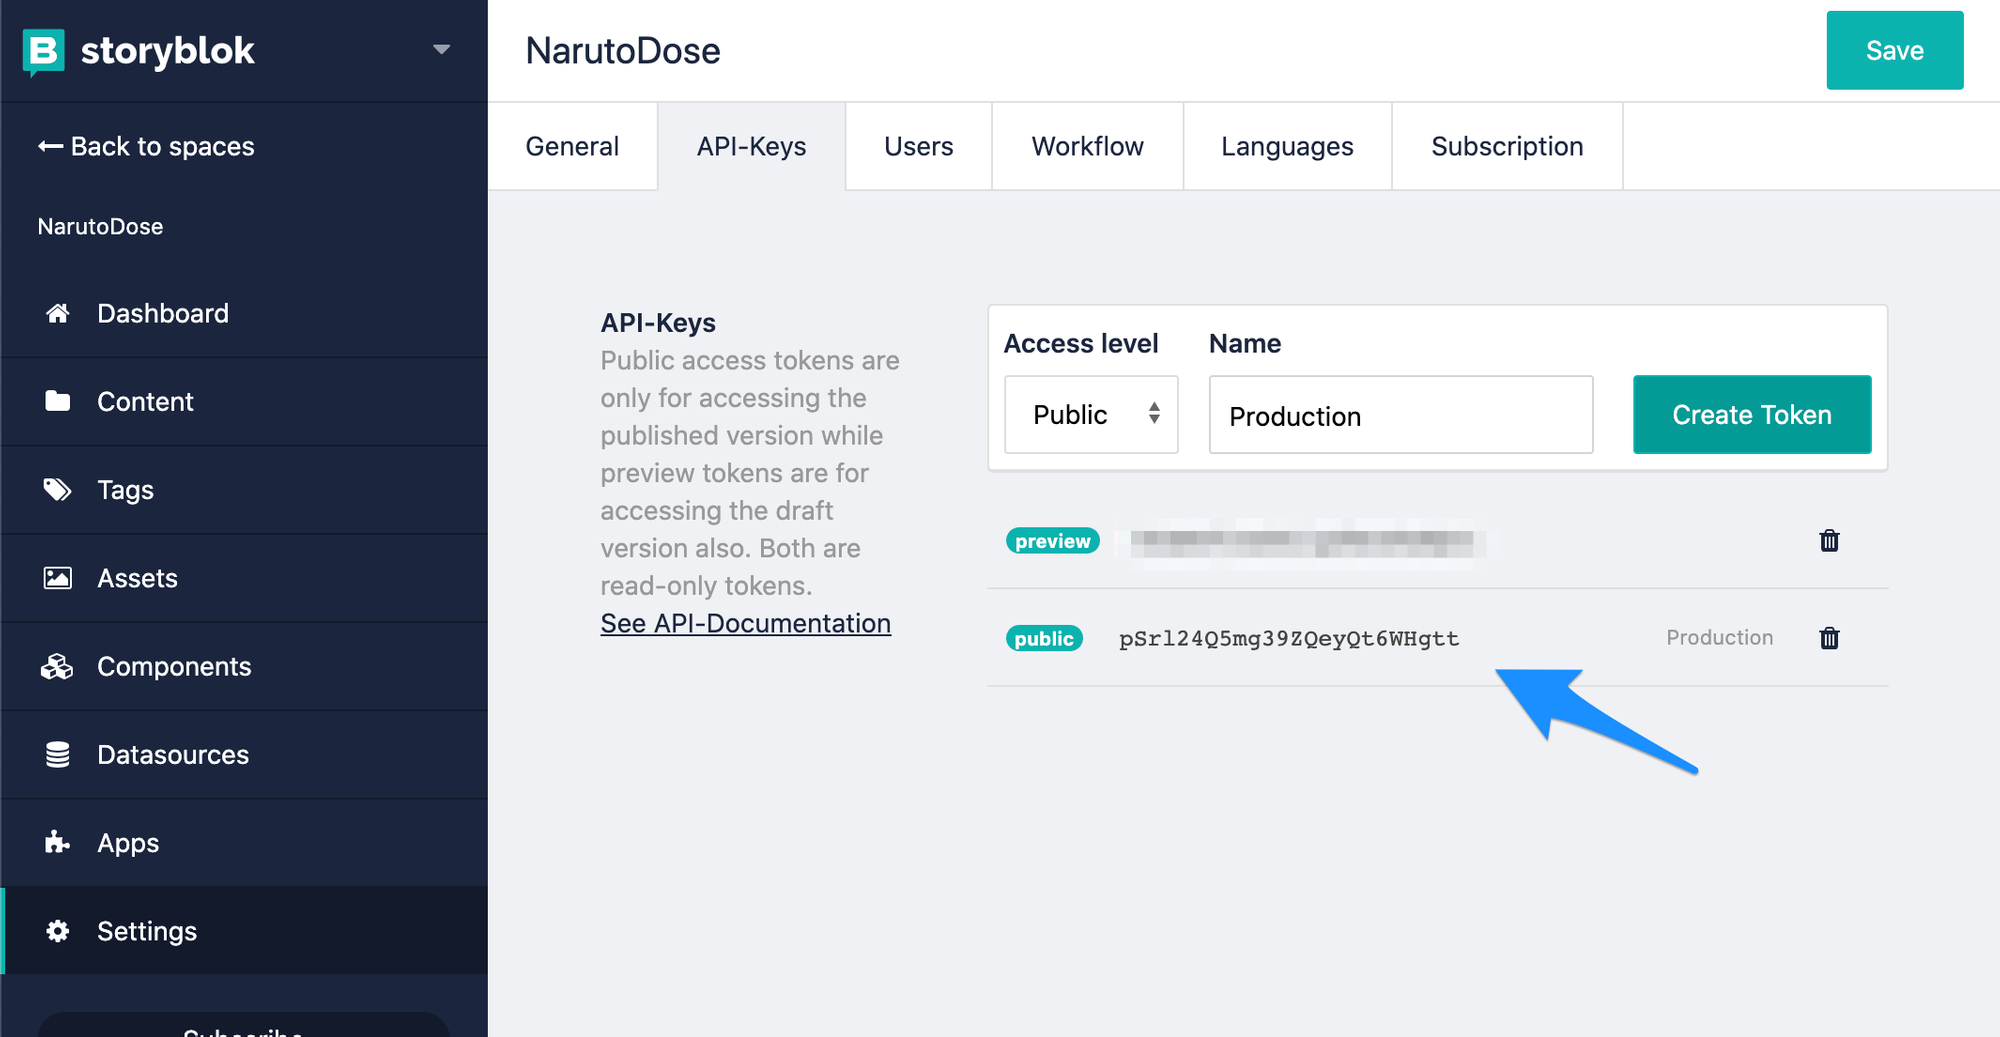
Finally, create the .env file in the root of your project with the STORYBLOK_KEY set:
STORYBLOK_KEY=pSrl24Q5mg39ZQeyQt6WHgttNow it's all set to start fetching your blog contents.
Fetching Articles
If you have followed the previous guides up to this point, you should have a pages/index.vue where you hard-coded the articles like this:
export default {
  asyncData() {
    const articles = [
      // ...
    ]

    return { articles }
  },
}
Now it's time to get the real data from Storyblok API.
Since you installed storyblok-nuxt, you have the client available on the Nuxt context under the app.$storyblok key. Let's change the previous code to call the following for fetching the articles using the Storyblok API client:
export default {
  async asyncData({ app }) {
    const res = await app.$storyapi.get('cdn/stories', {
      starts_with: 'articles/',
    })

    // Let's convert content.date from a String to a Date
    const articles = res.data.stories.map((story) => {
      story.content.date = new Date(story.content.date)
      return story
    })

    return { articles }
  },
}
The API returns a structure like this:
{
  "stories": [
    {
      "name": "Top 3 Genjutsu techniques",
      "created_at": "2020-07-21T09:40:10.440Z",
      "published_at": "2020-07-21T17:49:48.887Z",
      "id": 15872750,
      "uuid": "ae259808-1cf8-471b-92f2-1995d006a6d4",
      "content": {
        "_uid": "749bece0-08d2-49e4-a56a-f7e42ca50286",
        "date": "2020-07-09 22:57",
        "title": "Top 3 Genjutsu techniques",
        "author": "80a3e586-5d85-47af-851e-c3c60454dd9f",
				"content": "...",
        "component": "Article",
        "description": "Freak out at how cool these amazing Genjutsus are... mind blowing!",
      },
      "slug": "top-3-genjutsu-techniques",
Notice that the data you want is inside the content key of each object of the array, so let's modify the template in pages/index.vue:
<ArticleCard
v-for="article in articles"
:key="article.content.title"
:title="article.content.title"
:description="article.content.description"
:author="article.content.author"
:date="article.content.date.toLocaleDateString()"
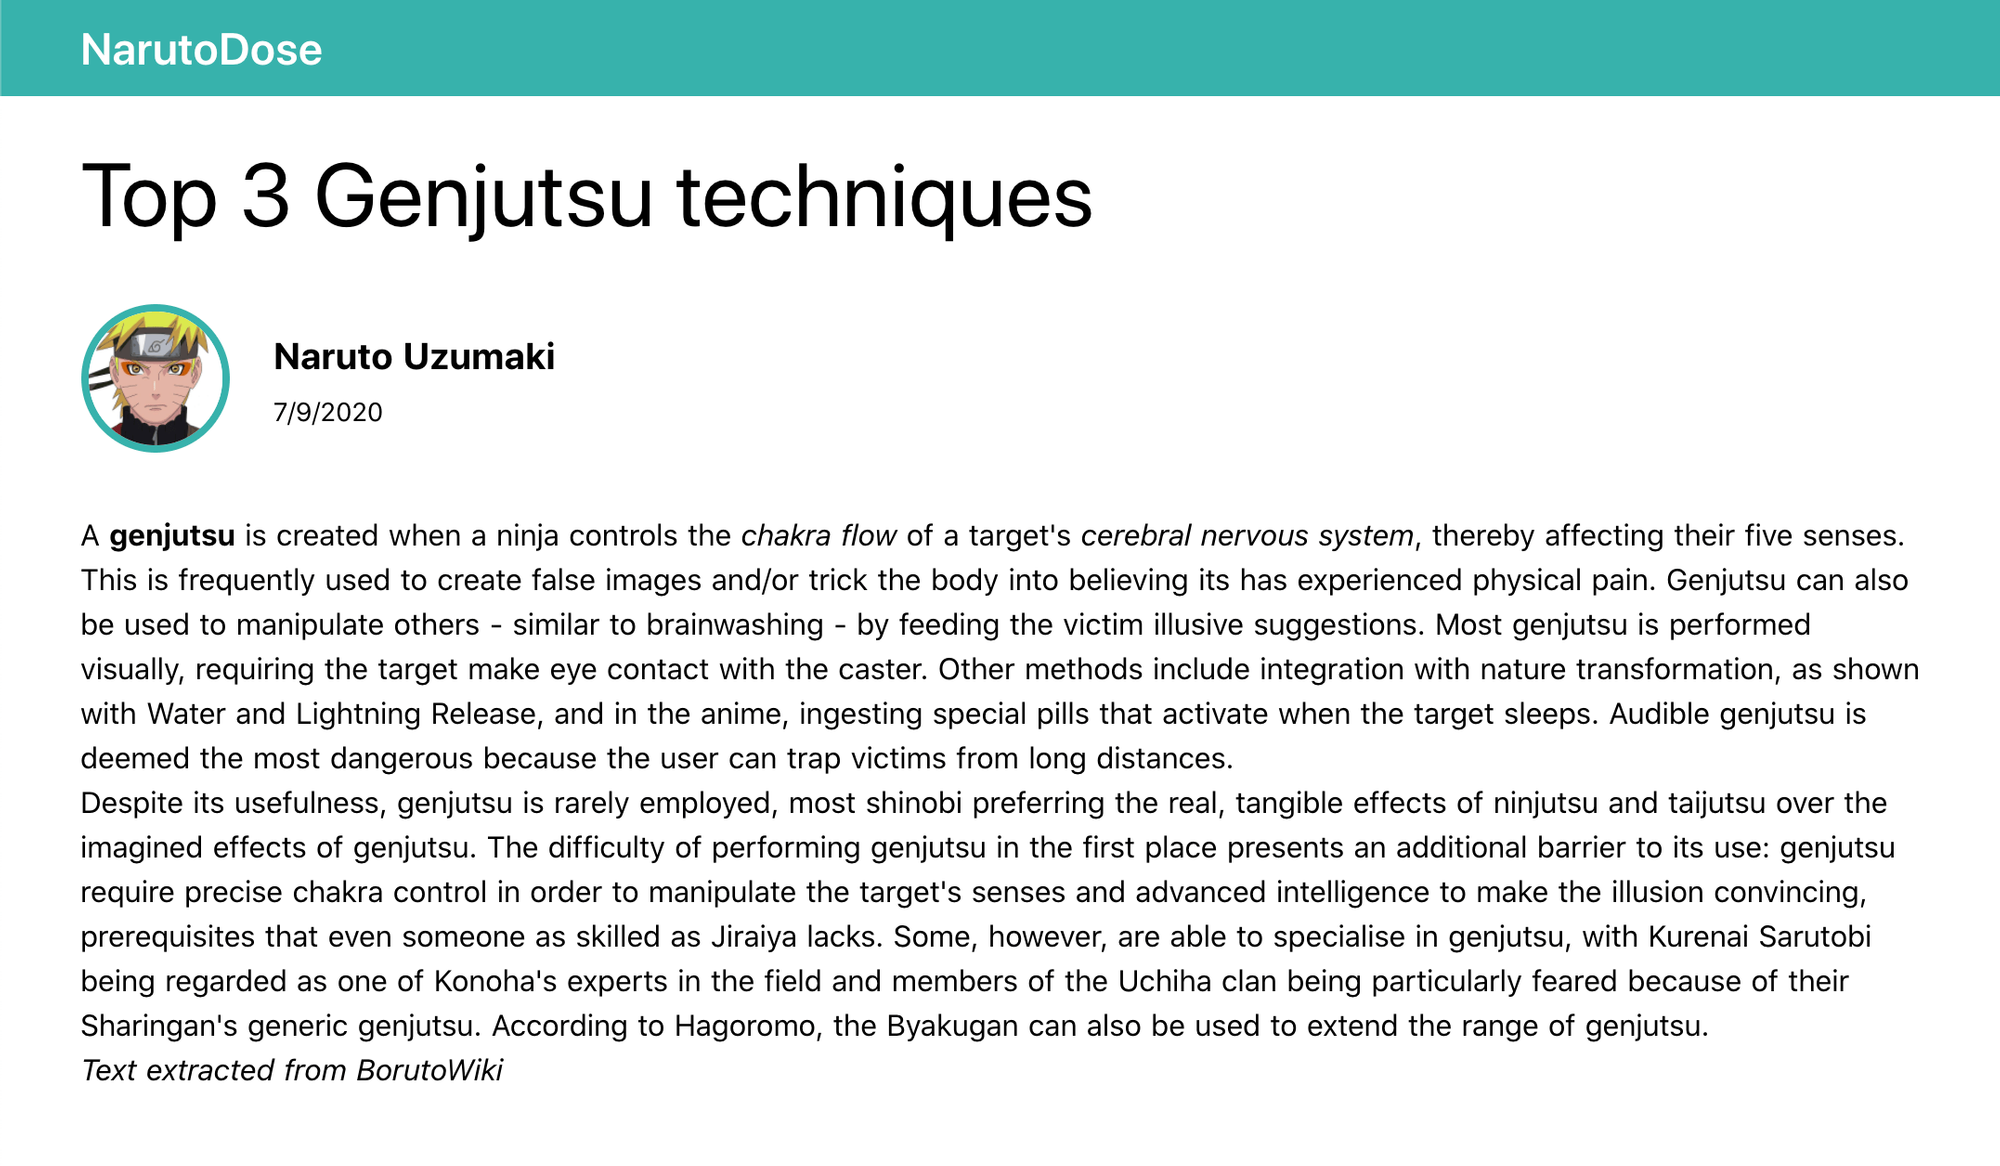
/>Run the project and you should see it with the actual data now:
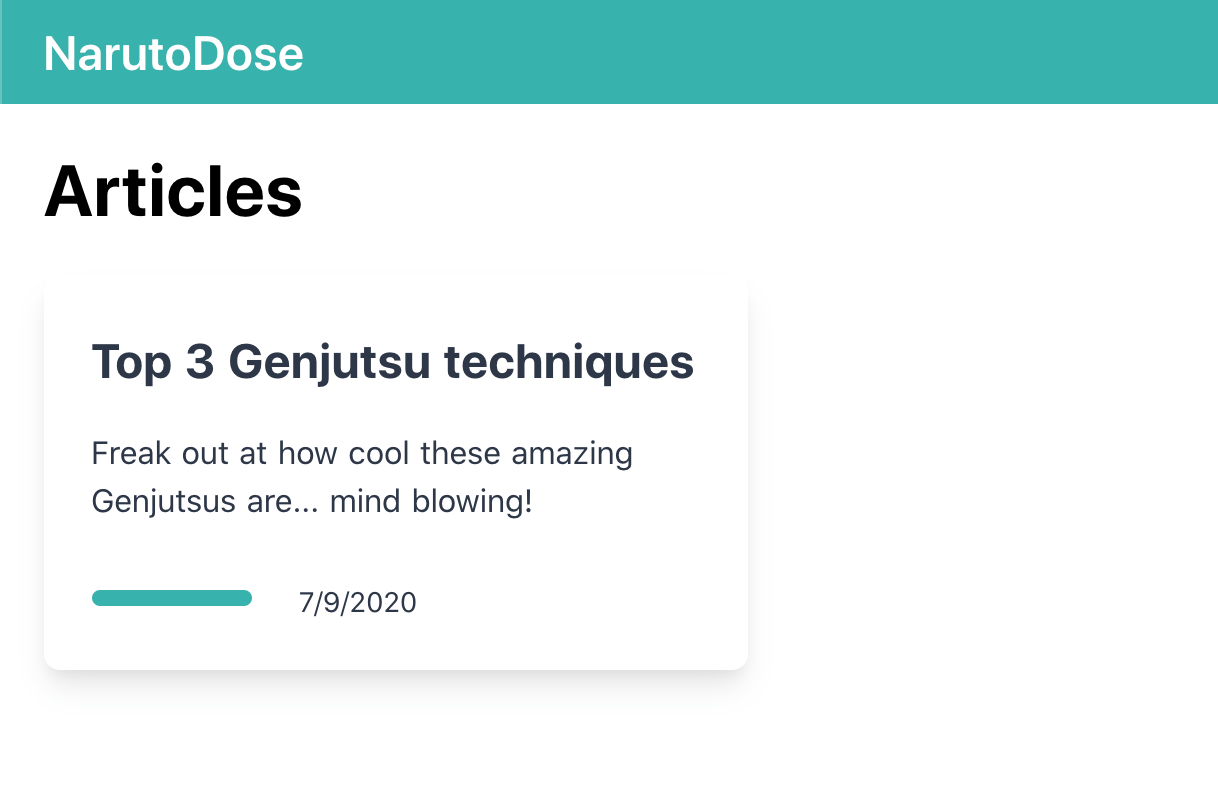
Do you notice anything wrong? Yes, the author is not shown. If you check the API response from above again, you'll notice that author it's not the author object, but its uuid ae259808-1cf8-471b-92f2-1995d006a6d4.
To get the author object, you need to resolve the relationship by using the resolve_relations parameter:
const res = await app.$storyapi.get('cdn/stories', {
  starts_with: 'articles/',
  resolve_relations: 'author',
})
That call will now return the following structure:
{
  "stories": [
    {
      "name": "Top 3 Genjutsu techniques",
      "created_at": "2020-07-21T09:40:10.440Z",
      "published_at": "2020-07-21T17:49:48.887Z",

      "id": 15872750,
      "uuid": "ae259808-1cf8-471b-92f2-1995d006a6d4",
      "content": {
        "_uid": "749bece0-08d2-49e4-a56a-f7e42ca50286",
        "date": "2020-07-09 22:57",
        "title": "Top 3 Genjutsu techniques",
        "author": {
          "name": "Naruto Uzumaki",
          "created_at": "2020-07-21T15:41:50.969Z",
          "published_at": "2020-07-21T15:47:21.810Z",
          "id": 15904544,
          "uuid": "80a3e586-5d85-47af-851e-c3c60454dd9f",
          "content": {
            "bio": "Enthusiastic and beloved Hokage from the Konoha village. He never get's back on his word, that's his ninja way.",
            "_uid": "eeb81ebd-39c2-47ce-99f4-dc5c6f4054a0",
            "name": "Naruto Uzumaki",
            "avatar": {
              "id": 1268292,
              "alt": null,
              "name": "",
              "focus": null,
              "title": null,
              "filename": "<https://a.storyblok.com/f/89259/500x500/dad7790433/naruto-avatar.jpg>",
              "copyright": null,
              "fieldtype": "asset"
            },
            "component": "Author"
          },
          "slug": "naruto-uzumaki",
          "full_slug": "authors/naruto-uzumaki",
          "default_full_slug": null,
// ...
You'll notice it's still not working, but that's just because you need to apply a couple of tweaks to adapt to the new data structure.
Go to components/ui/ArticleCard.vue and update the <img> tag to the following:
<img
  class="w-20 rounded-full border-4 border-main"
  :src="author.content.avatar.filename"
  :alt="author.content.name"
/>
Now you'll see the project is fully working. Go ahead and create more articles and you'll see them in the UI.
The Article Detail Page
You just finished pages/index.vue where you listed all the articles from Storyblok. But if you click on an article now, the page won't be found:
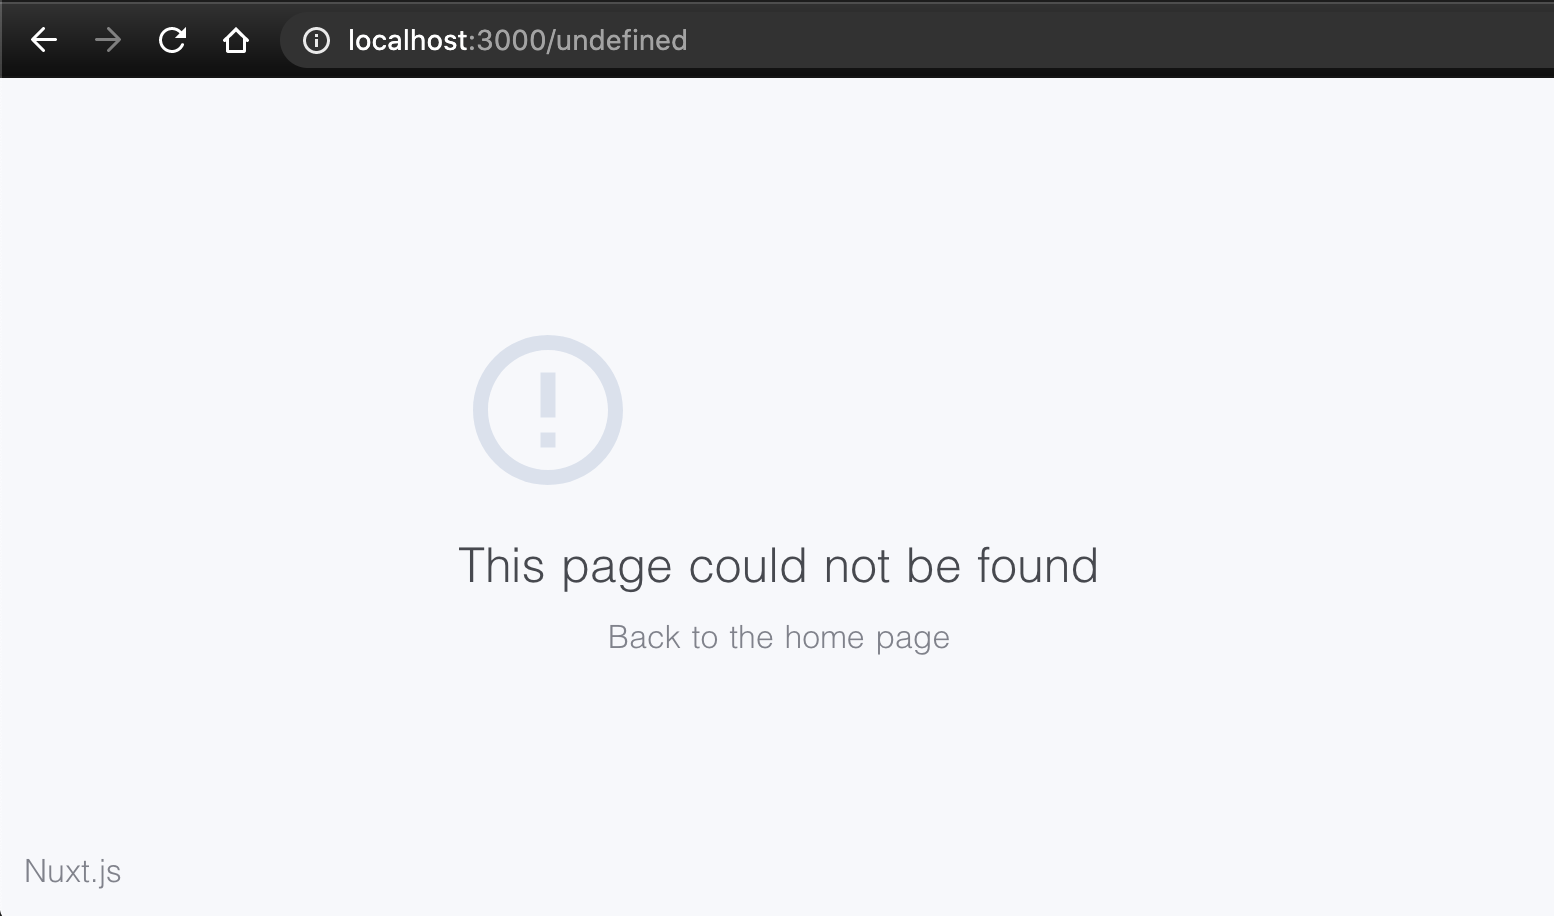
If you look at the url you can see it's going to /undefined because we didn't yet define any way to navigate to the article detail.
Let's agree we're going to use the /:slug route, where :slug is the dynamic slug of the article.
If you didn't have a slug property on ArticleCard.vue, add it now:
<template>
  <nuxt-link :to="slug" ...>
    ...
  </nuxt-link>
</template>

<script>
export default {
  props: {
    slug: String,
    title: String,
    description: String,
    author: Object,
    date: String,
  },
}
</script>
Then, in pages/index.vue, use the article.slug property from the article's data to pass that link down:
<ArticleCard
  v-for="article in articles"
  :key="article.content.title"
  :slug="`/articles/${article.slug}`"
  :title="article.content.title"
  :description="article.content.description"
  :author="article.content.author"
  :date="article.content.date.toLocaleDateString()"
/>
Notice I'm getting the slug from article.slug directly. This is because it's a property common to all stories in Storyblok, while what's inside article.content are the ones defined by us.
The second step is to create the route. According to the Nuxt routing conventions, you need to create a pages/_slug.vue file.
On the page, the only information you have is the article slug. You don't have the id, the uuid or the full_slug, so you can't retrieve a story like it's mentioned in the docs.
We want to do that for SEO purposes and having friendly urls. Additionally, we'd like to organize the contents freely inside the Articles folder in Storyblok, not worrying about the full_slug.
So how do you do it? You basically need to use the by_slugs parameter to the same call you are performing to retrieve all articles to get this first result:
export default {
  async asyncData({ app, route }) {
    // Get the slug from the route
    const slug = route.params.slug

    const res = await app.$storyapi.get('cdn/stories', {
      starts_with: 'articles/',
      by_slugs: '*/' + slug,
      resolve_relations: 'author',
    })

    const article = res.data.stories[0]
    article.content.date = new Date(article.content.date)

    return { article, author: article.content.author }
  },
}
The by_slugs finds an exact match, but we can prepend a wildcard */ so that it includes any path before the slug.
Basically, that call is saying "Find the articles under articles/ that end with the slug slug"
In this case, we're also returning an author variable for easy access from the template.
What if the article is not found? Then it will crash for sure. To prevent that from happening, use the error function from the Nuxt context for error handling:
async asyncData({ app, route, error }) {
    // ...
    const article = res.data.stories[0]
    if (!article) return error(`Article with slug ${slug} not found`)
    // ...
  },
Add the following template:
<template>
<div class="container mx-auto px-4 mt-4">
<header>
<h2 class="text-5xl">{{ article.content.title }}</h2>
<div class="flex items-center mt-6">
<img
class="w-20 rounded-full border-4 border-main"
:src="author.content.avatar.filename"
:alt="author.content.name"
/>
<div class="ml-6">
<p class="text-xl font-bold">{{ author.name }}</p>
<p class="text-sm mt-1">
{{ article.content.date.toLocaleDateString() }}
</p>
</div>
</div>
</header>
<div class="mt-8">
{{ article.content.content }}
</div>
</div>
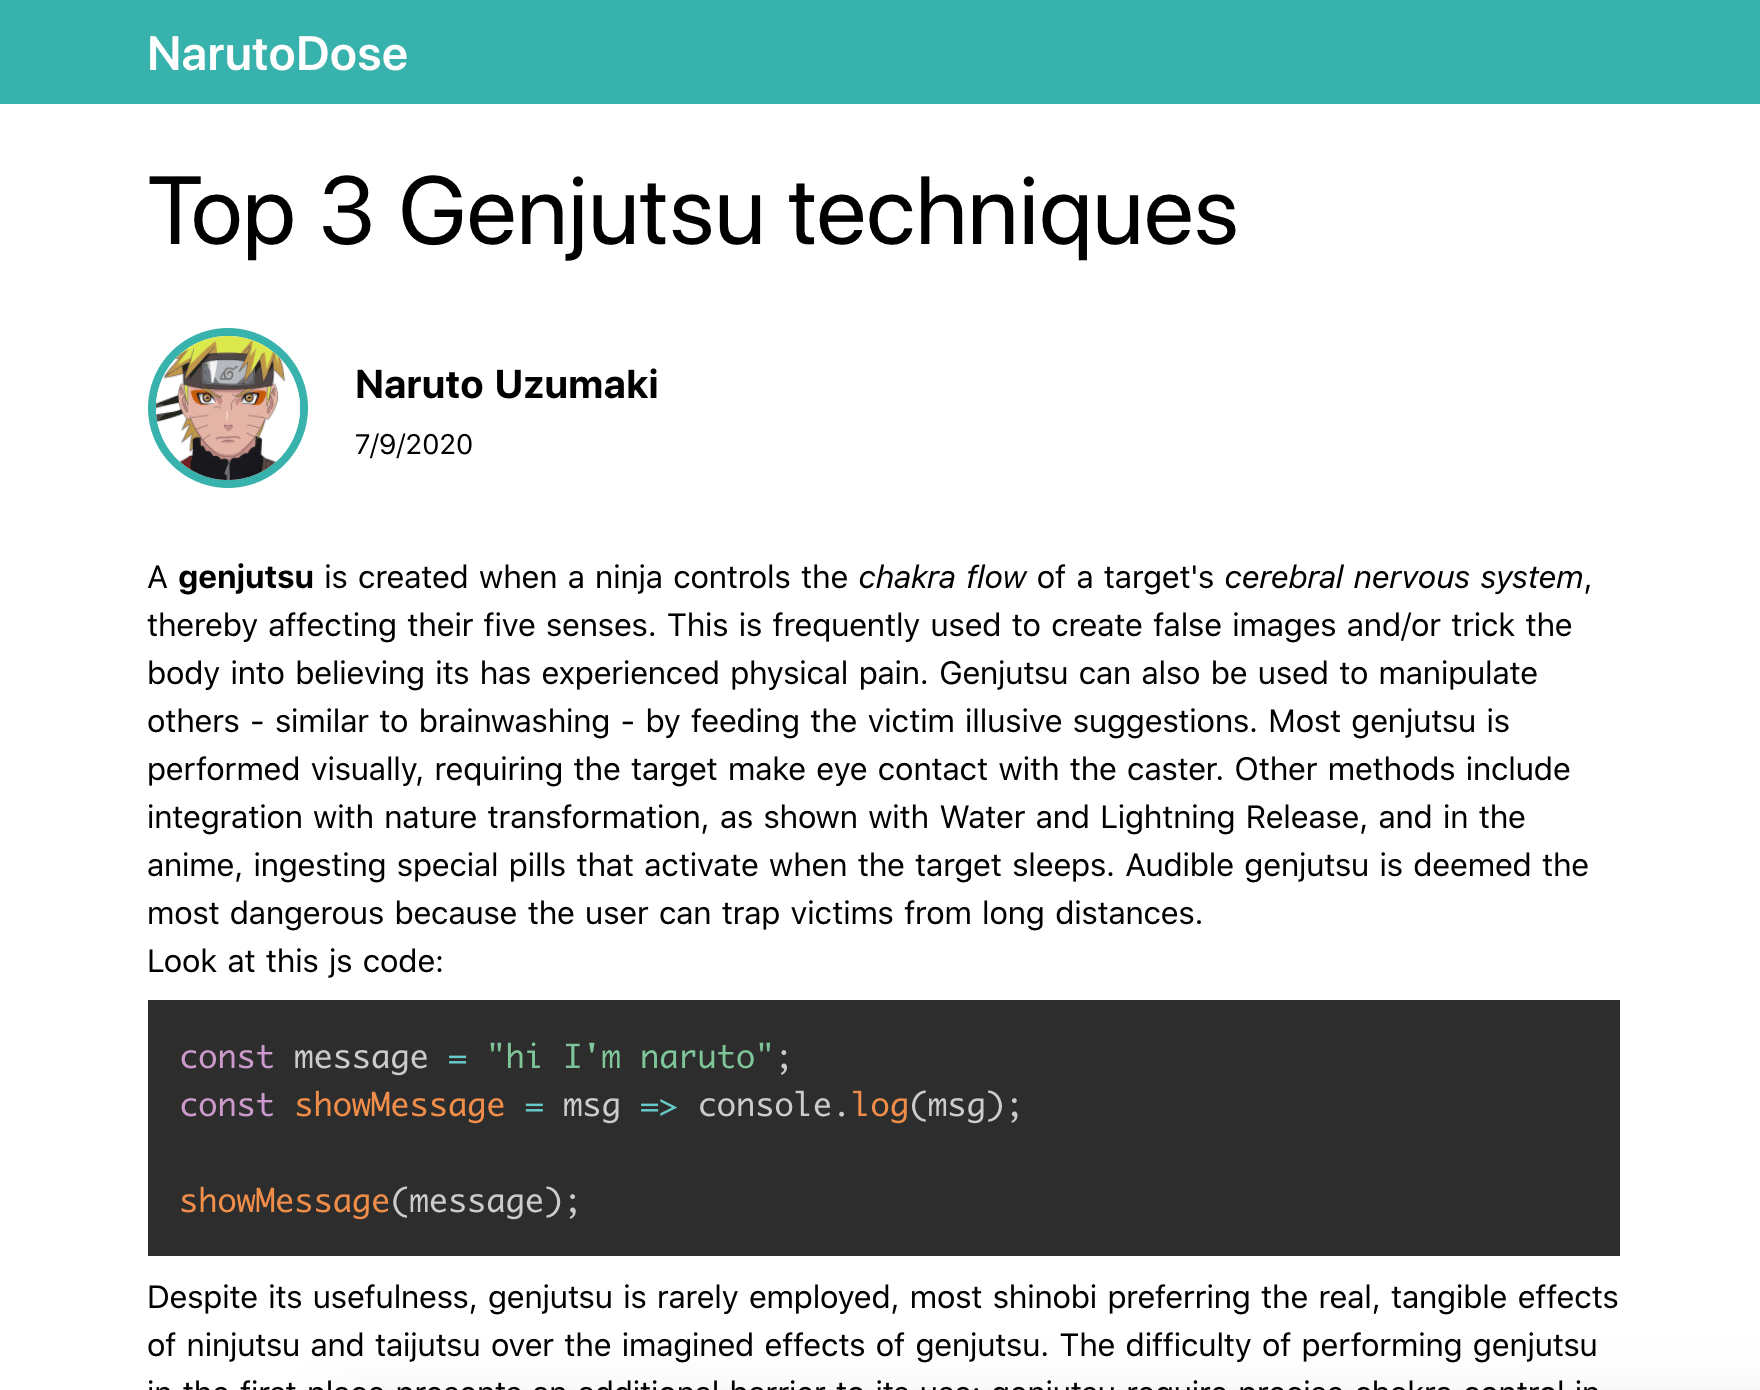
</template>At this point, if you navigate to the article detail it should look like this:
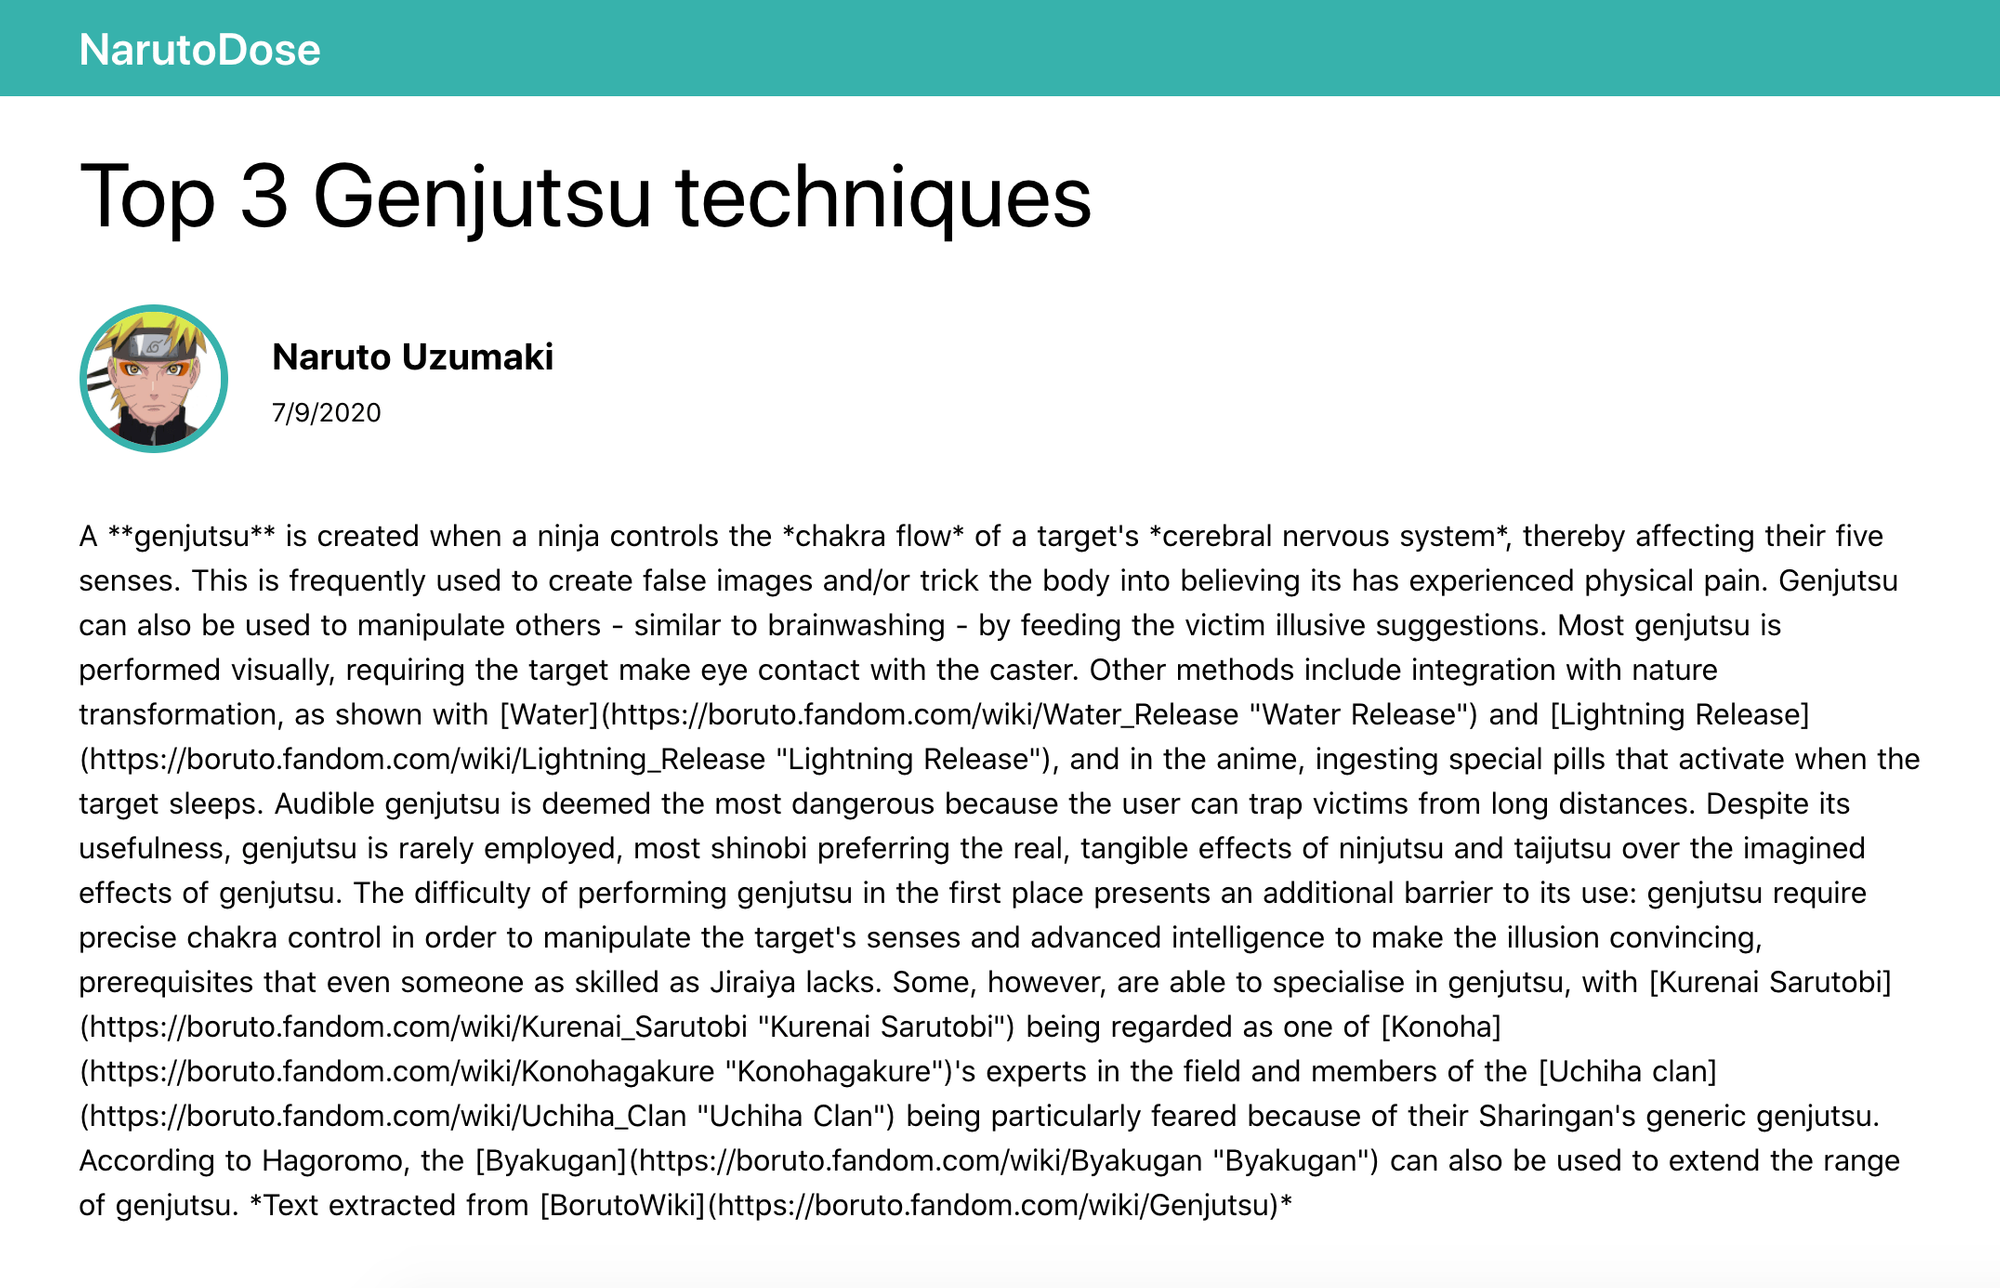
So far it's working, but notice a couple of things:
- Markdown is not parsed
- It has no styling
Parsing Markdown
We'll use @nuxtjs/markdownit to easily parse markdown contents.
First, install it:
npm install @nuxtjs/markdownitThen add it to the modules on your nuxt.config.js with the following config:
modules: [
  // ...
  ['@nuxtjs/markdownit', { html: true, injected: true }],
],
Now you have $md.render available to use in our components. All you need to do is to use it with the v-html directive in the _slug.vue page:
<div v-html="$md.render(article.content.content)" class="mt-8"></div> And... here we go!
Extra: Syntax Highlighting for Code Blocks
For syntax highlighting I like to use markdown-it-prism. It's simple and does the job perfectly.
Let's install it by running:
npm install markdown-it-prismThen, open nuxt.config.js and add it to the use property of the markdownit options, like this:
[
  '@nuxtjs/markdownit',
  { html: true, injected: true, use: ['markdown-it-prism'] },
],
Finally, include the stylesheet of the theme of your preference. I like tomorrow dark, and prefer to load it from a CDN, so just add this to the link property on your nuxt.config.js file:
link: [
{ rel: 'icon', type: 'image/x-icon', href: '/favicon.ico' },
{
rel: 'stylesheet',
href:
'https://cdn.jsdelivr.net/npm/prismjs@1.20.0/themes/prism-tomorrow.css',
},
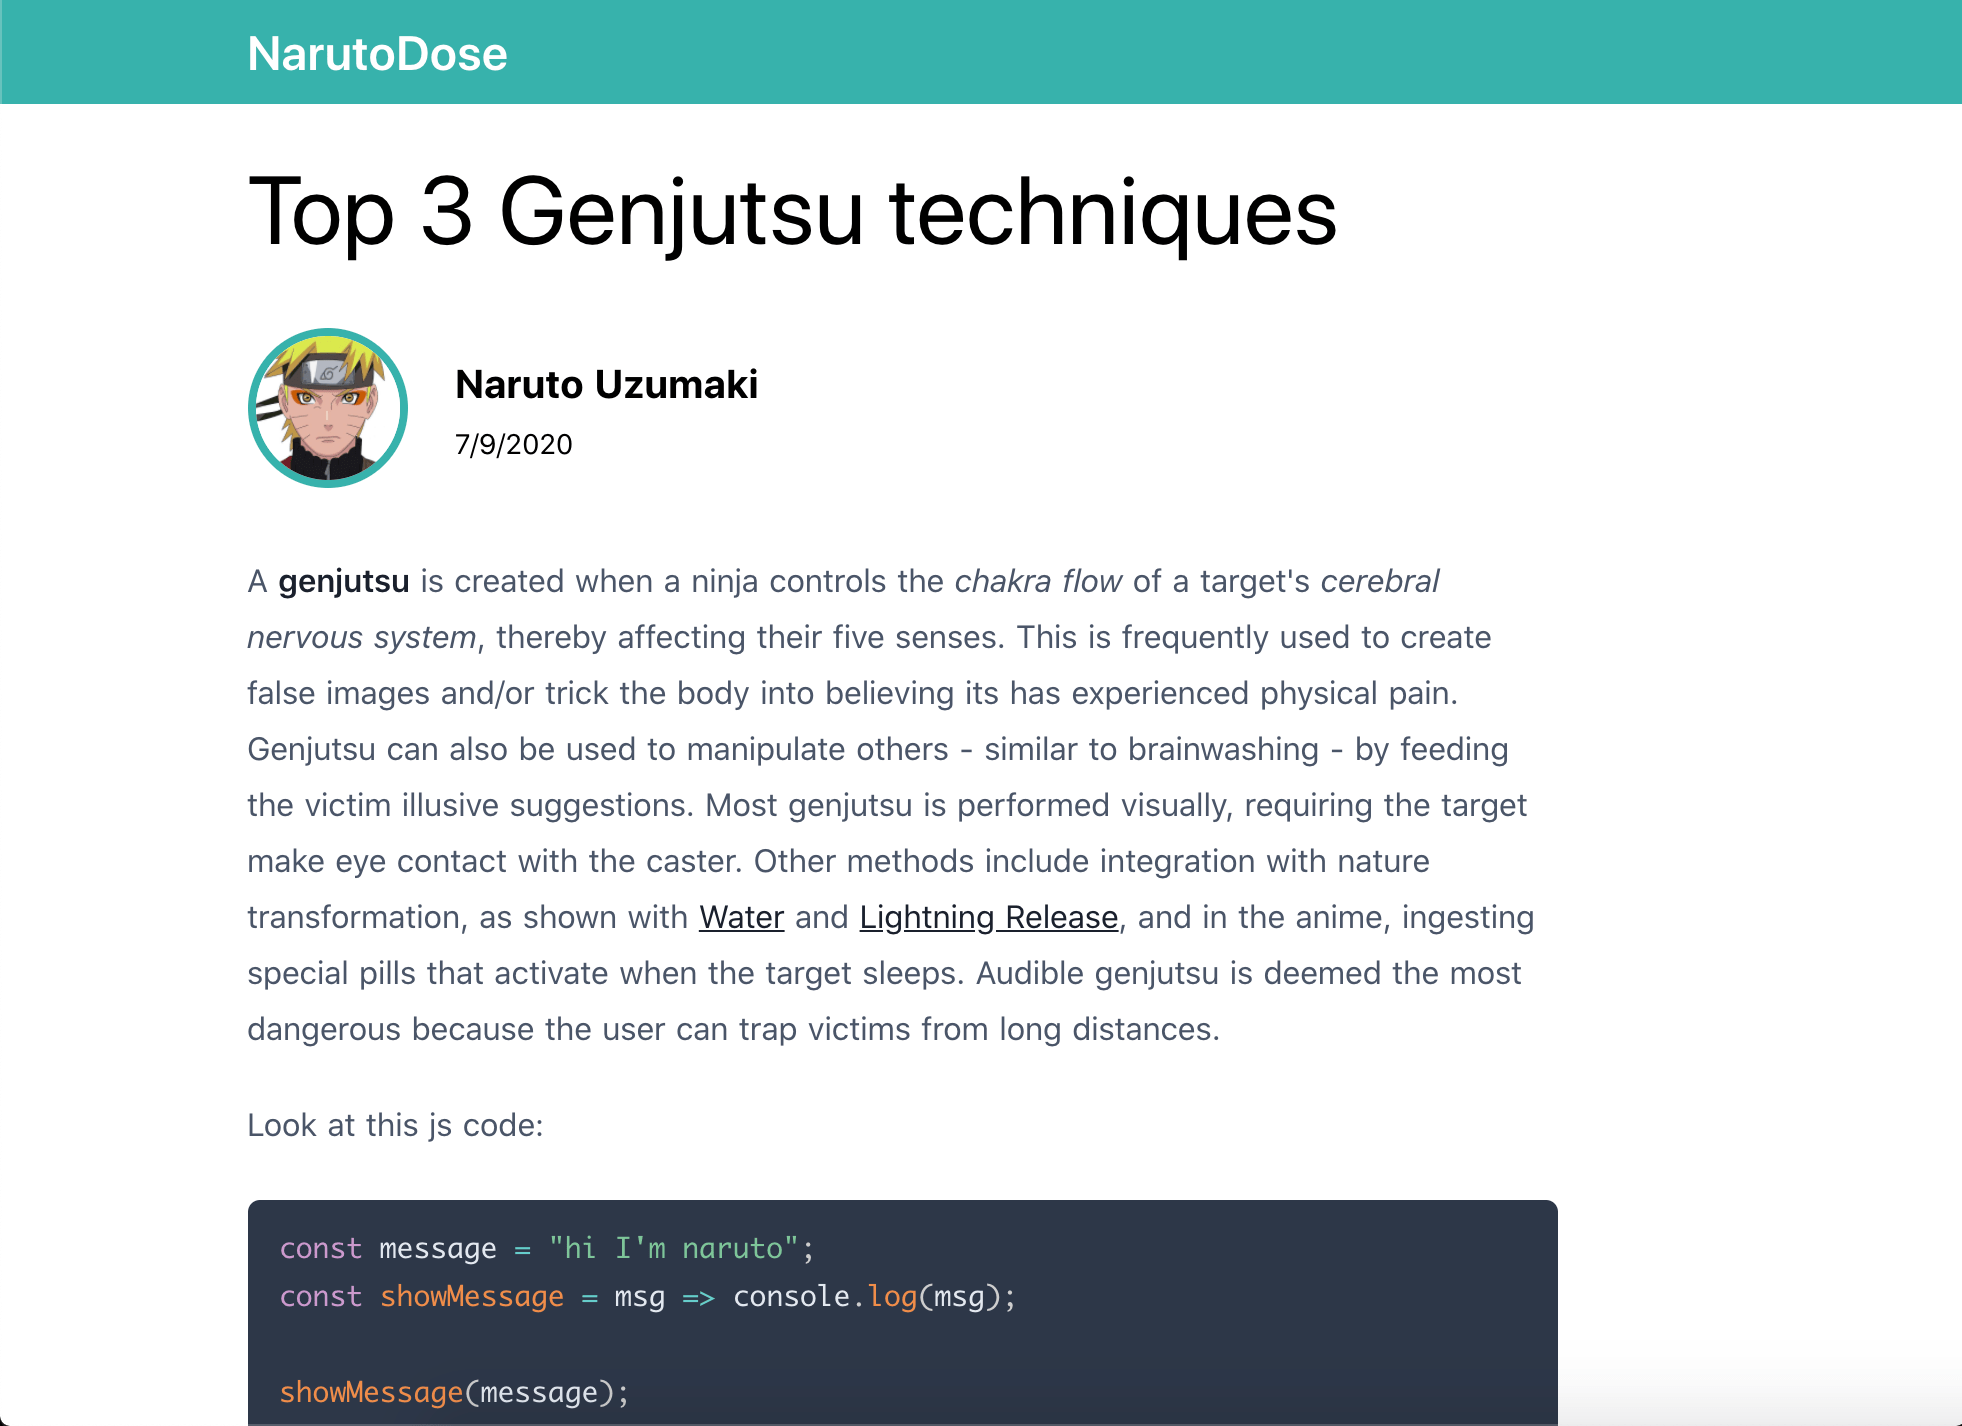
],If you don't have any code block in your article on Storyblok, add it (remember to specify the language). Then it should look like this:
Styling HTML
When you use v-html and have no control over what's inside, you need a way to style the inner content.
In this case, you're inserting the HTML rendered from the markdown. There is something made especially for these content-based HTML cases:
The awesome TailwindCSS Typography plugin! You just need to install it:
npm install @tailwindcss/typographyThen add the plugin to the tailwind.config.js plugins key:
plugins: [require('@tailwindcss/typography')]Finally, add the class prose to the div containing the parsed markdown in _slug.vue:
<div
  v-html="$md.render(article.content.content)"
  class="prose mt-8"
></div>
This is how it'll look:
Doesn't it look beautiful? Trust me, the TailwindCSS Typography plugin is very well thought out for optimized reading. If you want to customize anything, check the docs.
Recap
Congrats for reading up to this point! This guide wasn't short and you implemented several features, specifically:
- Installed and configured the Storyblok API client using environment variables
- Fetched all of the articles for the
/articlespage - Created the
/articles/:slugpage and retrieved the data from Storyblok - Parsed markdowns, including code syntax highlight, using MarkdownIt and Prism
- Styled raw HTML using the TailwindCSS Typography plugin
With the features you've implemented so far, you know the basics to build any blog right now.
But... what about categorization? And SEO? And a search box to find articles?
Everything will come soon!
Got into trouble? You can go to the Github repo and see the code of this lesson. Feel free to play with it!
In the next article, you will read about how to set up Tags and Search Functionality in Nuxt Using Storyblok API.
