Render Storyblok Stories Dynamically in Laravel
Storyblok is the first headless CMS that works for developers & marketers alike.
Having successfully integrated Storyblok into our Laravel app in the "Add a headless CMS to Laravel in 5 minutes" tutorial, let's now take it one step further and add dynamically rendered pages as well as a page layout.
If you’re in a hurry, have a look at our source code on our GitHub repository!
Requirements
This tutorial is part 2 of the Ultimate Tutorial Series for Laravel. We recommend that you follow the previous tutorial "Add a headless CMS to Laravel in 5 minutes" before starting this one.
The goal
This article aims to allow you to understand how to create multiple pages (the about page and the blog page), and add a header with a menu that allows you to browse the pages.
Creating the Header component
We will create a Laravel blade component for the header that renders the menu. The menu contains the links to the pages.
The suggestion is to group the common components in a directory for example the common/ directory in resources/views/components/. The common components for this example are: layout component, header component and the menu item component.
The component is located in resources/views/components/common directory. The file is header.blade.php:
<header class="w-full h-24 bg-[#f7f6fd]">
<div class="container h-full mx-auto flex items-center justify-between">
<a href="{{url('/')}}" <h1 class="text-[#50b0ae] text-3xl font-bold">Storyblok ❤ Laravel</h1>
</a>
<nav>
<ul class="flex space-x-8 text-lg font-bold">
<li>
<x-common.menu_item link="/blog" label="Blog" />
</li>
<li>
<x-common.menu_item link="/about" label="About" />
</li>
</ul>
</nav>
</div>
</header>Inside the header.blade.php component, we are using another nested small component for rendering the menu items. This is a convenient way, especially if you want to reuse the menu item on other pages or other components.
The menu item component
In the resources/views/components/common create a new file new_item.blade.php:
@props([
'link' => "text",
'label' => "text"
])
<a href="{{url($link)}}" class="
    {{ (request()->is(preg_replace('/^\//', '', $link))) ? 'router-link-active' : '' }}
    hover:text-[#50b0ae]">{{ $label }}</a>
The file contains the logic also for highlighting the current URL. The current URL is detected thanks to the request()->is() helper provided by Laravel.
For controlling the aspect of the active menu item you should add in the resources/css/app.css file the styles:
nav a.router-link-active {
    @apply underline underline-offset-4 decoration-4 decoration-[#50b0ae];
}
Then, build your CSS files with the command: npm run build.
Now, we have the header and the menu item, so we can create the layout file.
Creating a Layout
The layout component should include the header component.
In the resources/views/components/common create a new file layout.blade.php:
<!DOCTYPE html>
<html lang="{{ str_replace('_', '-', app()->getLocale()) }}">
<head>
<meta charset="utf-8">
<meta name="viewport" content="width=device-width, initial-scale=1">
<title>{{ $name }}</title>
@vite('resources/css/app.css')
</head>
<body class="antialiased">
<x-common.header></x-common.header>
{{ $slot }}
<script type="text/javascript" src="//app.storyblok.com/f/storyblok-v2-latest.js"></script>
<script type="text/javascript">
const storyblokInstance = new StoryblokBridge()
storyblokInstance.on('change', () => {
window.location.reload(true);
})
</script>
</body>
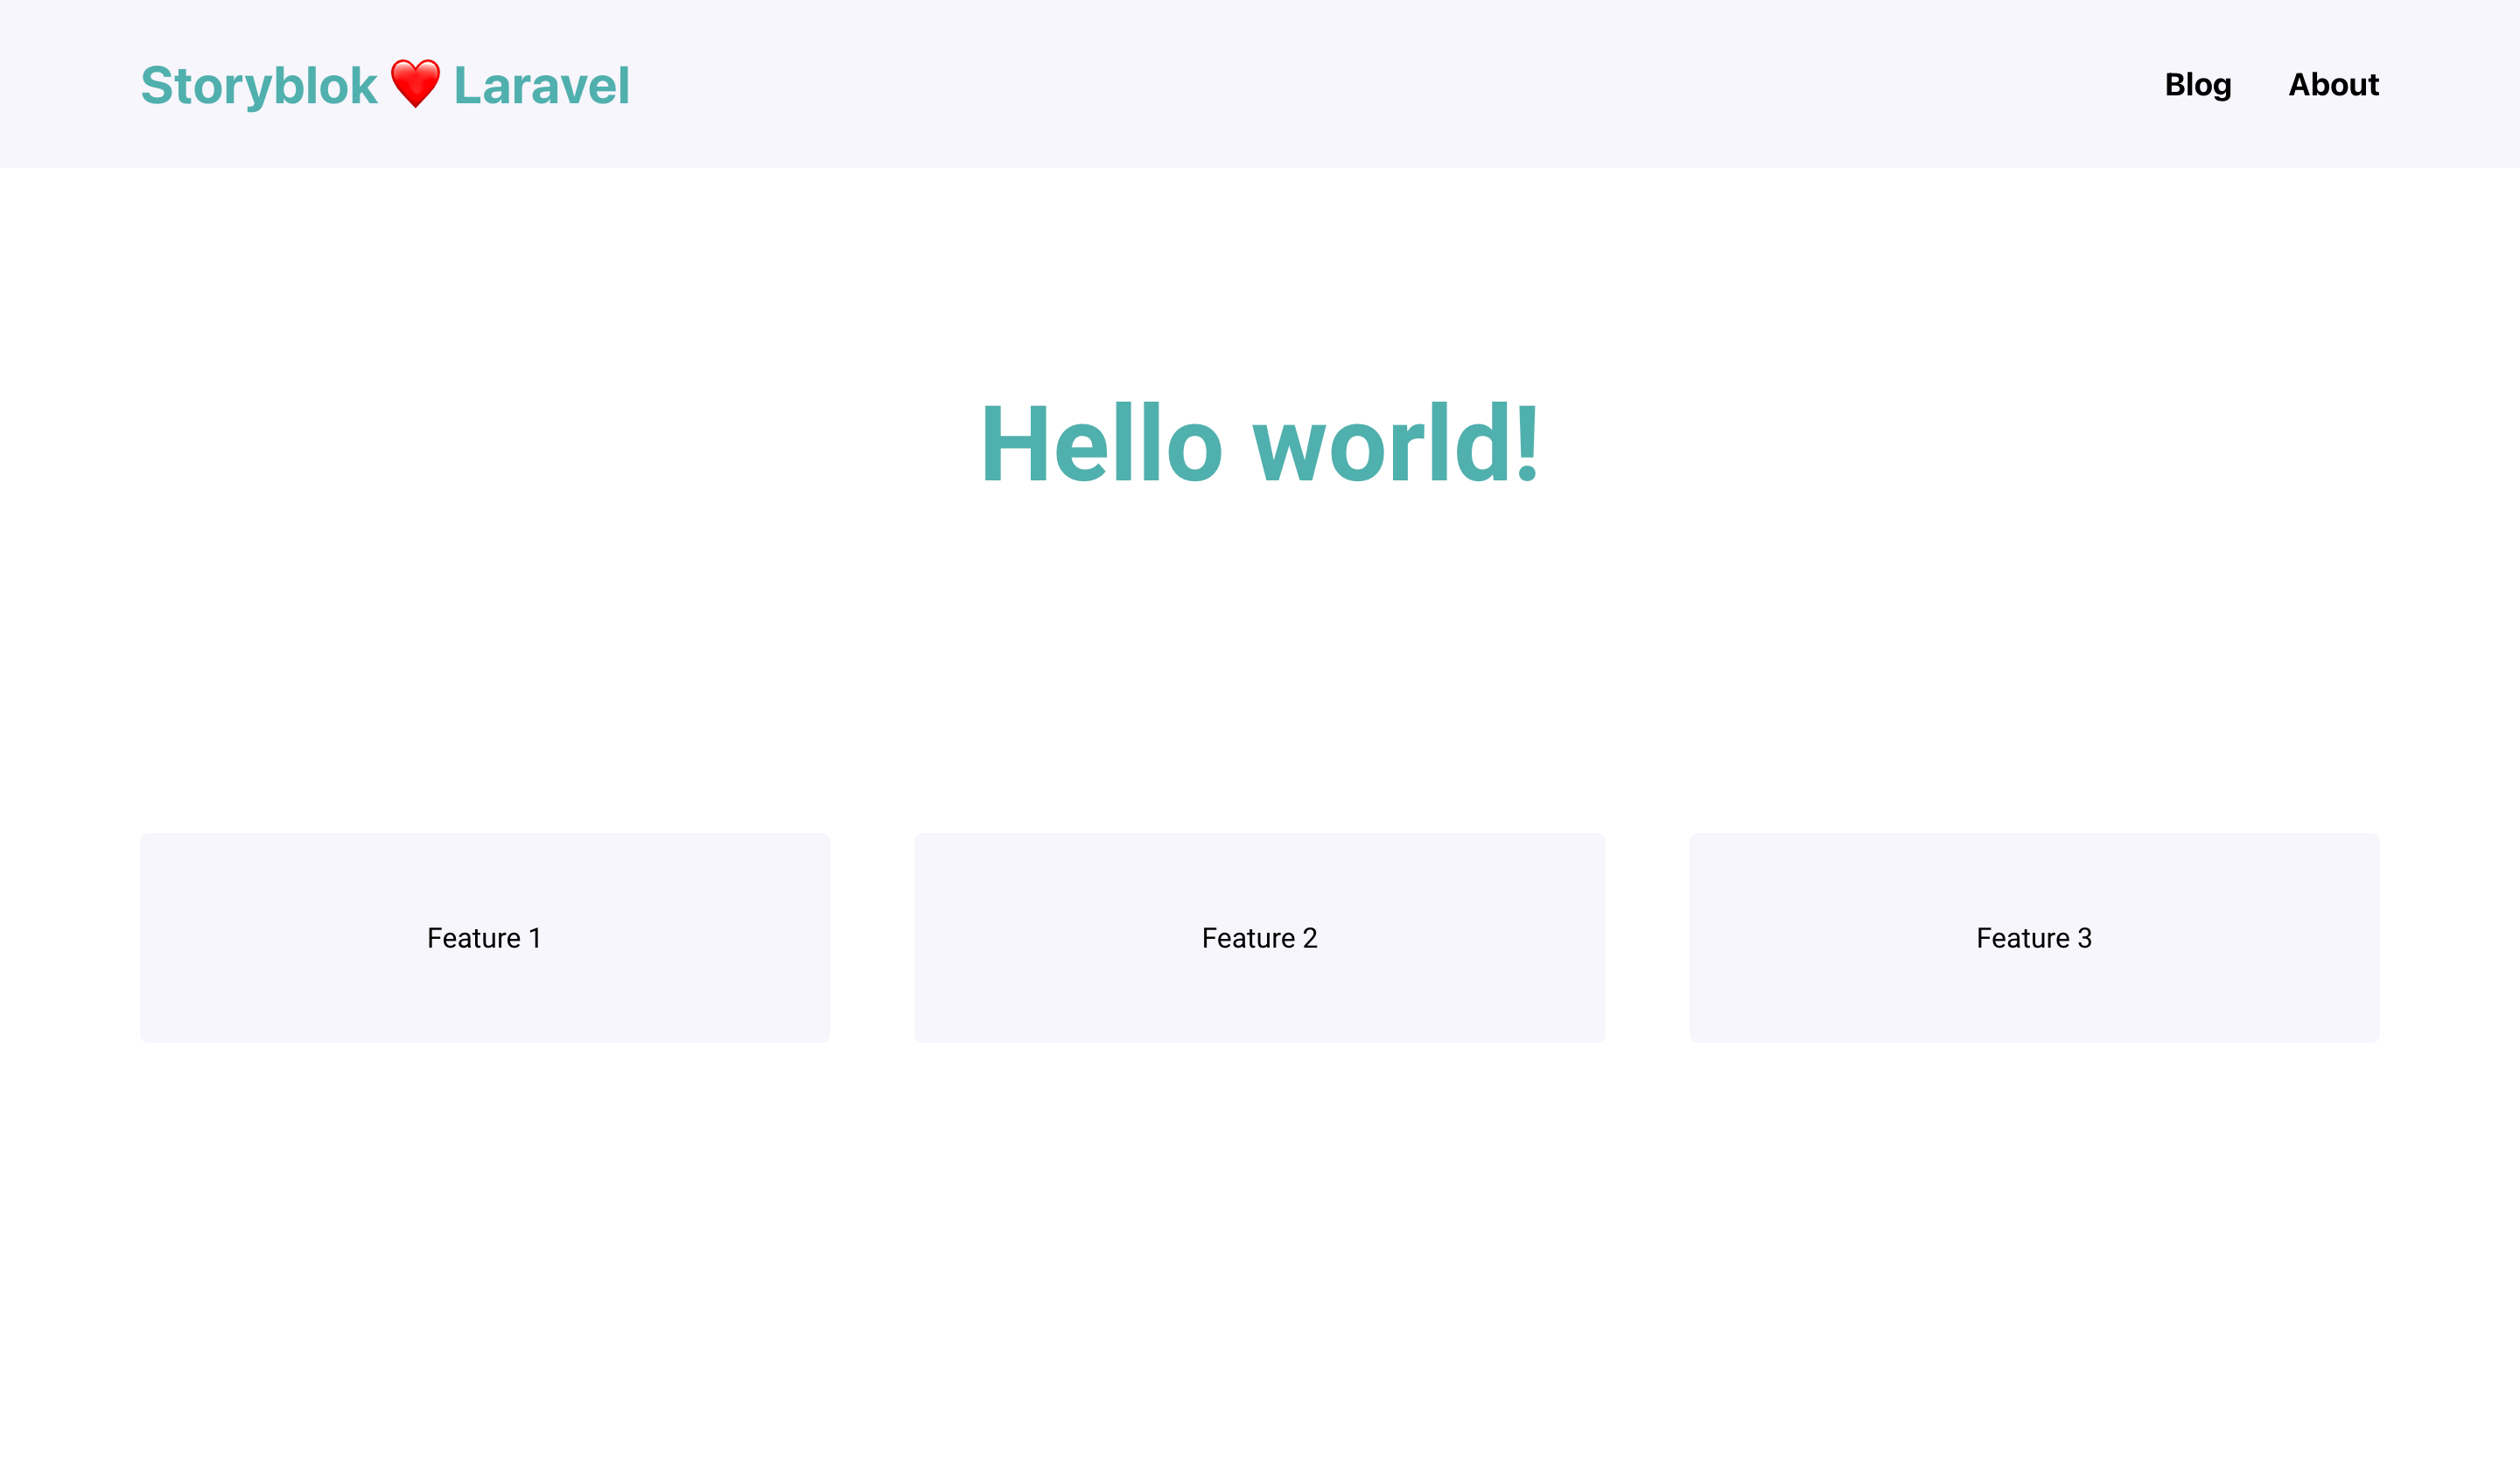
</html>And that’s it! If you take a look at your project running on https://localhost:8010 now, you’ll see your header component.
If you would like to understand how to run the local development web server, please read the previous tutorial
Rendering Pages dynamically
To allow Laravel to load the pages dynamically based on the path of the URL, we have to:
- create a catchall route
- read the slug as parameter
- using the slug for retrieving the right Story through the Storyblok Content Devlivery API (using the PHP SDK client).
In the routes/web.php file:
<?php

use Illuminate\Support\Facades\Route;

// Catch all route
Route::get('/{slug?}', function ($slug = 'home') {
    // Load the Token from the Configuration
    $storyblok = new \Storyblok\Client(config('storyblok.api_key'));
    // Enable the edit mode to load preview content
    $storyblok->editMode();
    try {
        // retrieve the Story by the slug as parameter
        $response = $storyblok->getStoryBySlug($slug);
        // accessing the body of the response
        $data = $response->getBody();
    } catch (\Storyblok\ApiException $e) {
        // manage the unauthorized error from API
        if ($e->getCode() === 401) {
            abort(401, 'Unauthorized API call. Make sure that you Token is valid');
        }
        // if there is error from API, raising 404 page
        abort(404, $e->getMessage());
    } catch (Exception $e) {
        // any other generic exception raises 500 page
        abort(500, $e->getMessage());
    }
    // load the blade page
    return view('index', ['story' => (object) $data['story']]);
});
Let's explore the code together. We are taking care of the following things:
- implementing a catchall route with
Route::get('/{slug?}'), all requests are managed by this route and the path from the URL is sent to the function that manages the route with the$slugparameter. - instantiating the Storyblok Client PHP class with the token retrieved by the configuration;
- loading the draft stories with the
editMode()method; - retrieving the story with the
$slugparameter, using thegetStoryBySlug()method from the PHP SDK client; - retrieving the JSON response in a PHP array with the
getBody()method - managing errors from API call like unauthorized request (wrong token), the story is not found (slug not valid), and also other unexpected exception
- loading the blade view sending the story as an object.
Adding pages in Storyblok
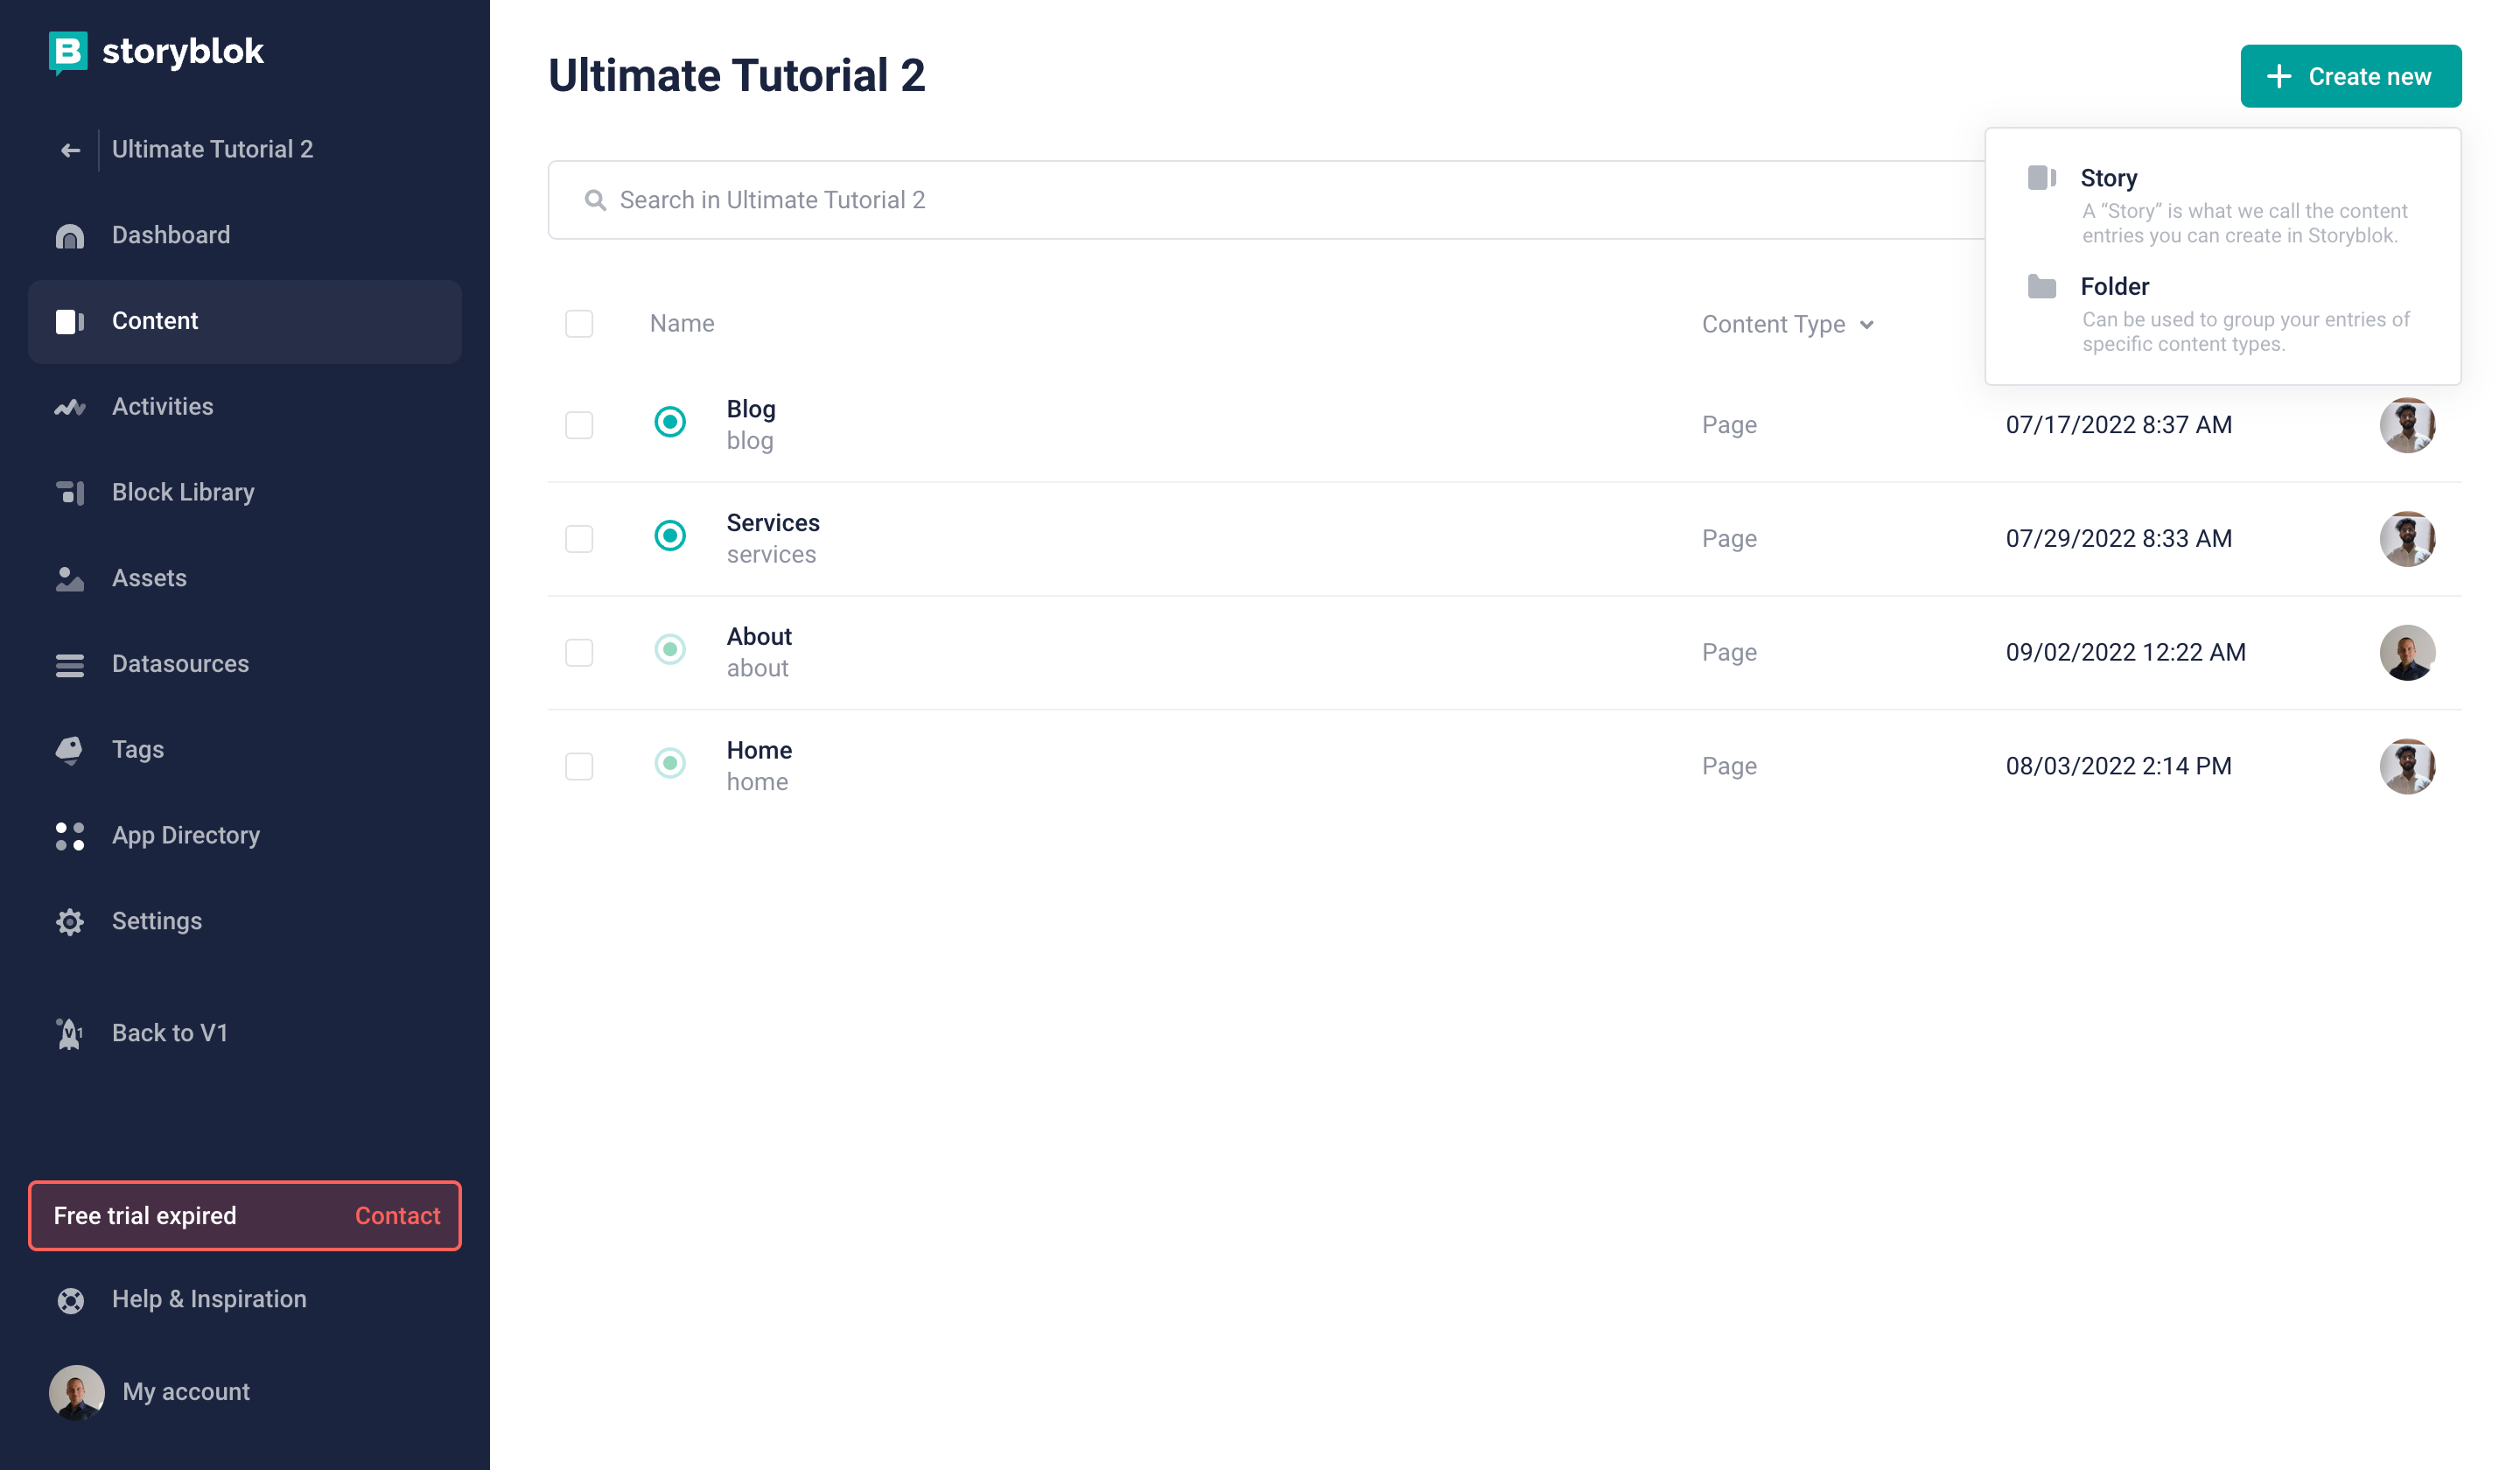
With our logic being complete, we can now add our Blog and About pages in our Storyblok space! To do that, simply go to Content {1}, Create New {2} and then choose Story {3}.
Now you can provide a name {1} – the slug {2} will be filled out automatically for you. Let’s create the About page, by clicking on Create button {3}.

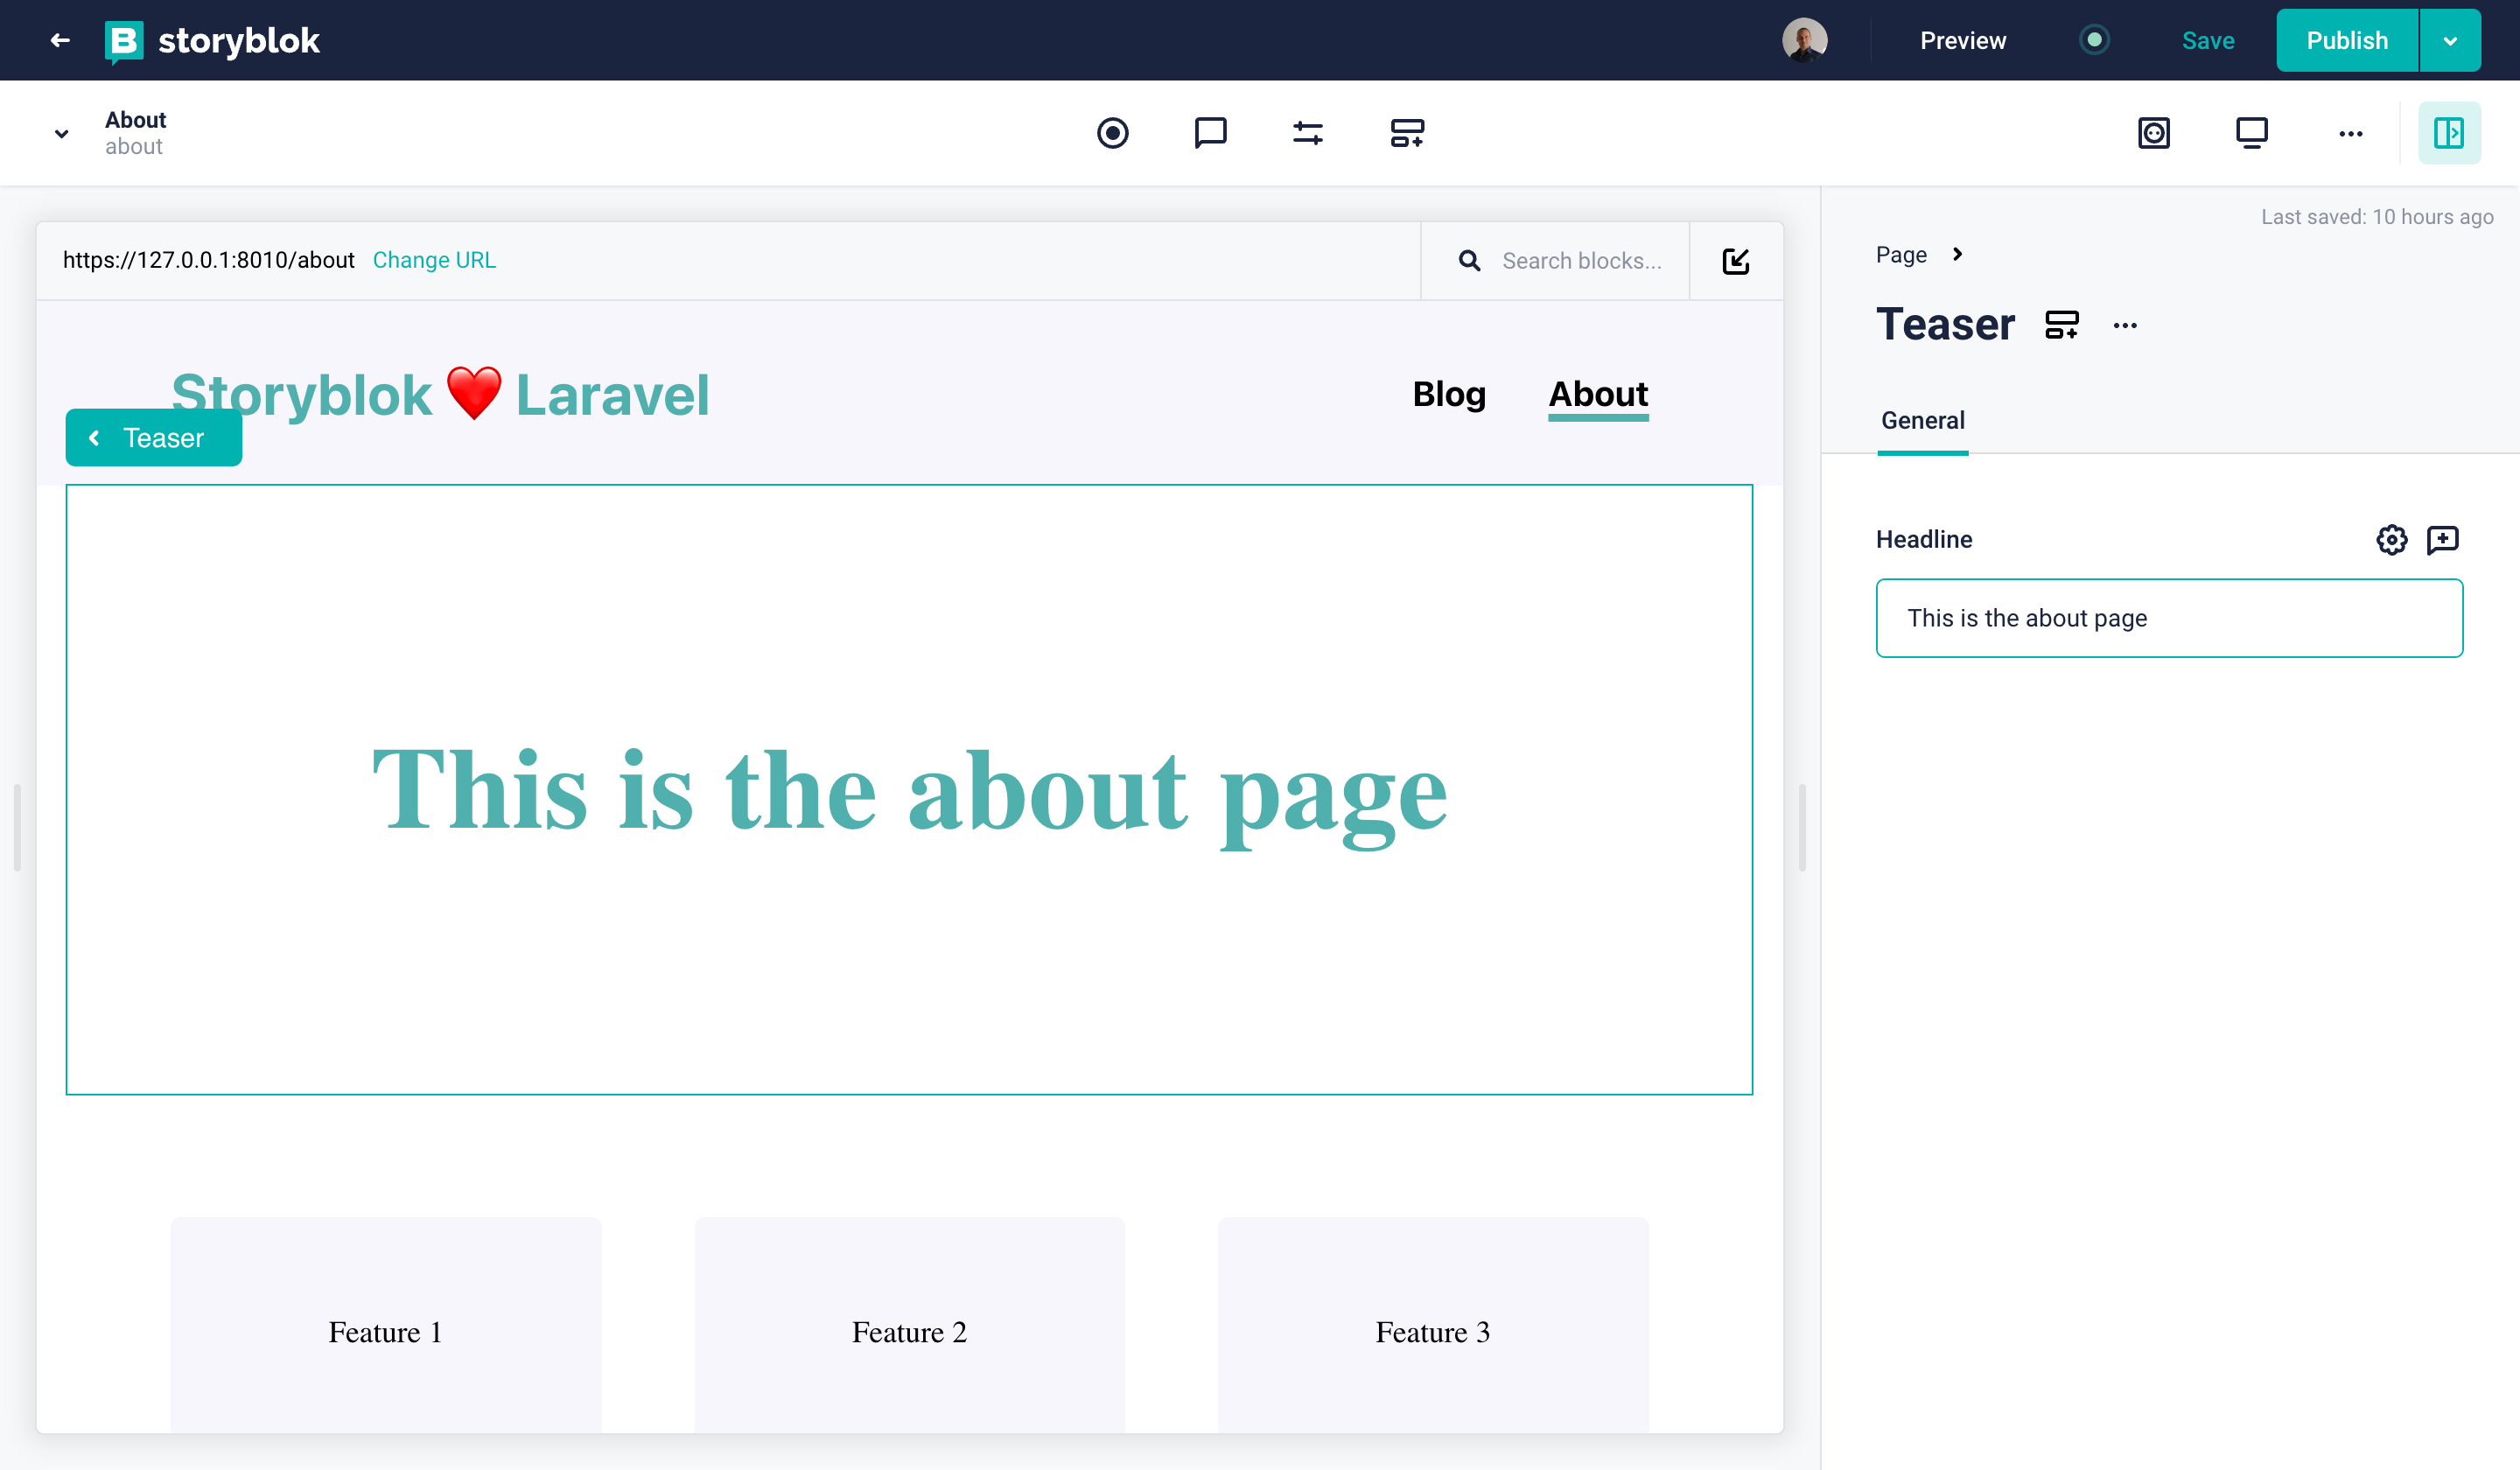
Once the page is created, you can add nestable bloks to it. Simply click on the Plus Icon {1} and add a Teaser component {2}.

Now you can enter any headline you want for your newly created About page:
Try to repeat the same process on your own for the Blog page.
Wrapping Up
Congratulations! You have created your first pages the Home Page, the Blog main page, and the about page in Storyblok, and they are rendered in your Laravel web app dynamically – how cool is that!?
| Resource | Link |
|---|---|
| Add a headless CMS to Laravel in 5 minutes | https://www.storyblok.com/tp/add-a-headless-cms-to-laravel-in-5-minutes |
| Storyblok PHP SDK Client | https://github.com/storyblok/php-client |
| Storyblok APIs | https://www.storyblok.com/docs/api/content-delivery/v2 |
| Laravel | https://laravel.com/ |
