Add a headless CMS to ASP.NET in 5 minutes
Storyblok is the first headless CMS that works for developers & marketers alike.
In this tutorial we will see how to integrate the Storyblok API with an ASP.NET Core MVC application and enable a preview of the content in the real-time Visual Editor (opens in a new window). We will use Adliance.Storyblok (opens in a new window), a C# client for the Storyblok API, to manage our data.
You can take a look at the code of this tutorial in our asp-net-boilerplate repo (opens in a new window).
Environment Setup
Requirements
In order to follow this tutorial, you should have:
- Basic knowledge of ASP.NET Core MVC (opens in a new window).
- .NET Core SDK (opens in a new window) installed. For this tutorial, we used .NET 5.0.
- Visual Studio Code (opens in a new window), Visual Studio (opens in a new window), or any other IDE that supports ASP.NET.
- A Storyblok (opens in a new window) account to manage the content.
Create a New Project
To create a new ASP.NET Core MVC project, let's go to a Terminal and run the following command:
dotnet new mvc -o AspNetStoryblokThen go to the just created directory:
cd AspNetStoryblokAnd open the project with our preferred IDE.
Install Storyblok SDK
As mentioned before, we will use Adliance.Storyblok (opens in a new window), a C# SDK for Storyblok that will make our things easier when connecting to our Storyblok space and managing our data. It provides a client that connects to the Storyblok API and allows us to work with strongly typed stories and components. It also provides a middleware to directly render stories and components into views, based on the slug that we define for them.
To add the package to our project, let's execute the following command in our Terminal, inside the project directory:
dotnet add package Adliance.StoryblokExecute the Application
To run the application locally we may need to trust the HTTPS development certificate. To do this, we should execute the following command:
dotnet dev-certs https --trustAfter that, we can execute the application by pressing Ctrl+F5 inside our IDE. We can see the example site navigating to https://localhost:5001/ (opens in a new window) in our web browser.
Connect to Storyblok
Create Storyblok Space
For this tutorial we will create a simple Storyblok space. The idea is to show how the integration works with our ASP.NET application, and how we can take advantage of the existing Storyblok ASP.NET SDK.
If you want to learn more about Spaces and what they are, you can read the docs.
Let's go and login in to the Storyblok site, and create a new space (opens in a new window). For our example application we will use only one story (the autogenerated "Home" story, of type Page), with two blocks: One block is a Teaser type and another block is a Feature type.
Create a new space in Storyblok
After having the story ready, go to the Settings menu for our space in the menu on the left. Once there we should do two things:
On the General tab, set https://localhost:5001/ (opens in a new window) for the Location (default environment).
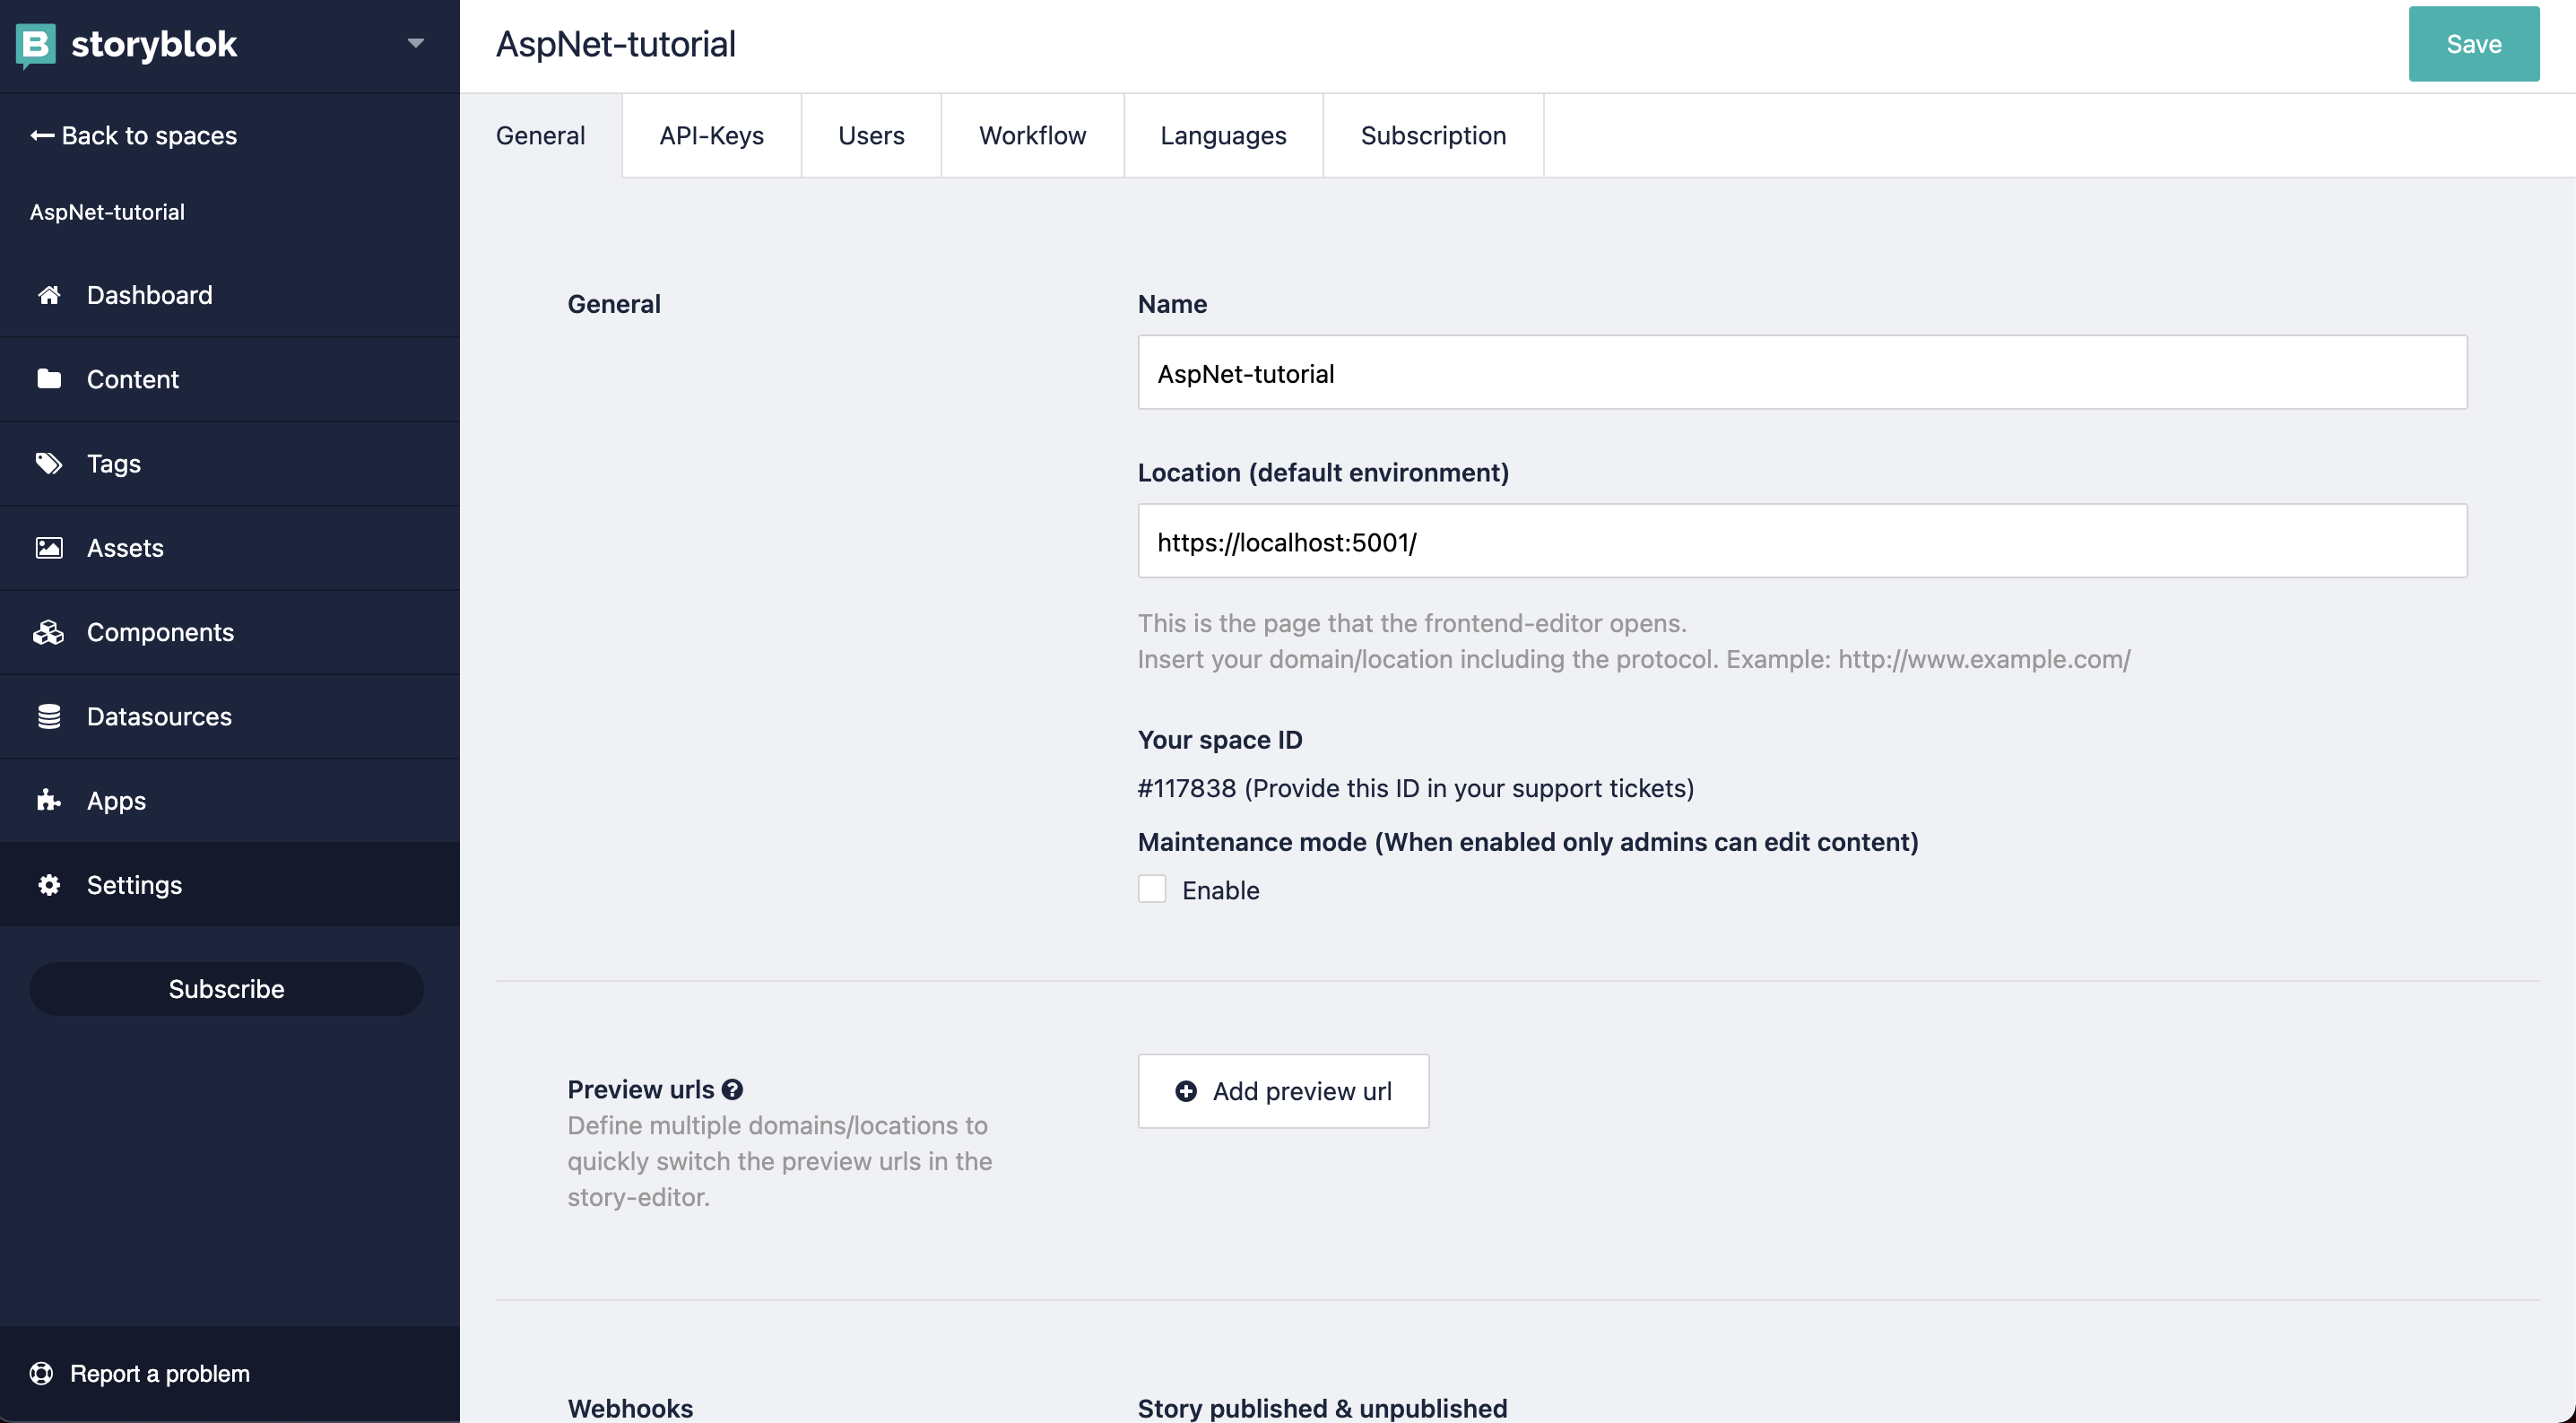
Set Location
On the API-Keys tab, generate a Public token. Copy it as well as the Preview token, since we will use them in our application.
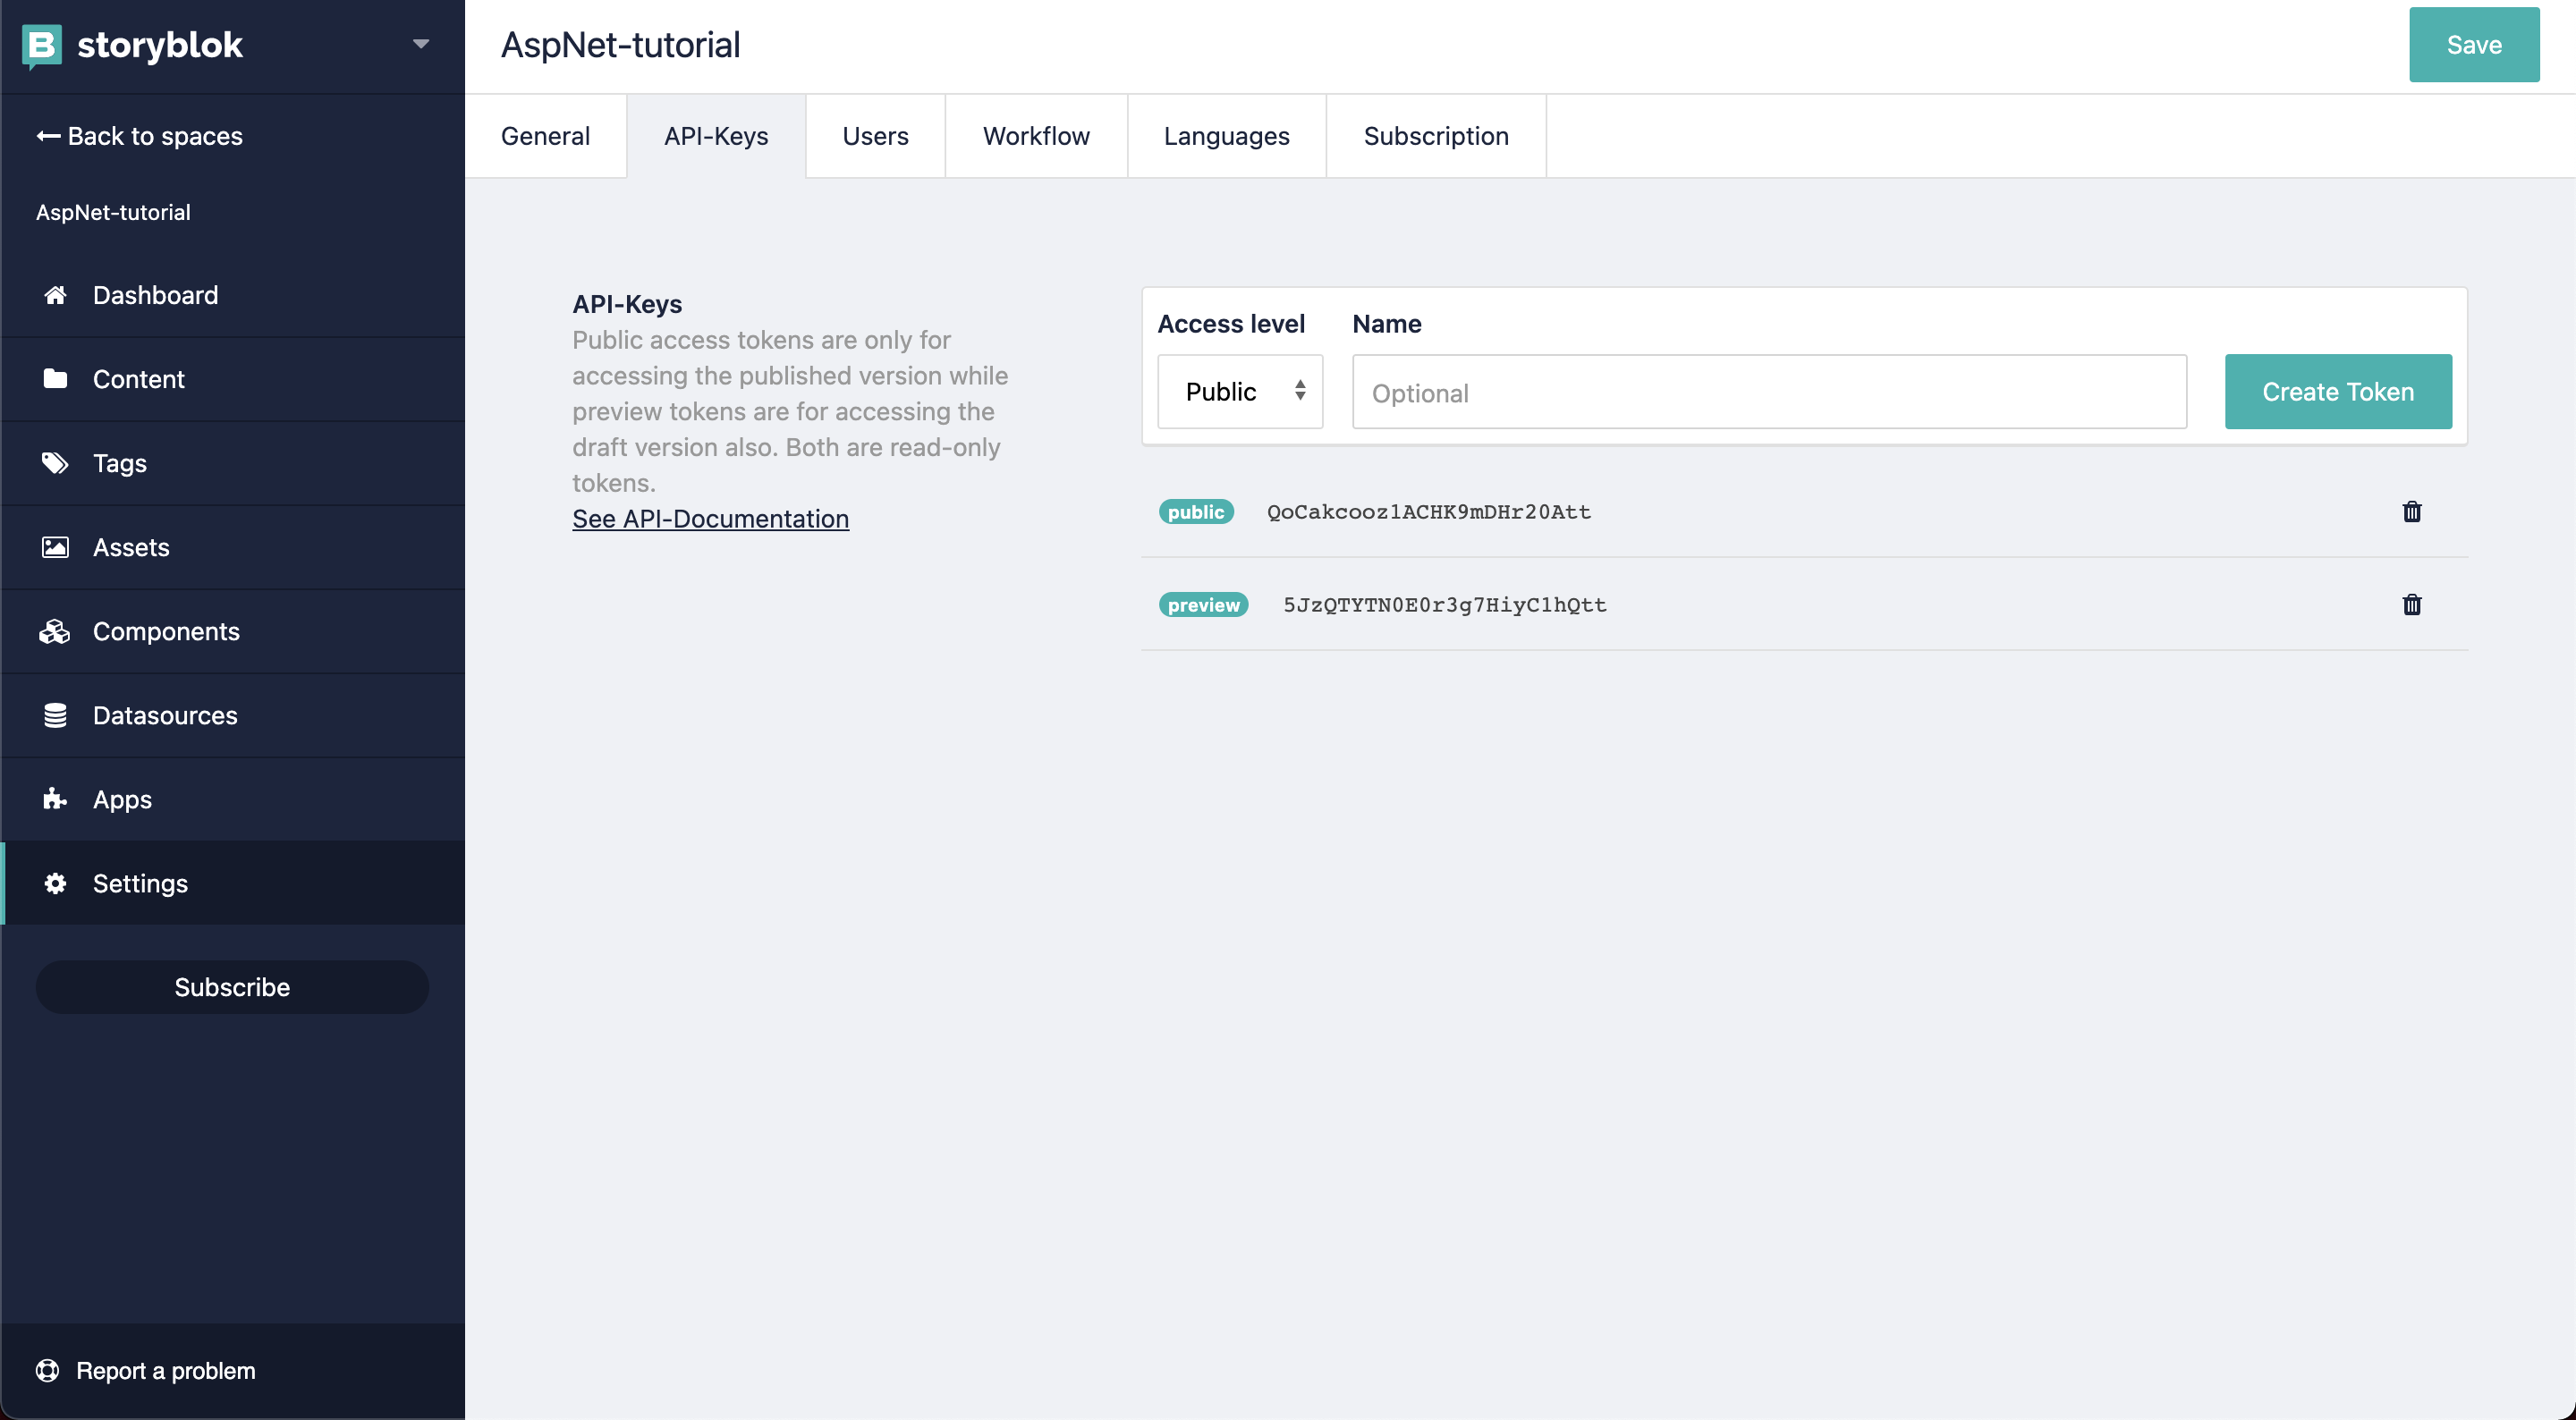
Configure Tokens
Configure Connection Parameters in the App
In the appsettings.json file, let's add a new Storyblok section. We will use this section in the Startup class.
{
  "Logging": {
    "LogLevel": {
      "Default": "Information",
      "Microsoft": "Warning",
      "Microsoft.Hosting.Lifetime": "Information"
    }
  },
  "Storyblok": {
    "ApiKeyPublic": "[PublicAPI]",
    "ApiKeyPreview": "[PreviewAPI]"
  },
  "AllowedHosts": "*"
}
Configure Middleware
Now go to the Startup.cs file. Inside the ConfigureServices method, let's add this piece of code:
// We pass the "Storyblok" section created in appsettings.json file as parameter
services.AddStoryblok(Configuration.GetSection("Storyblok"), options =>
{
  // Define the Home page slug as the default
  options.HandleRootWithSlug = "home";
  // We can set all the cultures that our app will support
  options.SupportedCultures = new[] { "en" };
});
And inside the Configure method, let's add:
app.UseStoryblok();These changes in the Startup class are configuring the Storyblok middleware. With this, our app can connect to our space and automatically render the stories and components based on their slugs, using some views that we will create later in our application.
Create Components
Create Page Component and View
As stated earlier, the stories and blocks from our application will be automatically rendered by the Storyblok middleware. To accomplish this, we need to create components in our ASP.NET application for each one of the Storyblok components that we will support. We need to define a class/model and a view for each element. In our case, we need to create components for Page, Teaser and Feature.
First, create the Page component class and view it. Let's create a "Components" folder at the root level of our project, and then a Page.cs file inside of it.
using System.Text.Json.Serialization;
using Adliance.Storyblok;
using Adliance.Storyblok.Attributes;

namespace AspNetStoryblok.Components
{
    [StoryblokComponent("page", "Page")]
    public class Page : StoryblokComponent
    {
        [JsonPropertyName("body")]
        public StoryblokComponent[] Body { get; set; }
    }
}
Our Page class inherits from StoryblokComponent, provided by the SDK. This class contains methods that bind the information returned by the Storyblok API, setting the correct values to each one of the properties of our class.
We also need to add the StoryblokComponent attribute, defining what the component type coming from the Storyblok API will be, which in this case, is "page". The second parameter of the attribute is the name of the view associated with this component. We will create it later.
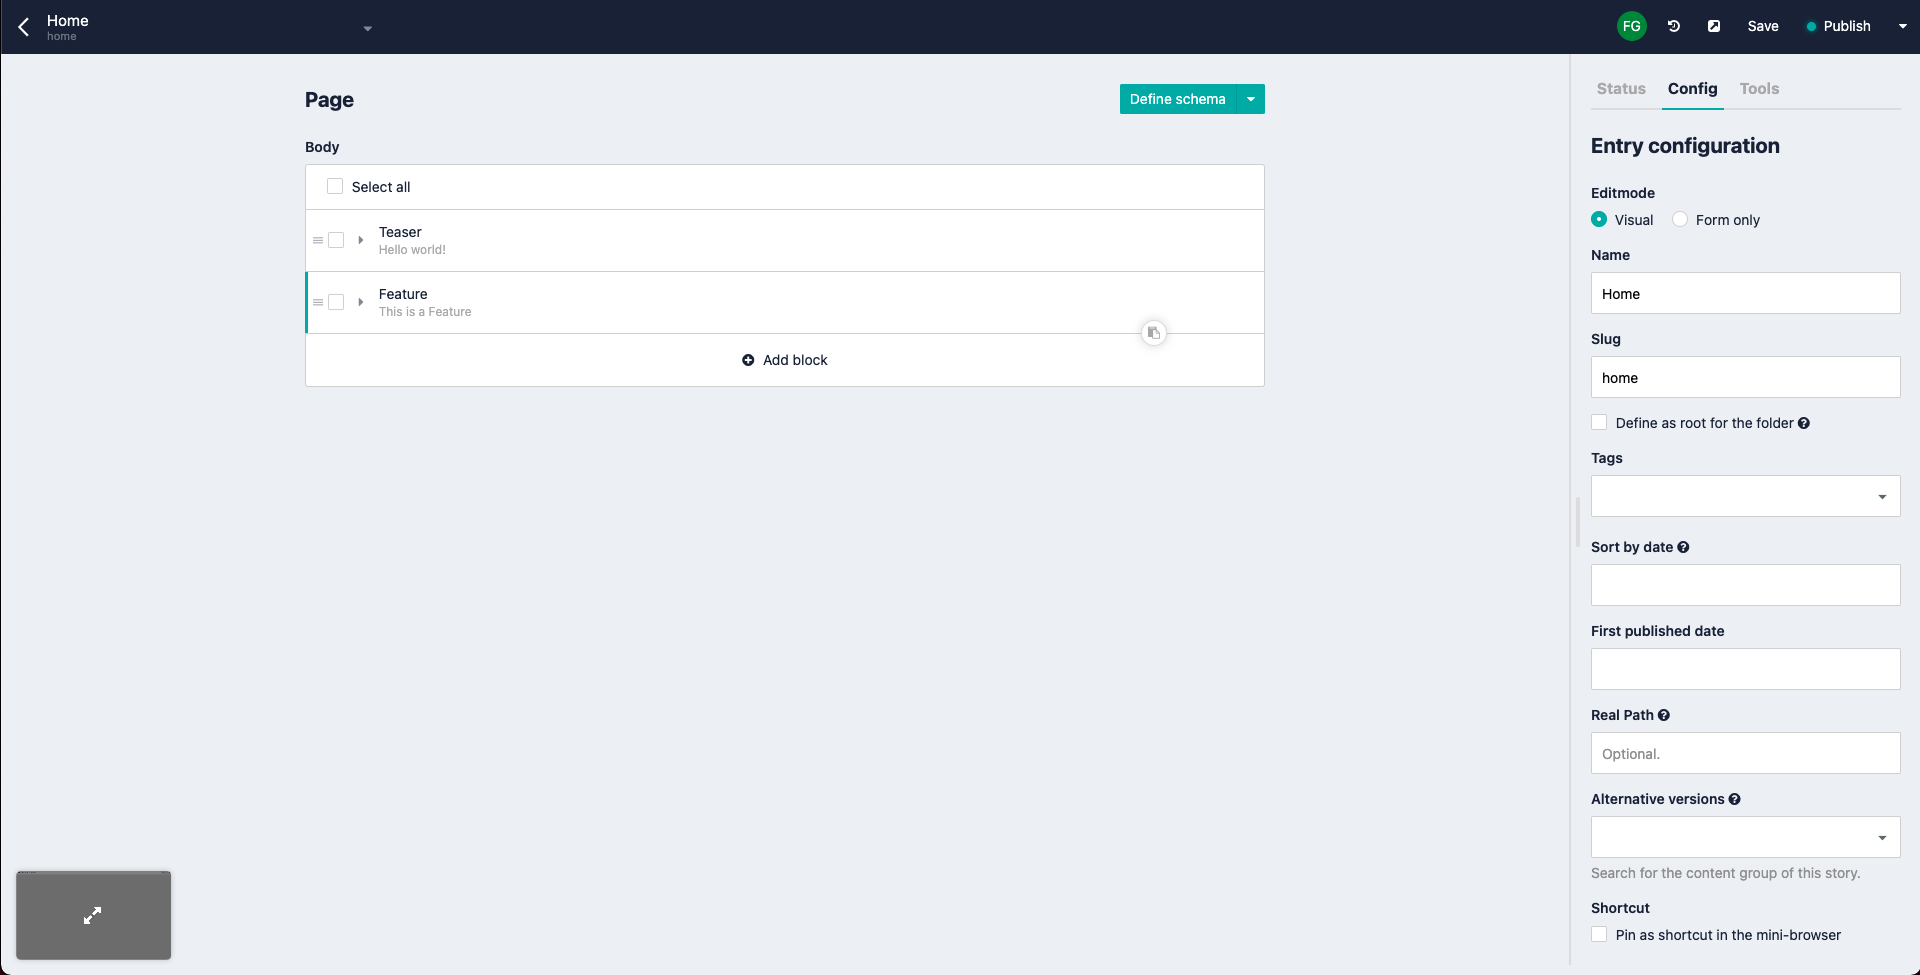
After that, we define all the properties of the class and set the JsonPropertyName attribute to them, linking to the fields brought by the API. If we want to check the name of the fields for each component, we can inspect the JSON response of the API going to the Storyblok app. Open a story, click on the top right arrow menu, and then select "Published json (Api V1)".
Inspect JSON
The browser will open the JSON object that would be returned by the API:
{
  "story": {
    "name": "Home",
    "content": {
      "body": [
        {
          "headline": "Hello world!",
          "component": "teaser"
        },
        {
          "name": "This is a Feature",
          "component": "feature"
        }
      ],
      "component": "page"
    },
    "slug": "home",
    "full_slug": "home",
...
  }
}
As you can see, the content of our page is the “body”, which is an array of other components. And that's exactly what we defined in our Page class. This “Home” page will be the homepage of our application, since the value of the property “slug” is the same as the one we defined when we set up the middleware.
Now we need a view for our page. Let's go to the Views → Shared directory, and create a file named Page.cshtml. The filename should be the same as the second parameter we used for the StoryblokComponent attribute in our class. The code of the view will be very simple:
@using AspNetStoryblok.Components
@model Adliance.Storyblok.StoryblokStory<Page>

@Html.DisplayFor(x => Model.Content.Body)
We use the model previously created, and we render the Body property of the content brought by the API. The middleware will automatically evaluate the content of the page, identify the components and link them with models from our web application. As the body of our page is an array of other components, we will need classes and views for them.
If you want to learn more about Components and what they are, you can read the docs.
Create Teaser and Feature Components
Now we need to create two very similar components in our app: Teaser and Feature. As we did with the Page, let's go to the Components directory and create Teaser.cs and Feature.cs files:
using System.Text.Json.Serialization;
using Adliance.Storyblok;
using Adliance.Storyblok.Attributes;

namespace AspNetStoryblok.Components
{
    [StoryblokComponent("teaser")]
    public class Teaser : StoryblokComponent
    {
        [JsonPropertyName("headline")]
        public string Headline { get; set; }
    }
}using System.Text.Json.Serialization;
using Adliance.Storyblok;
using Adliance.Storyblok.Attributes;
namespace AspNetStoryblok.Components
{
[StoryblokComponent("feature")]
public class Feature : StoryblokComponent
{
[JsonPropertyName("name")]
public string Name { get; set; }
}
}Let's create the views that we will use for them. As Teaser and Feature are components that will always be included inside a story, we need to create a nested directory for the middleware to identify them. Go to Views → Shared, and create a “DisplayTemplates” directory. Inside of it, create Teaser.cshtml and Feature.cshtml:
@using AspNetStoryblok.Components
@model Teaser

<h1>@Model.Headline</h1>@using AspNetStoryblok.Components
@model Feature
<p>@Model.Name</p>Now we have all of the models and views needed for the components created in our Storyblok space.
Enable Preview Editor
The last step for our project will be linking the visual editor from the Storyblok app to our web application. We do this so that users can experience how the application looks, and then be able to edit the content and visually see the results.
In order to do that we will take advantage of a function included in the Storyblok C# SDK: Html.StoryblokEditorScript. This method does two things: It includes the Storyblok Bridge (opens in a new window) in our pages, and it adds a JavaScript code that refreshes our pages, displaying the latest content in them, whenever we apply changes in the visual editor.
Go to Views → Shared → _Layout.cshtml and add the method inside the page body:
@using System.Globalization
@using Adliance.Storyblok.Extensions

<!DOCTYPE html>
<html lang="@CultureInfo.CurrentUICulture">
<head>
    <meta charset="utf-8" />
    <meta name="viewport" content="width=device-width, initial-scale=1.0" />
    <title>AspNetStoryblok example website</title>
    <link rel="stylesheet" href="~/lib/bootstrap/dist/css/bootstrap.min.css" />
    <link rel="stylesheet" href="~/css/site.css" />
</head>
<body>
    <div class="container">
        @RenderBody()
    </div>
    @Html.StoryblokEditorScript()
</body>
</html>
Since we are including the function in the _Layout.cshtml file, it will be included in all of the pages in our application. Keep in mind that we should include the StoryblokEditorScript only for development and testing environments. We should add some logic to avoid including it when deploying our application to production.
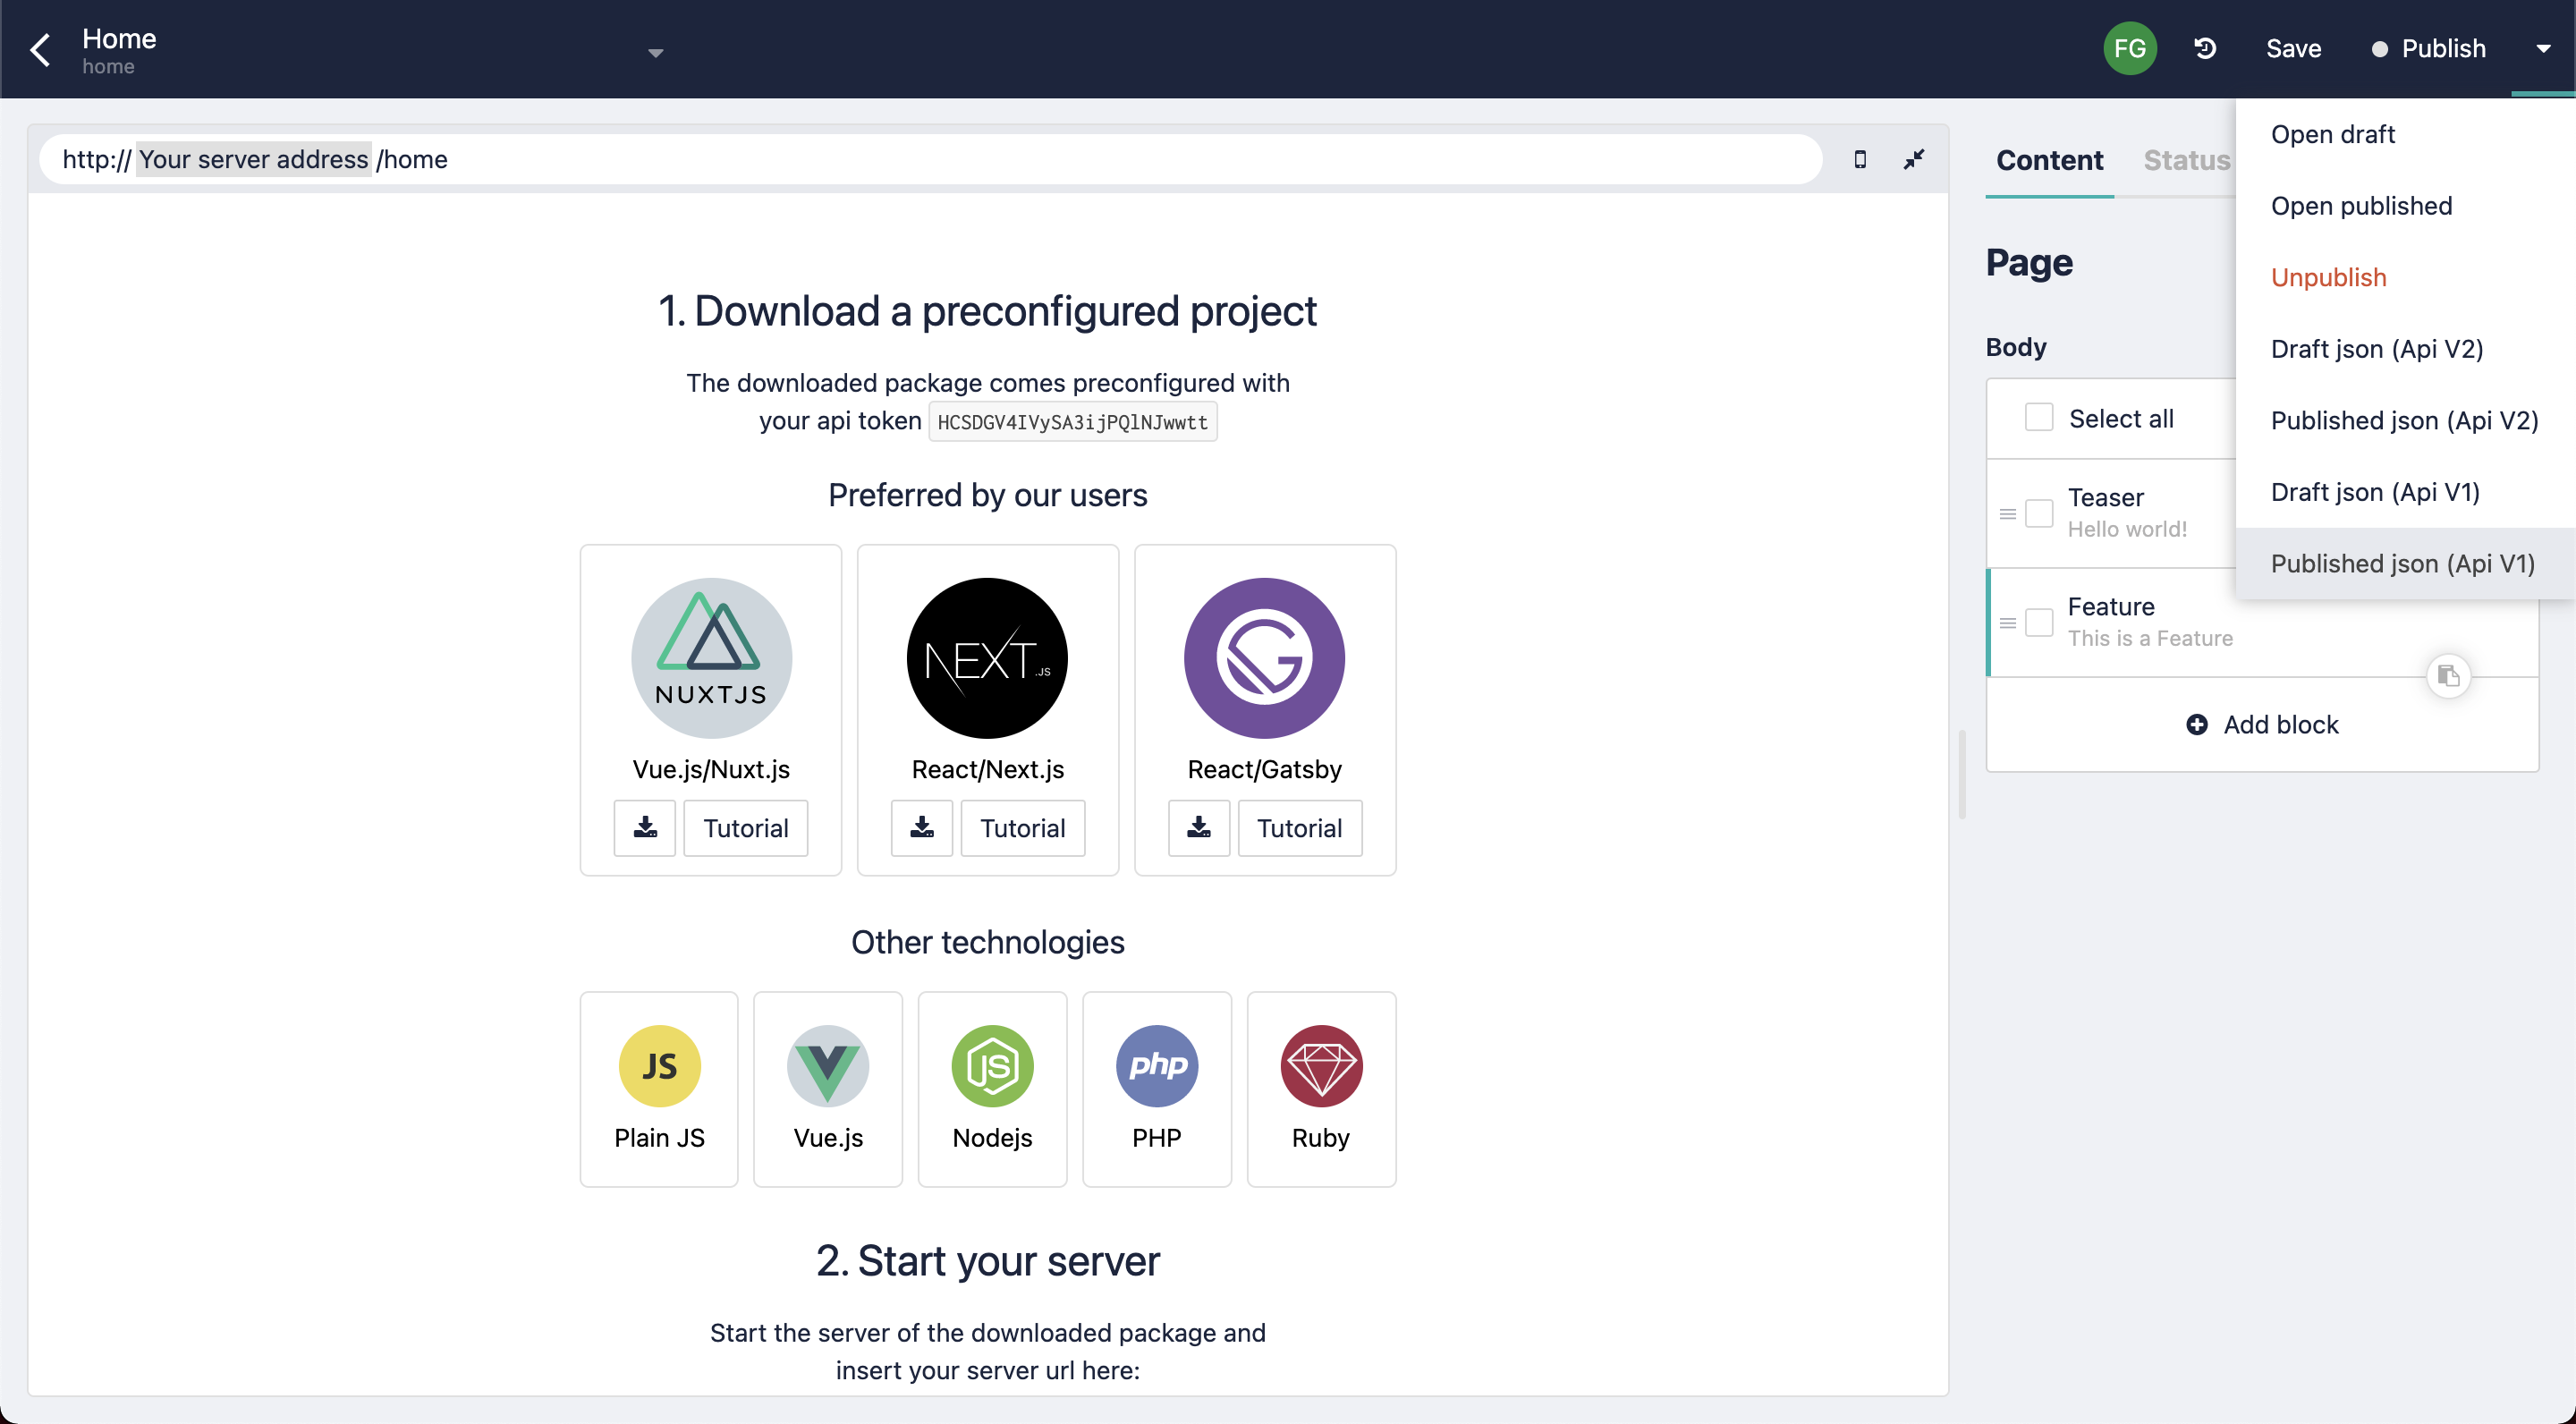
After doing this, we should be able to use the Visual Editor with our ASP.NET application. Whenever we apply changes in the live preview, adding or editing bloks and details, we can click on the Save button to see how our page will look, without having to publish the changes.
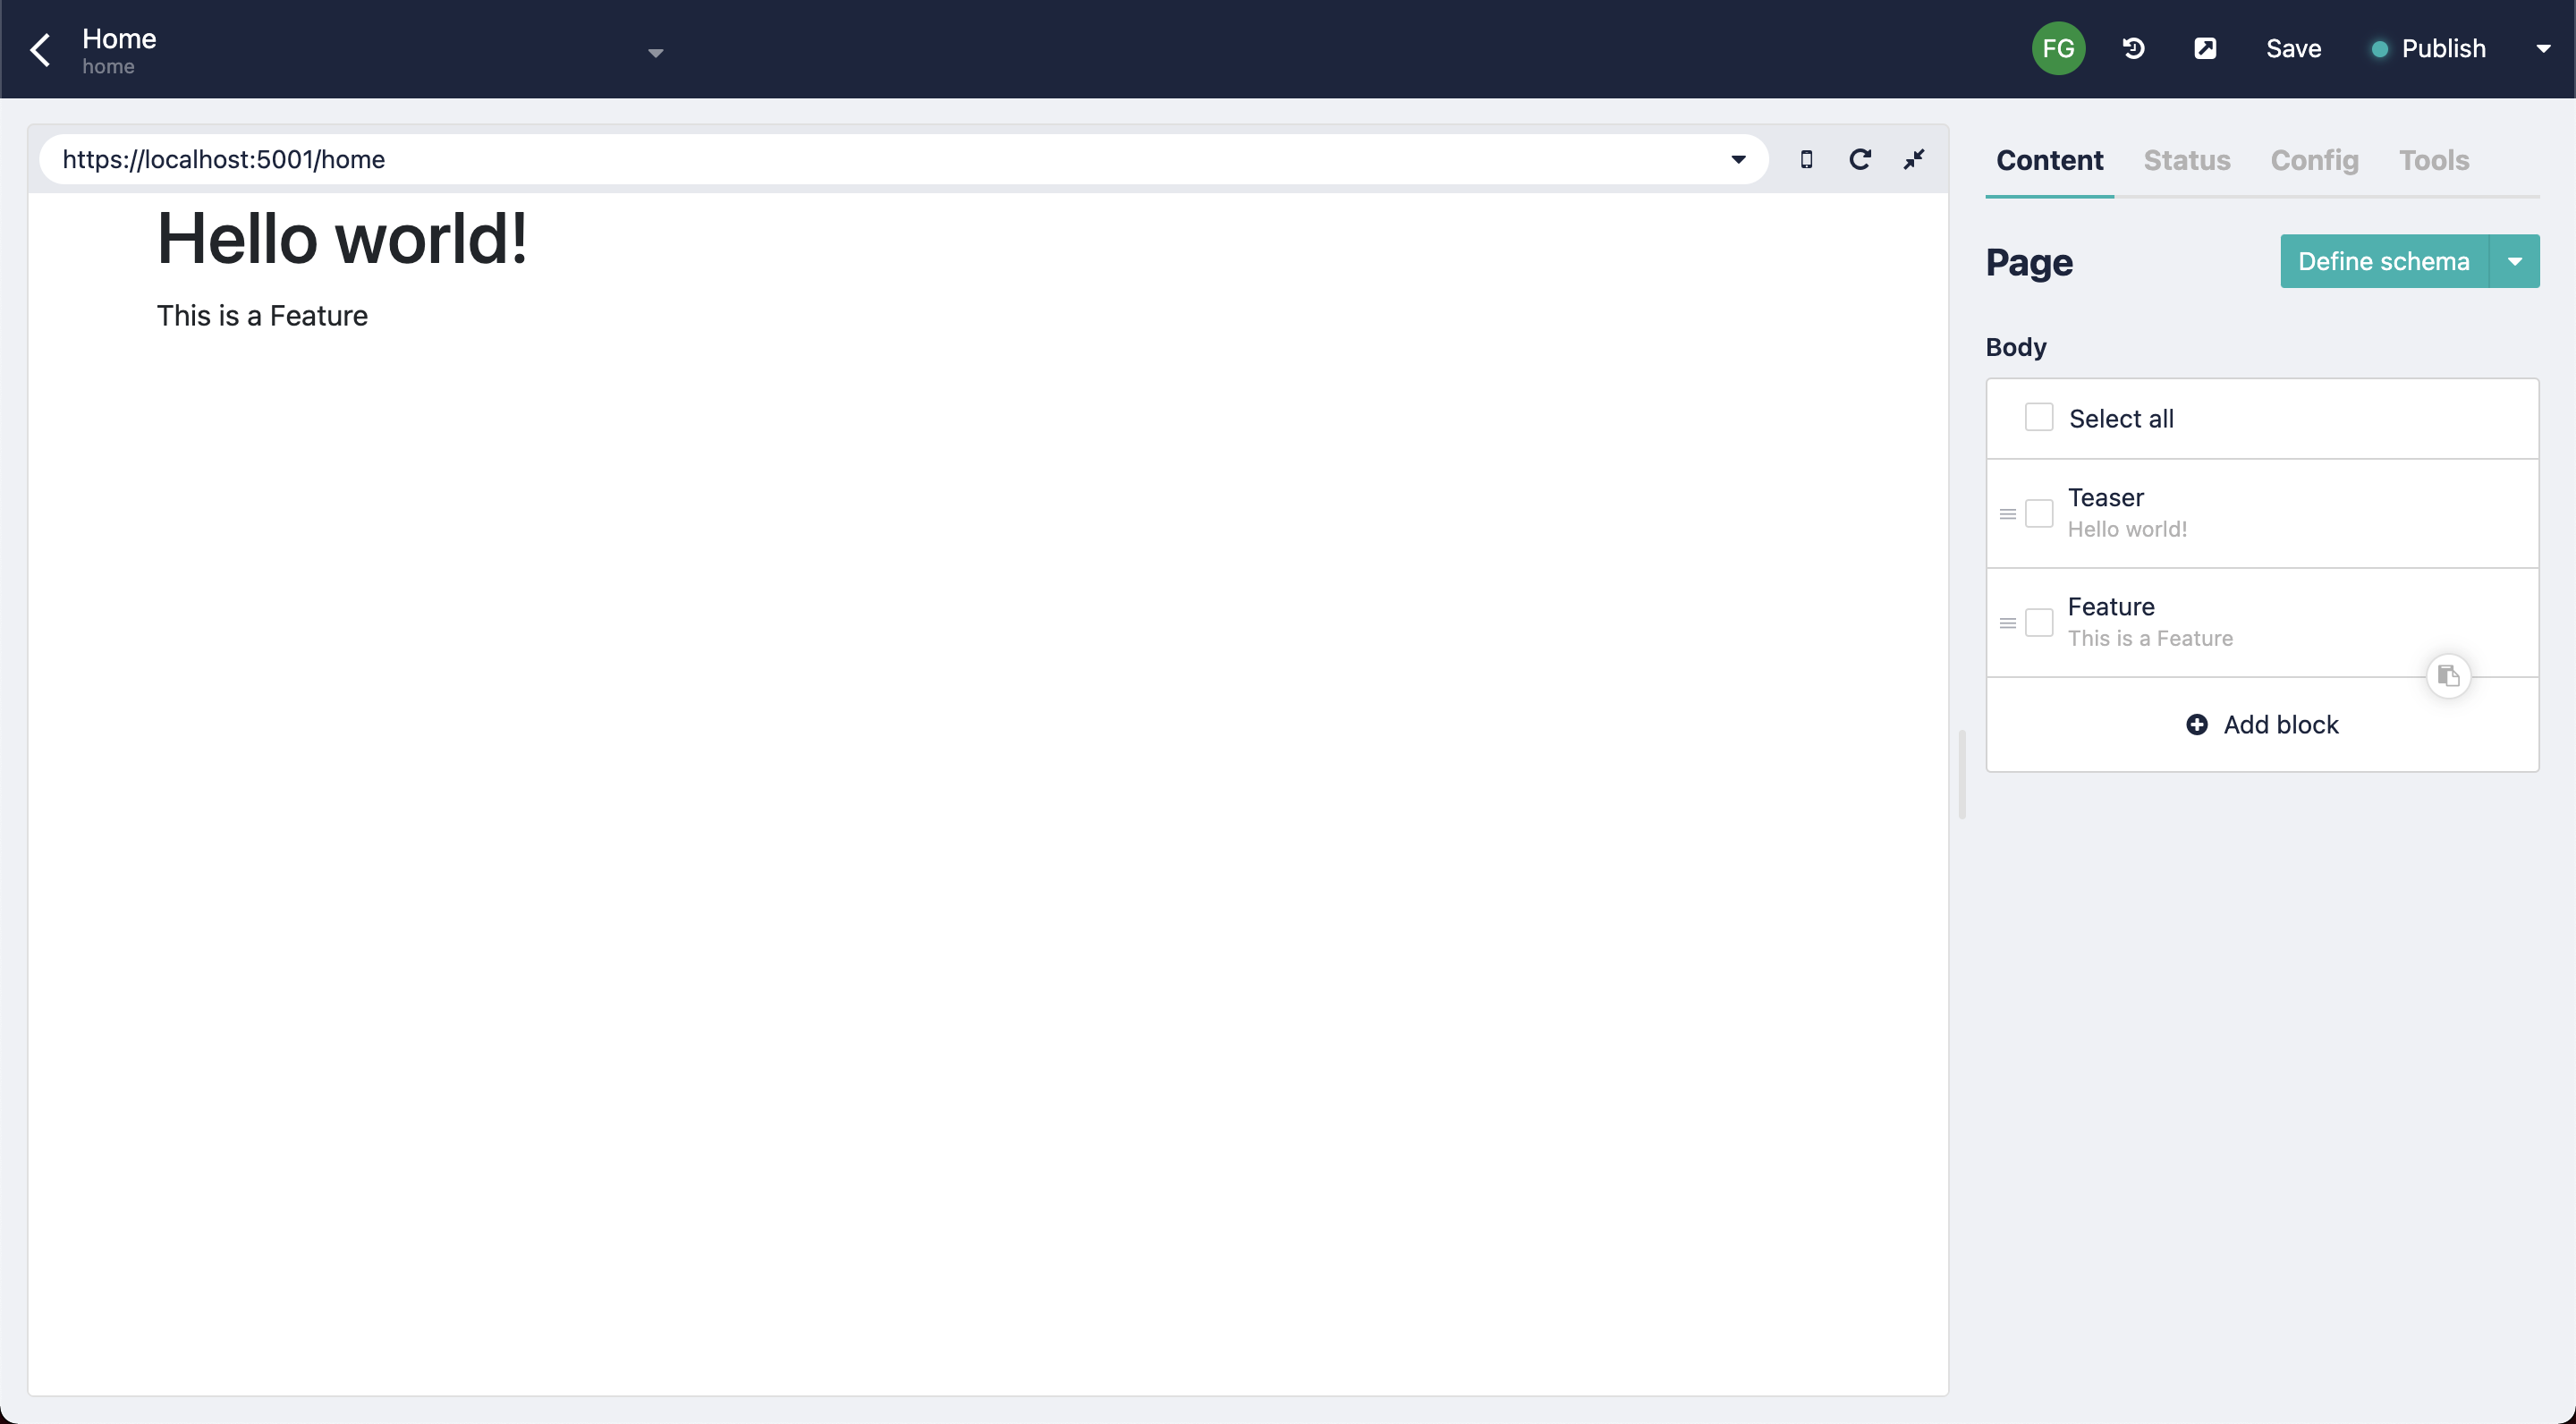
Storyblok Visual Editor
Use the Storyblok API Client
Besides using the middleware, we can also fetch data using the C# API included in the SDK. It includes clients for stories and datasources:
var storyblokClient = new StoryblokStoriesClient();
var stories = await storyblokClient.Stories().Load();var storyblokClient = new StoryblokStoryClient();
var story = await storyblokClient.Story().WithSlug("/test-page").ResolveLinks(ResolveLinksType.None).Load<Page>();
var section = story!.Content!.Content!.First() as Section;
var grid = section!.Content!.First() as Grid1x1;
var button = grid!.Right!.First() as Button;var storyblokClient = new StoryblokDatasourceClient();
storyblokClient.PerPage = 5;
var datasource = await storyblokClient.Datasource("datasource-multiple-entries");Deploy to Azure
If we want to deploy our application and get it up and running, we can use Microsoft Azure App Service (opens in a new window). It’s a service that allows us to to build and host web applications, with several programming language available, without managing infrastructure.
To do this we should create a free Azure account (opens in a new window). Go to the Azure Portal (opens in a new window), create a new App Service and follow the steps. You can also take a look at this tutorial about how to host a web application with Azure App Service (opens in a new window).
App Service offers a flexible pricing depending on the type of application we want to deploy and host. There is a free tier that we can select to try the service and use for small projects.
Conclusion
In this tutorial, we learned how to integrate Storyblok to a ASP.NET Core MVC project. We saw how to use Storyblok C# SDK, how to configure its middleware, and how to use the API client to retrieve information. We also enabled the preview mode, so that users can edit the content of our components from the Storyblok visual editor.
| Resource | Link |
|---|---|
| Github Example Repo | storyblok/asp-net-boilerplate |
| Adliance.Storyblok SDK Repo | Adliance.Storyblok |
| Storyblok Visual Editor | Visual Editor |
| ASP.NET Core MVC Docs | ASP.NET Core MVC |
