Storyblok CLI Best Practices
Storyblok is the first headless CMS that works for developers & marketers alike.
Heads up, this article is currently being reworked by our ambassador, Markus Geilehner, to take into account the release of our Storyblok CLI V4. Stay tuned!
Why we need Storyblok's CLI? / Introduction
The purpose of this article is simple. I recently noticed that many fellow Storyblokers struggle with migrating content and/or didn't even know the Storyblok CLI exists. To do my part to solve this problem, I want to share some best practices with the CLI which already helped my team and me a lot.
The Storyblok CLI is pretty useful when you want to modify already published data on a production space, no matter if it's changing a blok scheme or just content. It's a powerful tool indeed!
The main reason why we need or should use it is that the Storyblok CDN is not updating your scheme changes automatically and therefore needs a 'manual' update Let me explain that. If one creates a story and publishes it, you can fetch the data simply via the Content Delivery API. But when you change a blok's scheme either in the UI or via CLI your already created and maybe published stories are NOT updated. You need to either republish them manually so the CDN and API recognizes the changes and therefore your Frontend Application or you can make use of the powerful Storyblok CLI to handle that.
Prerequisites
To actually work through this tutorial or adapt practices to your own needs you need to make sure you've installed the CLI. A Tutorial on how to install and use it can be found in the official repository. But we can pretty much boil that down to run the following command. npm i -g storyblok and storyblok login.
Make sure you are logged in with the correct user to modify your space.
If you have more than one user, you can use the command storyblok user to determine which user you are currently logged in with.
Updating Datasources
Have you ever used Datasources to categorize a Story/Content Type and needed to change the value of one of the datasource entries? Maybe you spent a few minutes (...or hours) to debug why your new category value isn't updating in the frontend. However, I hope you already knew about the CLI and did not need to throw your computer out of the office because referencing datasources in stories counts as "normal" content and therefore requires a manual re-publish to take effect. If you've been in this "I do something bad to my working machine mood" the following got you covered.
As an example we have a datasource called 'Cat Type'.
{
    "datasource_entries": [
    {
        "id": 4282241,
        "name": "Cozy Cat",
        "value": "cozy-cat",
        "dimension_value": null
    },
    {
        "id": 4282242,
        "name": "Aggressive Cat",
        "value": "aggressive-cat",
        "dimension_value": null
    },
    {
        "id": 4282243,
        "name": "Sweet Cat",
        "value": "sweet-cat",
        "dimension_value": null
    },
    {
        "id": 4282244,
        "name": "Loving Cat",
        "value": "I hate my cat. ",
        "dimension_value": null
    }
    ]
}
And many stories of cats published by their owners.
{
    "story": {
        "name": "Jimmy",
        "id": 254692026,
        "content": {
            "_uid": "d23b8035-ed5d-4129-a96e-0645979d5445",
            "name": "Jimmy",
            "type": "I hate my cat. ",
            "image": {
                "id": 7045583,
                "filename": "https://a.storyblok.com/f/194364/3024x4032/d7a2b2b9fc/img_4937.jpeg",
                "fieldtype": "asset",
            },
            "component": "cat",
        },
        "slug": "jimmy",
        .....
    },
    "cv": 1675144455,
    "rels": [],
    "links": []
}
And as you can see, the type we've selected is Loving Cat but the creator of the datasource made a small typo and therefore the value which is in the story actually is 'I hate my cat.'. We definitely need to change that. It's quite simple, go to the datasource and change the value of 'Loving Cat' to 'loving-cat'. But sadly this is not updating our already published cats and for this purpose we need a so-called Content Migration.
To create a migration file we can just run
storyblok generate-migration --space YOUR_SPACE_ID --component cat --field typewhich creates a file migrations/change_cat_type.js. Inside this generated file we have access to the actual "blok", in this case the "blok" is a content type called cat.
We can just access the fields by writing block.myfield and assign a new value to it.
In this example's case the migration file would look like this:
module.exports = function (block) {
    block.type = 'loving-cat'
}
and with the following command the migration can be run and our stories will be modified.
Please take a minute to study how the ---publish flag works, so we don't publish unwanted stories, you can read about it here.
storyblok run-migration --space YOUR_SPACE_ID --component cat --field type --publish published- Processing the migration ./migrations/change_cat_type.js
- Getting the user defined migration function
- Getting stories for cat component
- Processing story jimmy
- Updated field "type" from "I hate my cat. " to "loving-cat"
- Updating story jimmy
- Story updated with success!
✓ The migration was executed with success!
✓ The rollback file has been created in migrations/rollback/!And with that, all of our stories which contains either the blok type cat or are of type cat are updated with success and published again.
That's nice isn't it?
Modify blok structure
What you've read about datasources is the simplest migration modification you can do. This much can be said, with a migration script a lot can be done. Let's dive into a more complex structure and migration.
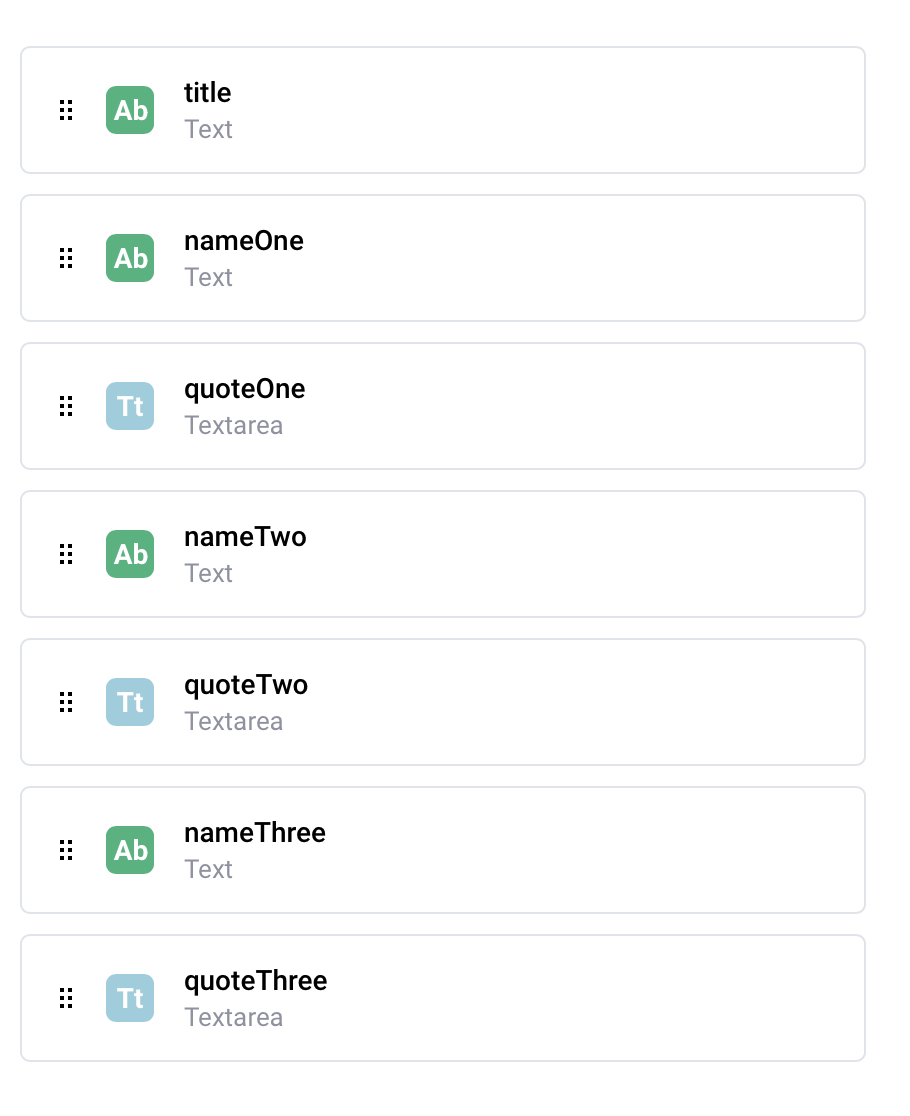
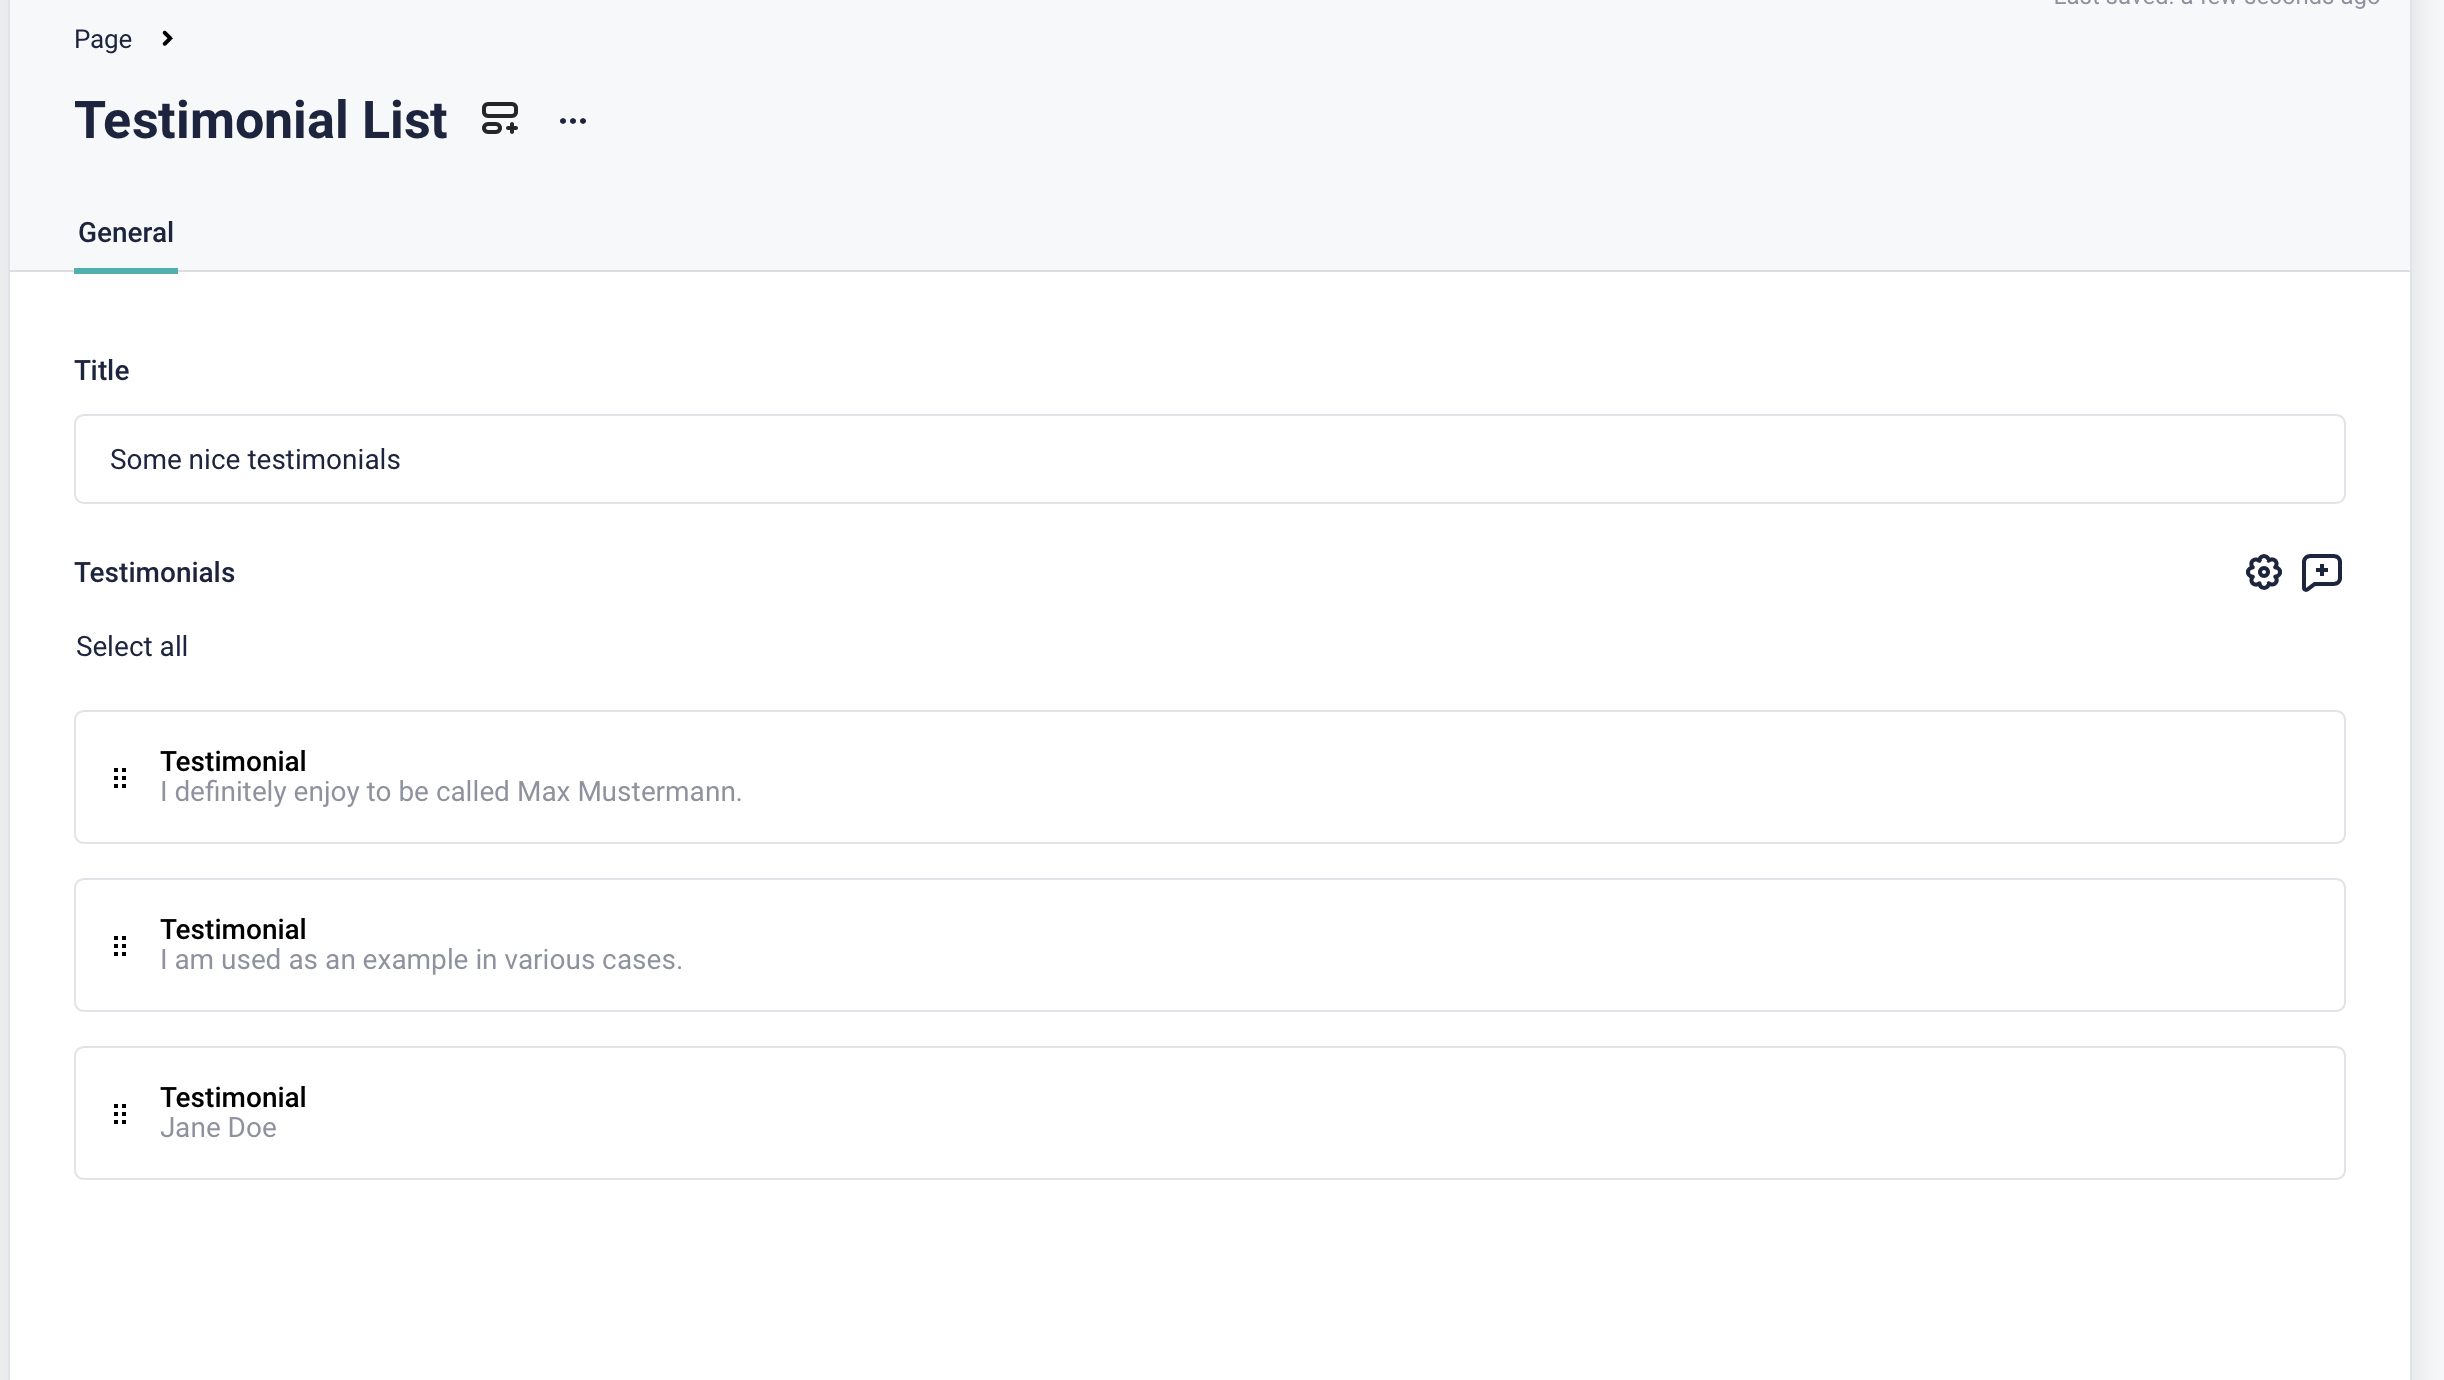
Assume we have a component called 'testimonial-list' with fields like those shown in the screenshot.
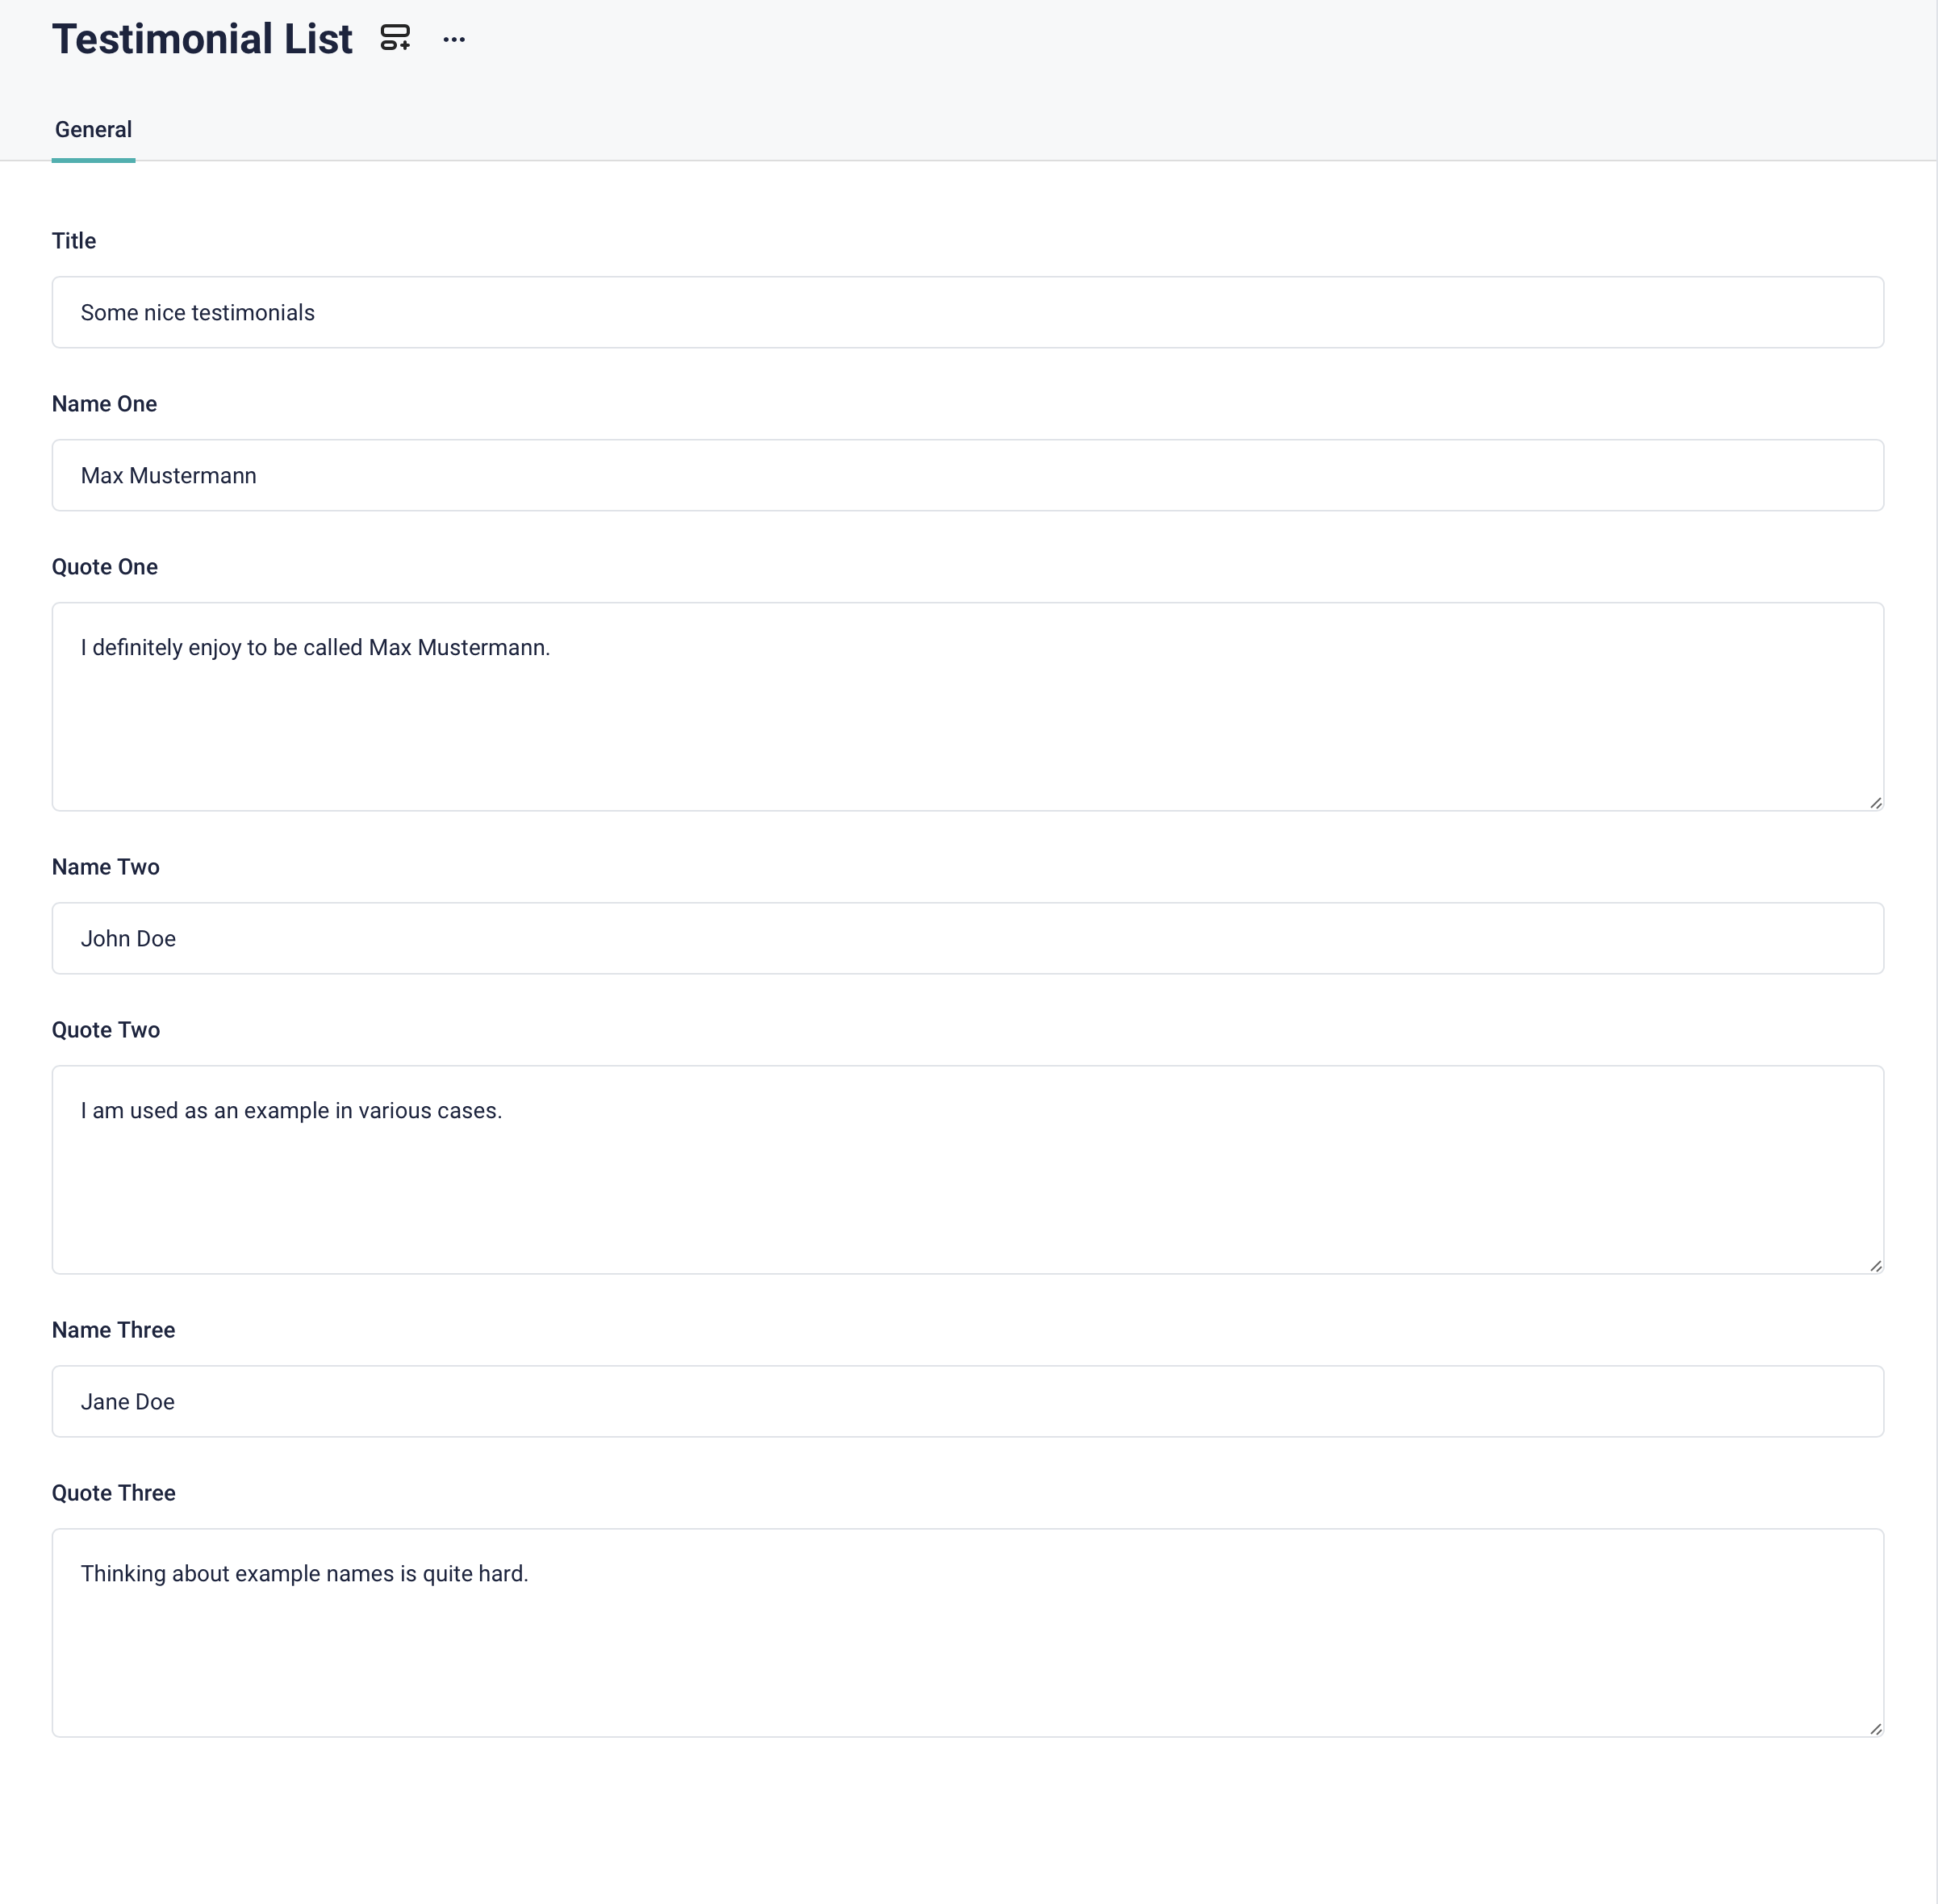
It is not built very nicely so we definitely need to refactor/migrate this component. A much nicer way would be to have a blok list inside the testmionial-list component to add unlimited testimonials to it right? Good, let's create a another blok called 'testimonial' with a field name: Text and quote: Richtext.
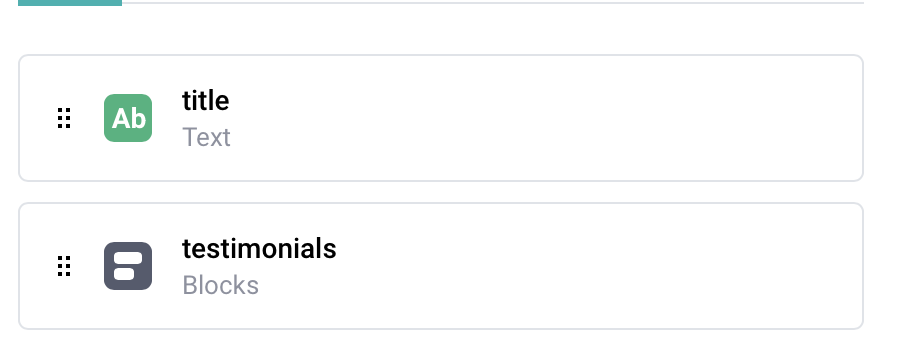
To use the created 'testimonial' blok we need to modify our component testimonial-list by removing the redundant fields and adding a field testimonials: Blocks.
to
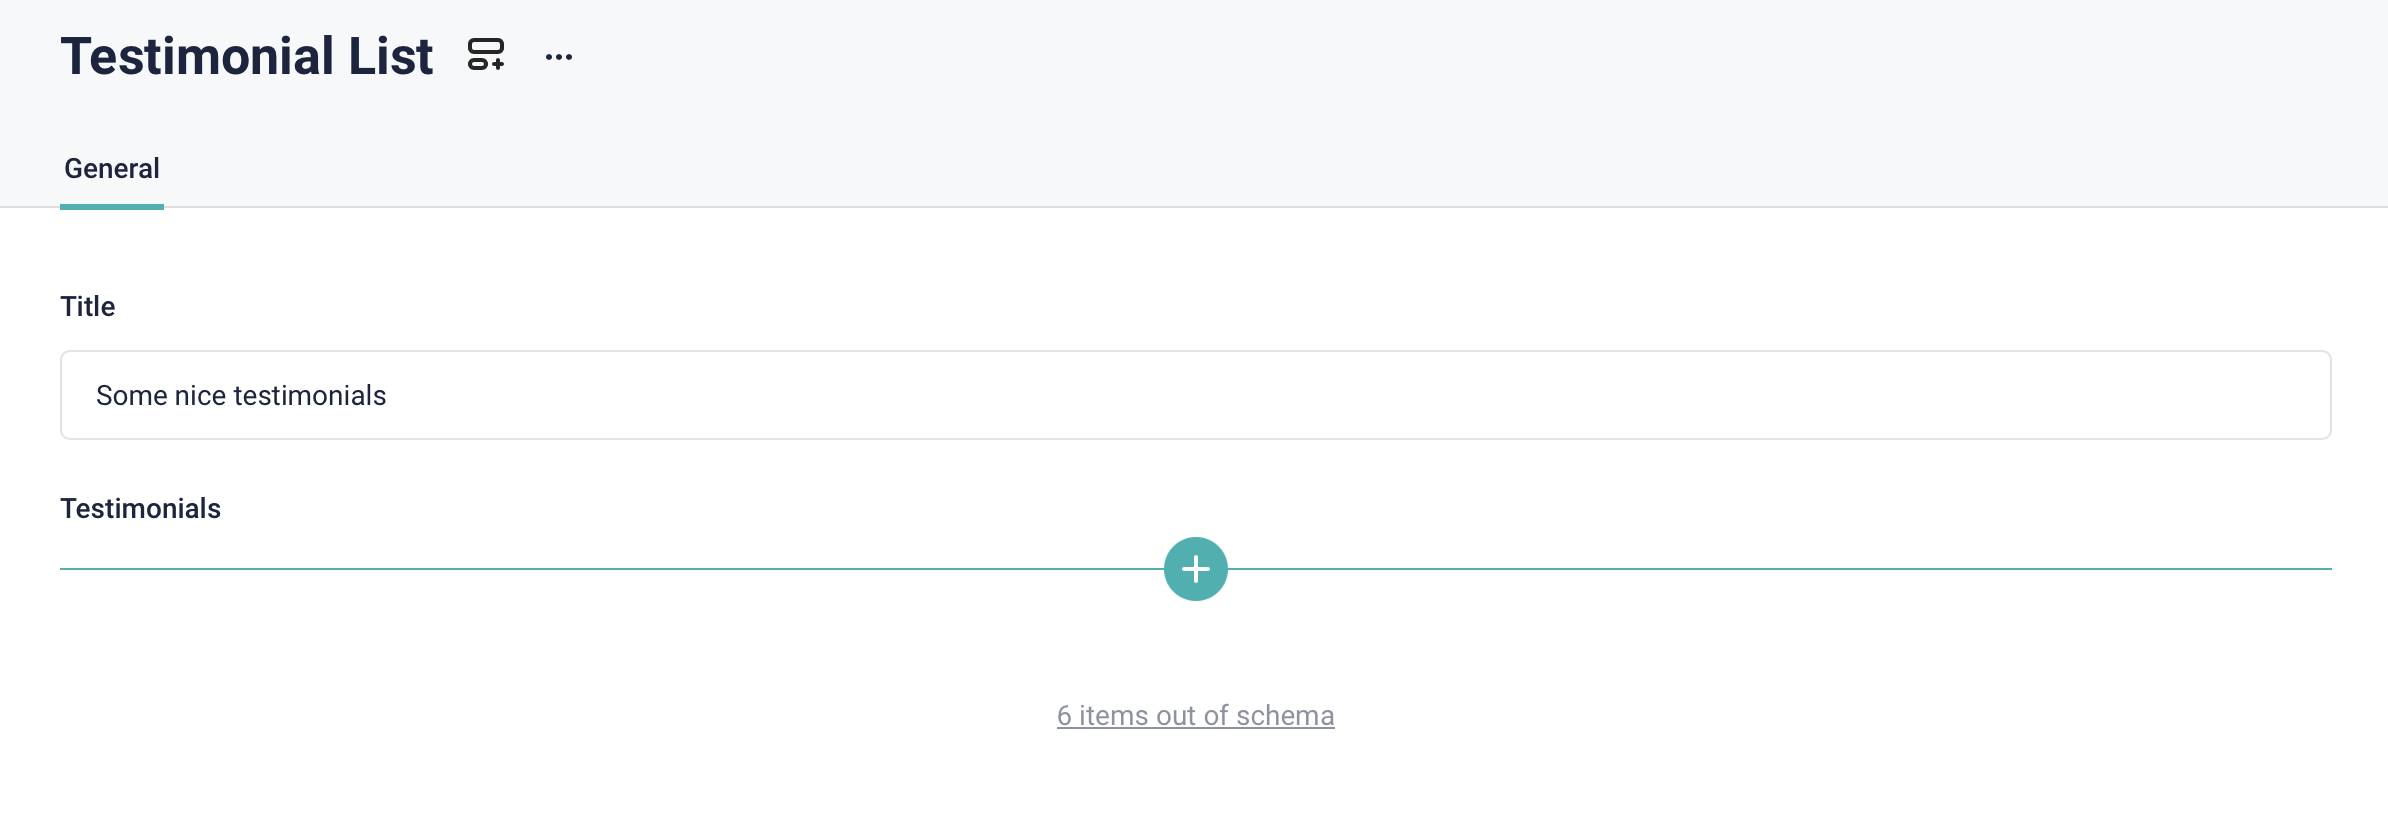
which results in an items out of scheme when visiting the visual editor/content.
We now just need to write a migration script and execute the same two commands as previously when migrating a datasource.
storyblok generate-migration --space YOUR_SPACE_ID --component testimonial-list --field testimonialsThe output is again an empty script generated for us to fill out. Remember the 6 fields we removed are still present on the published stories because we didn't modify the content, just the structure.
So to actually modify the content we are assigning the redundant fields to an array of 'testimonial' bloks. And as a complexity bonus we change the quote: Textarea
field to a quote: Richtext field too.
TIP: If you have complex structure to reconstruct for migration and you don't know the JSON syntax (e.g Richtext) you can build it in the visual editor and hit the View Draft JSON button to see the strucutre you need.
After executing the following script with the command:
storyblok run-migration --space 194364 --component testimonial-list --field testimonials --publish published
we successfully modifed a more complex strucutre of content in our stories.
module.exports = function (block) {
    block.testimonials = [
        createTestimonial(block.nameOne, block.quoteOne),
        createTestimonial(block.nameTwo, block.quoteTwo),
        createTestimonial(block.nameThree, block.nameThree)
    ]
    delete block.nameOne
    delete block.quoteOne
    delete block.nameTwo
    delete block.quoteTwo
    delete block.nameThree
    delete block.quoteThree
}

const createTestimonial = (quote, name) => {
    return {
        component: "testimonial",
        name: name,
        quote: {
            type: 'doc',
            content: [{
                type: 'paragraph',
                content: [{
                    text: quote,
                    type: 'text'
                }]
            }]
        }
    }
}
The Visual Editor of course updates the content correctly.
Adding a default value
If you have used Storyblok already you probably noticed nearly every field in a scheme can have a default value.

We can apply the previous concepts of generating and running a migration to the default value too.
It's basically just a field migration with an optional mutation.
Assuming we have a field name: Text which is optional and we want to assign a default value to it. By just modifying the scheme in Storyblok we, again, don't update
the already created/published stories. The script would look like the following and can be generated and run via the previous used commands.
module.exports = function (block) {
    if(!block.name){
        block.name = "My Default Value"
    }
}
Bonus Image Service Tip / Caveat
I noticed a many have nice concepts of using the Storyblok Image Service and a few of them didn't include a correct SVG handling.
You can read more about the Storyblok Image Service and Best Practices here written by Alba Silvente (10/10 would recommend)
Remember when using the Storyblok Image service, and you apply WEBP or filter modifications on it an SVG file is rendered as image file which probably results in an increase
of data usage.
To prevent that, make sure (if you have a general image component to render everything in your frontend) to use the plain <img/> HTML Tag and not NuxtImg or your custom component which applies filters.
Small example in Vue/Nuxt
const isSvg = computed(() => {
    return image.src.filename.includes('.svg')
})

<template>
    <NuxtImg
        v-if="!isSvg"
        :src="src?.filename"
        :modifiers="{ filters: { focal: src.focus } }"
        :alt="src.alt"
    />
    <img
        v-else
        :src="src.filename"
        :alt="src.alt"
    />
</template>
Migrating Multilingual Stories (the hidden i18n feature)
Generating a migration script for a component is as easy as running the following command:
storyblok generate-migration --space YOUR_SPACE_ID --component YOUR_COMPONENT --field YOUR_FIELDwhich generates an empty script for you to fill out. Let's assume we generated a migration and have written the follwoing script:
module.exports = function (block) {
    block.name = "My value"
    block.title = "My title"
}
When executing this script with storyblok run-migration we would only cover the default language.
What if we want to migrate all languages?
Storyblok has a "hidden" feature which allows us to migrate all of them.
By just adding __i18n__<LANG_TAG> to the desired field we are modifying a certain translation.
If we want the script above to be migrated in german too, we just need to add the following line to the script:
module.exports = function (block) {
    block.name = "My value"
    block.title = "My title"
    block.name__i18n__de = "Mein Name"
    block.title__i18n__de = "Mein Titel"
}
And that's basically it. From this point on you can use the Storyblok CLI to migrate your content in all languages.
Working with multiple spaces
Approach one: Sync Command
Everything we already covered is perfectly working with a single space. Don't understand it wrong the previous methods are working with multiple spaces too, but it's not the most efficient way. The most common space setup agencies are having are develop and production spaces. Some projects even need more spaces like an acceptance stage etc. For this particular use case we can make use of a cool feature called Storyblok Sync Command.
With that command we can sync different types from one (source) to another (target) space.
- folders
- components
- stories
- datasources
- roles
It is pretty straight forward to use by just executing the following command:
storyblok sync --source YOUR_SOURCE_SPACE_ID --target YOUR_TARGET_SPACE_ID --type componentsIt's as simple as that, just make sure the component or structure modifications are done on the develop space and not on acceptance too which would end up in overwriting the changes of the target space.
Approach two: Pulling and Pushing components
Because we are not in a perfect world, it is possible that some developers accidentally modify components on a space they shouldn't, for example the acceptance space when it should be the develop space. To cover this special use case we sadly cannot use the sync command but two other pretty useful commands.
pull-componentspush-components
The idea behind pulling and pushing components from and to the desired space is again simple but powerful.
We can use the storyblok pull-components --space YOUR_SPACE_ID command to pull all components from a space to our local machine.
If the command is executed for both spaces, we can use a diff tool to compare the changes and merge them manually.
After a (hopefully) successful merge we can than push the components back to our spaces.
Delete components across spaces
If you deleted a component in one space the sync command will not delete it in the other neither will the push-components command.
For this particular case we introduced a new command called Delete Components.
The syntax is straight forward too, but be careful to not forget the --reverse flag because without every component listed in your components.json file will be deleted.
With the --reverse flag the command will only delete components in your space which do not exist in the given .json file.
So exactly what we need if we have deleted components in one space and need to delete them in another one too.
storyblok delete-components SOURCE_FILE --space YOUR_SPACE_ID --reverseGenerating Types
It's a nice time to be alive for frontend developers. In nearly every framework typescript can be used. And what's cooler than having types while developing your frontend application? Nothing, that's what.
There's an open source project called storyblok-generate-ts which is a CLI to generate types based on your components in a certain space. My team and I are using it in every Nuxt project we are working on, and that said, I can highly recommend it.
A full documentation can be found on GitHub, but what I want to show you is how to include it in your package.json to be executed automatically.
{
  "scripts": {
    "generate:types": "storyblok pull-components --space YOUR_SPACE_ID && storyblok-generate-ts source=./components.YOUR_SPACE_ID.json target=./src/components/components-schema"
  }
}
With this command we are pulling the components from our space and generating the types in the src/components/components-schema.ts file.
It's always up-to-date except you forget to run it :P
That's all for now and you should be able to use the Storyblok CLI in a more efficient way now. If you have any questions or suggestions, feel free to contact me on Twitter or on the official Storyblok Discord.
