Deploy Next SPA with Storyblok to Layer0
Storyblok is the first headless CMS that works for developers & marketers alike.
This guide describes how to configure & deploy your single page application (SPA) built with Next and Storyblok to Layer0. You may check out the Add a headless CMS to Next.js in 5 minutes from Storyblok, which will be our starting point for this guide. Clone the repo next-storyblok-layer0-starter to get the entire setup.
Set up Storyblok space
Follow the steps in the Add a headless CMS to Next.js in 5 minutes from Storyblok to create a new space. Storyblok creates sample content for us so we don’t need to create any new stories. Fork the react-next-boilerplate repo. Open the folder in your IDE and install the dependencies of the project.
npm install // or yarn installAfter these steps, you should be able to start the local environment using the following command.
npm run dev // yarn devDon’t forget to change the access token to one of your newly created Storyblok spaces, as described in Creating the Storyblok Client.
Set up Layer0
Layer0 is an All-in-one Jamstack platform to develop, deploy, preview, split test and monitor your frontend. Let’s get right onto the steps to deploy the react-next-boilerplate with Layer0.
Deploy from CLI
npm i -g @layer0/cli // or yarn global add @layer0/cli
layer0 init
layer0 deploy
We are done with the deployment! You should see something like this in the console:
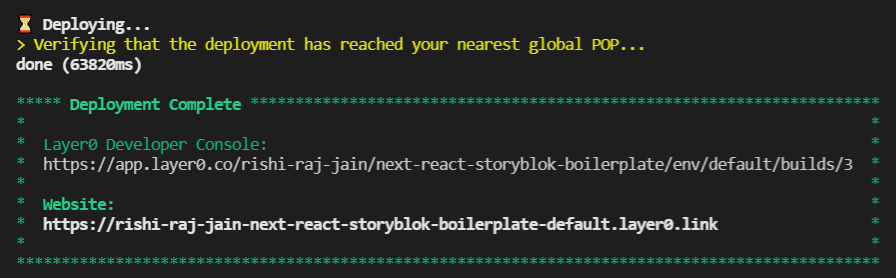
Deployment Complete
Go ahead and change content, publish it on Storyblok, and browse the ‘/home’ route of your website to look for changes (yes, Next.js Revalidation works just like that!)
CI/CD with GitHub Workflows to Layer0
- Follow the same steps as mentioned in Deploy from CLI
- Obtain the layer0_deploy_token by steps as in the screenshots below
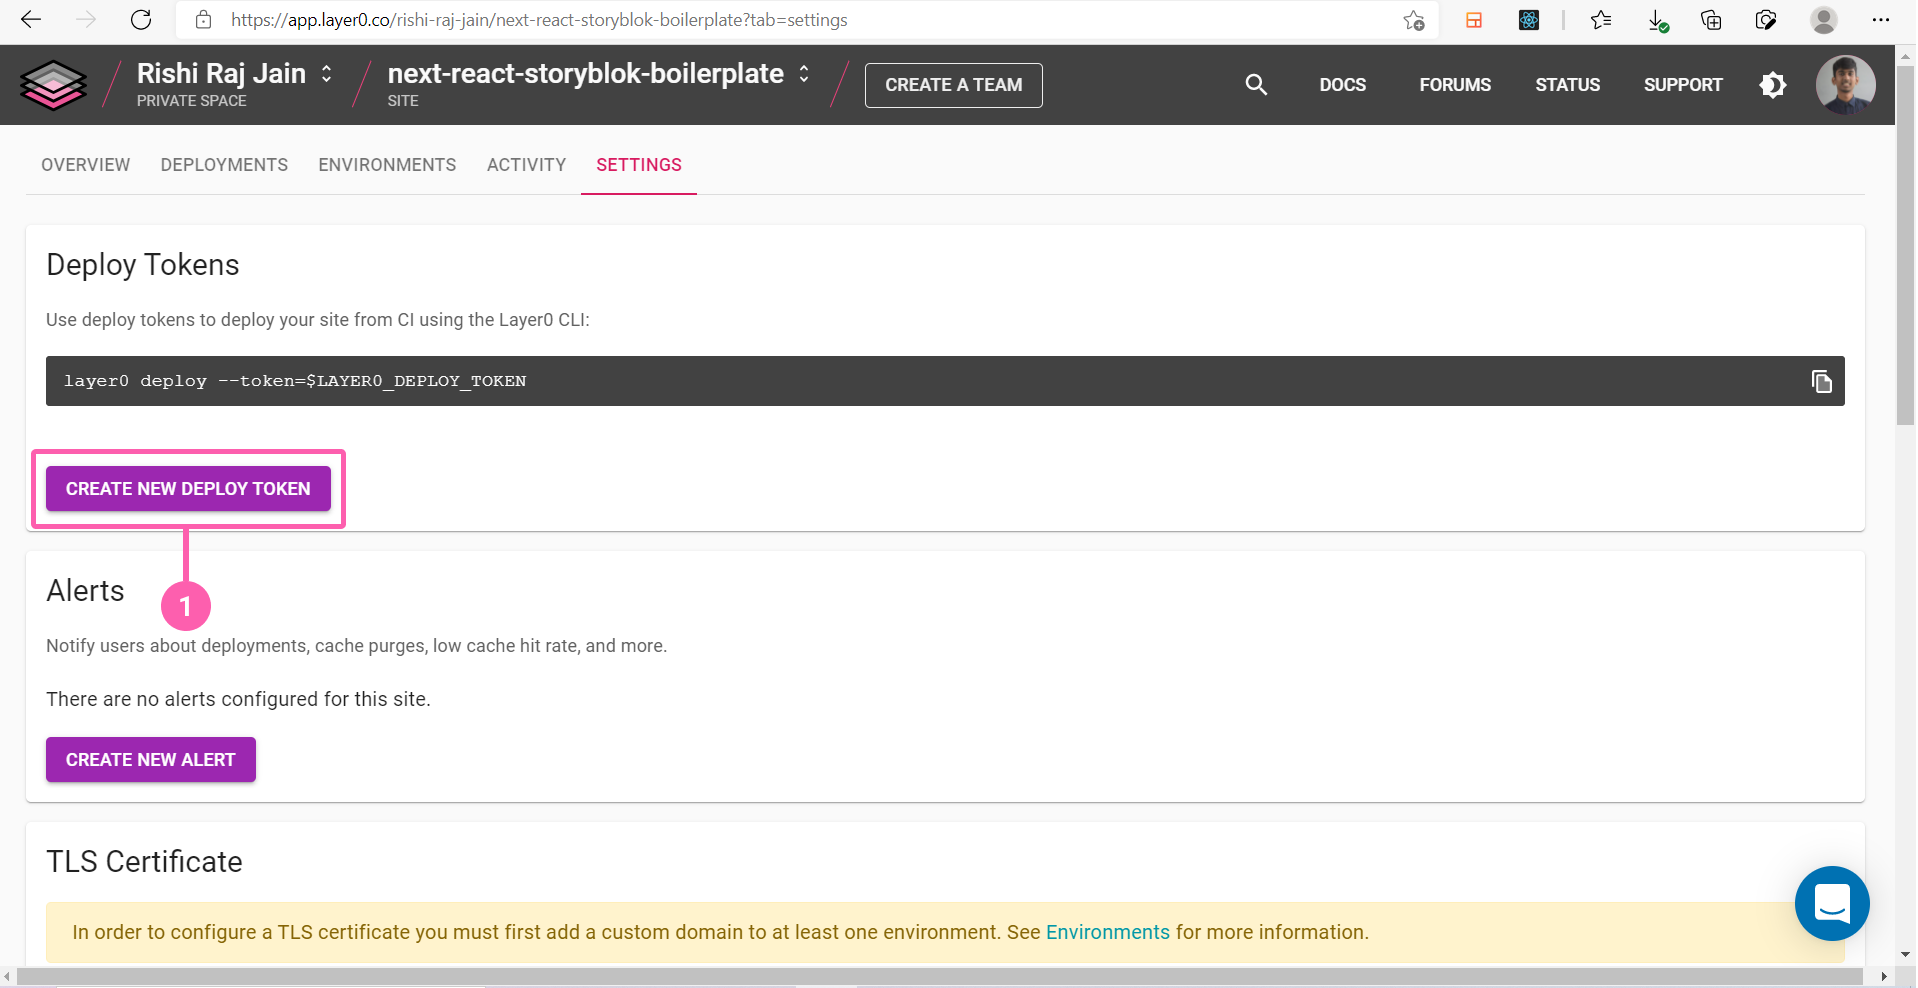
(Step 1: Open the Settings Tab and Create New Deploy Token)

(Step 2: Give a name and Create Token)
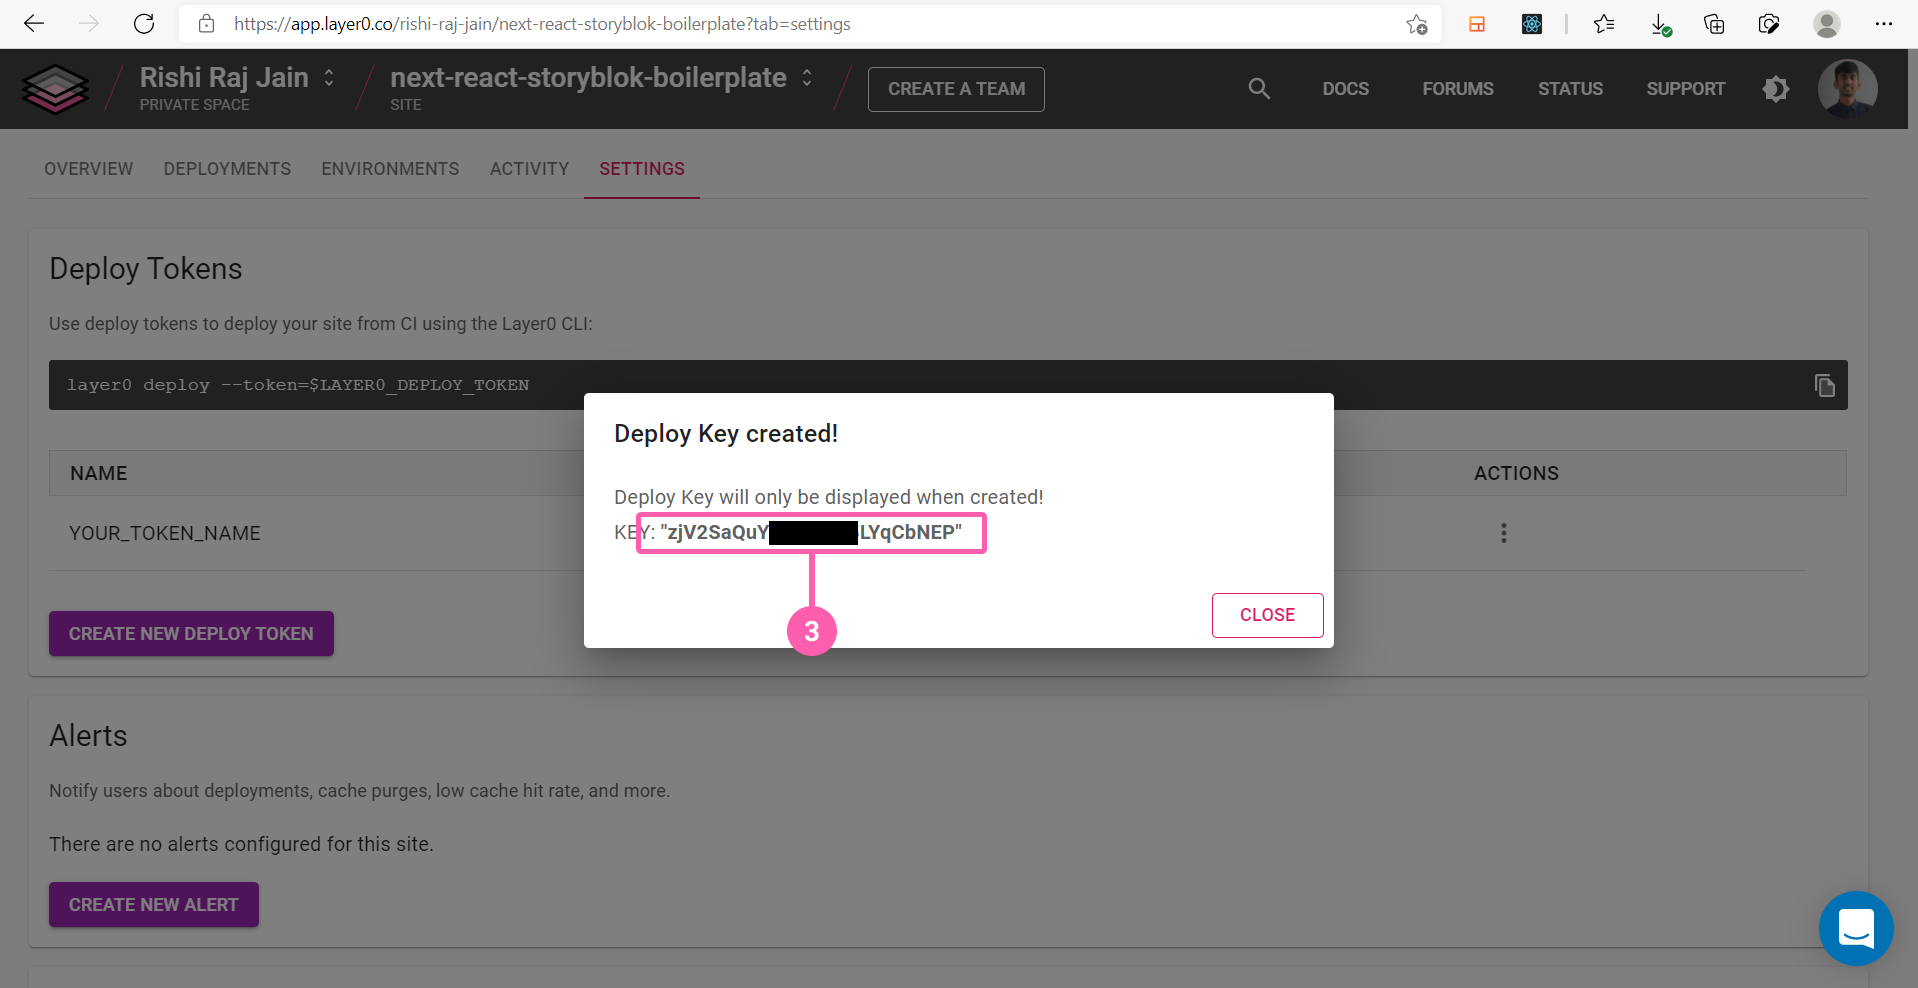
(Step 3: Copy the Deploy Key to be used as layer0_deploy_token)
3. Add STORYBLOK_API_TOKEN to Layer0 Developer Console by following the steps in the screenshots below. Why? Because for builds that happen with GitHub Workflows, Layer0 deploy command pulls down the environment variables from the Layer0 Developer Console and applies them to process.env so they can be accessed at build time. You need to set the environment variables only at Layer0 once and then you can configure CI/CD with any platform.

(Step 1: Go to default environment)
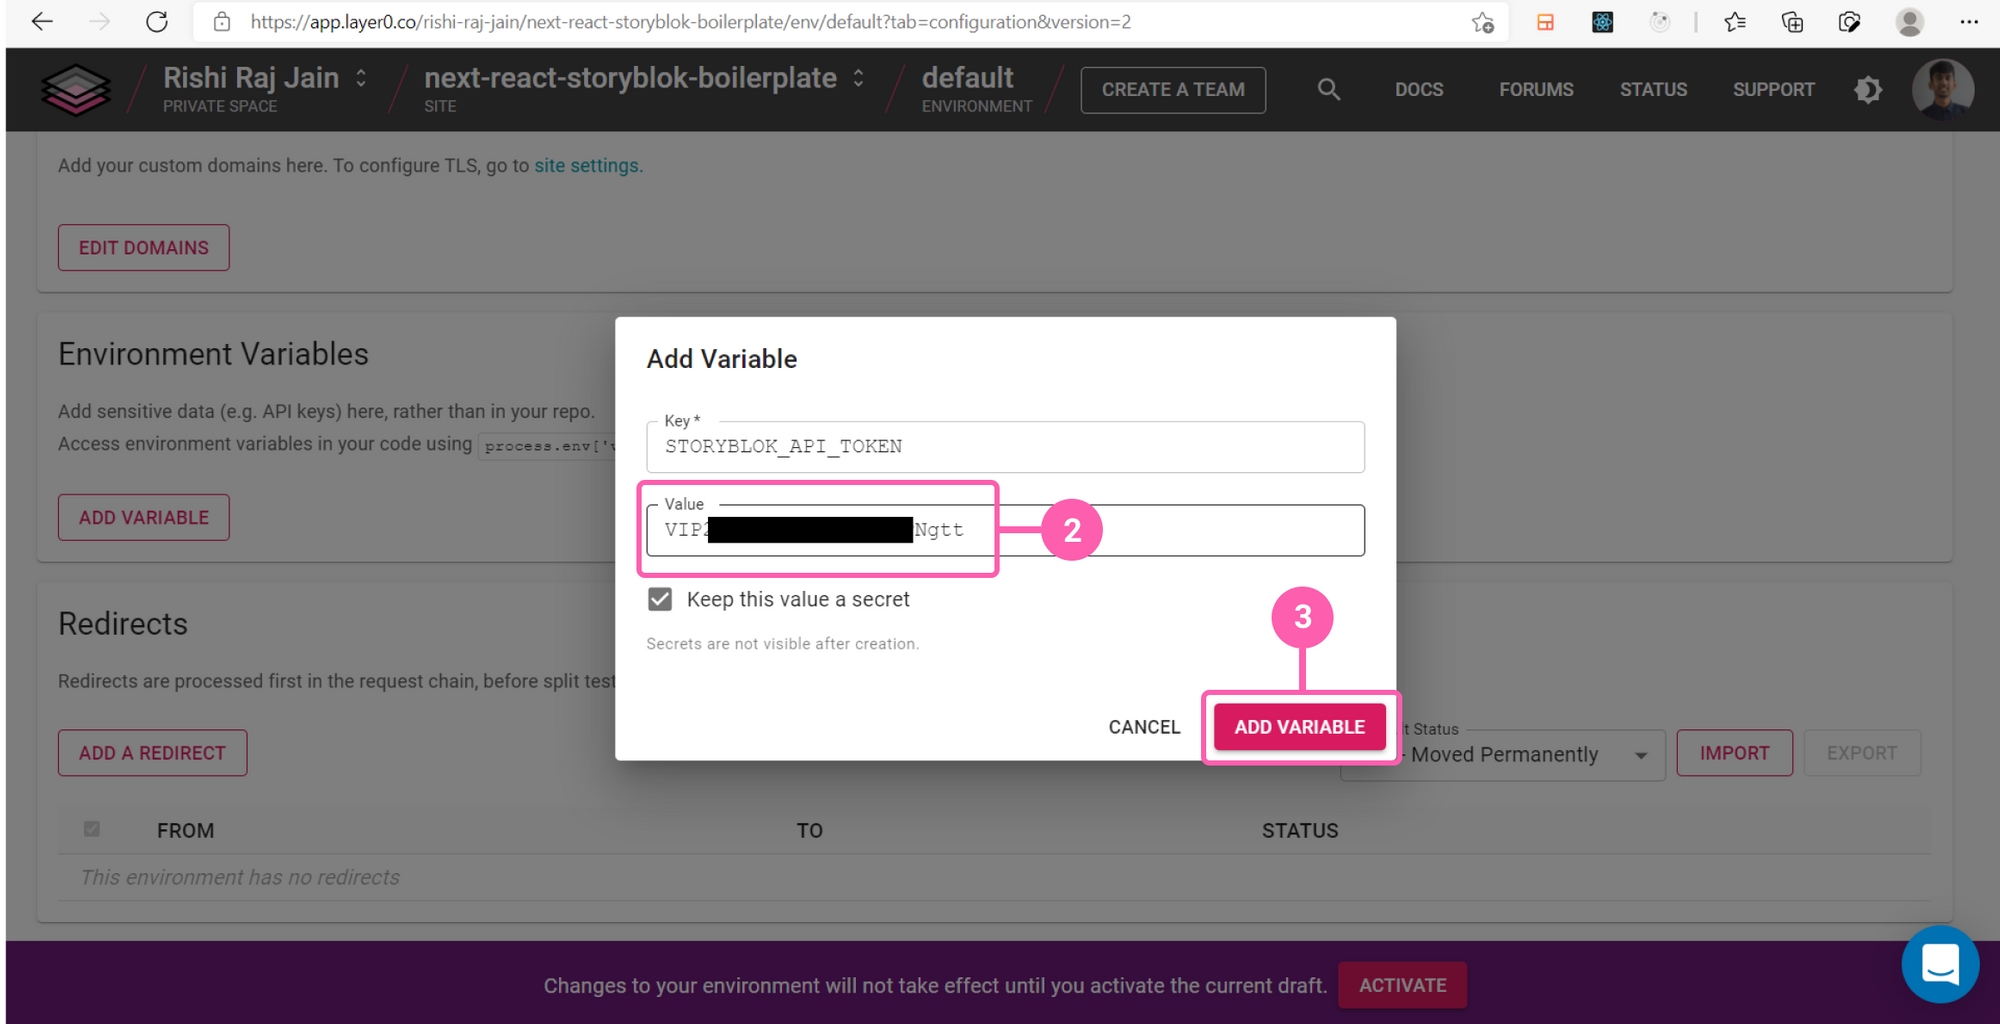
(Step 2: Set name to 'STORYBLOK_API_TOKEN', paste the token and click on Add Variable)
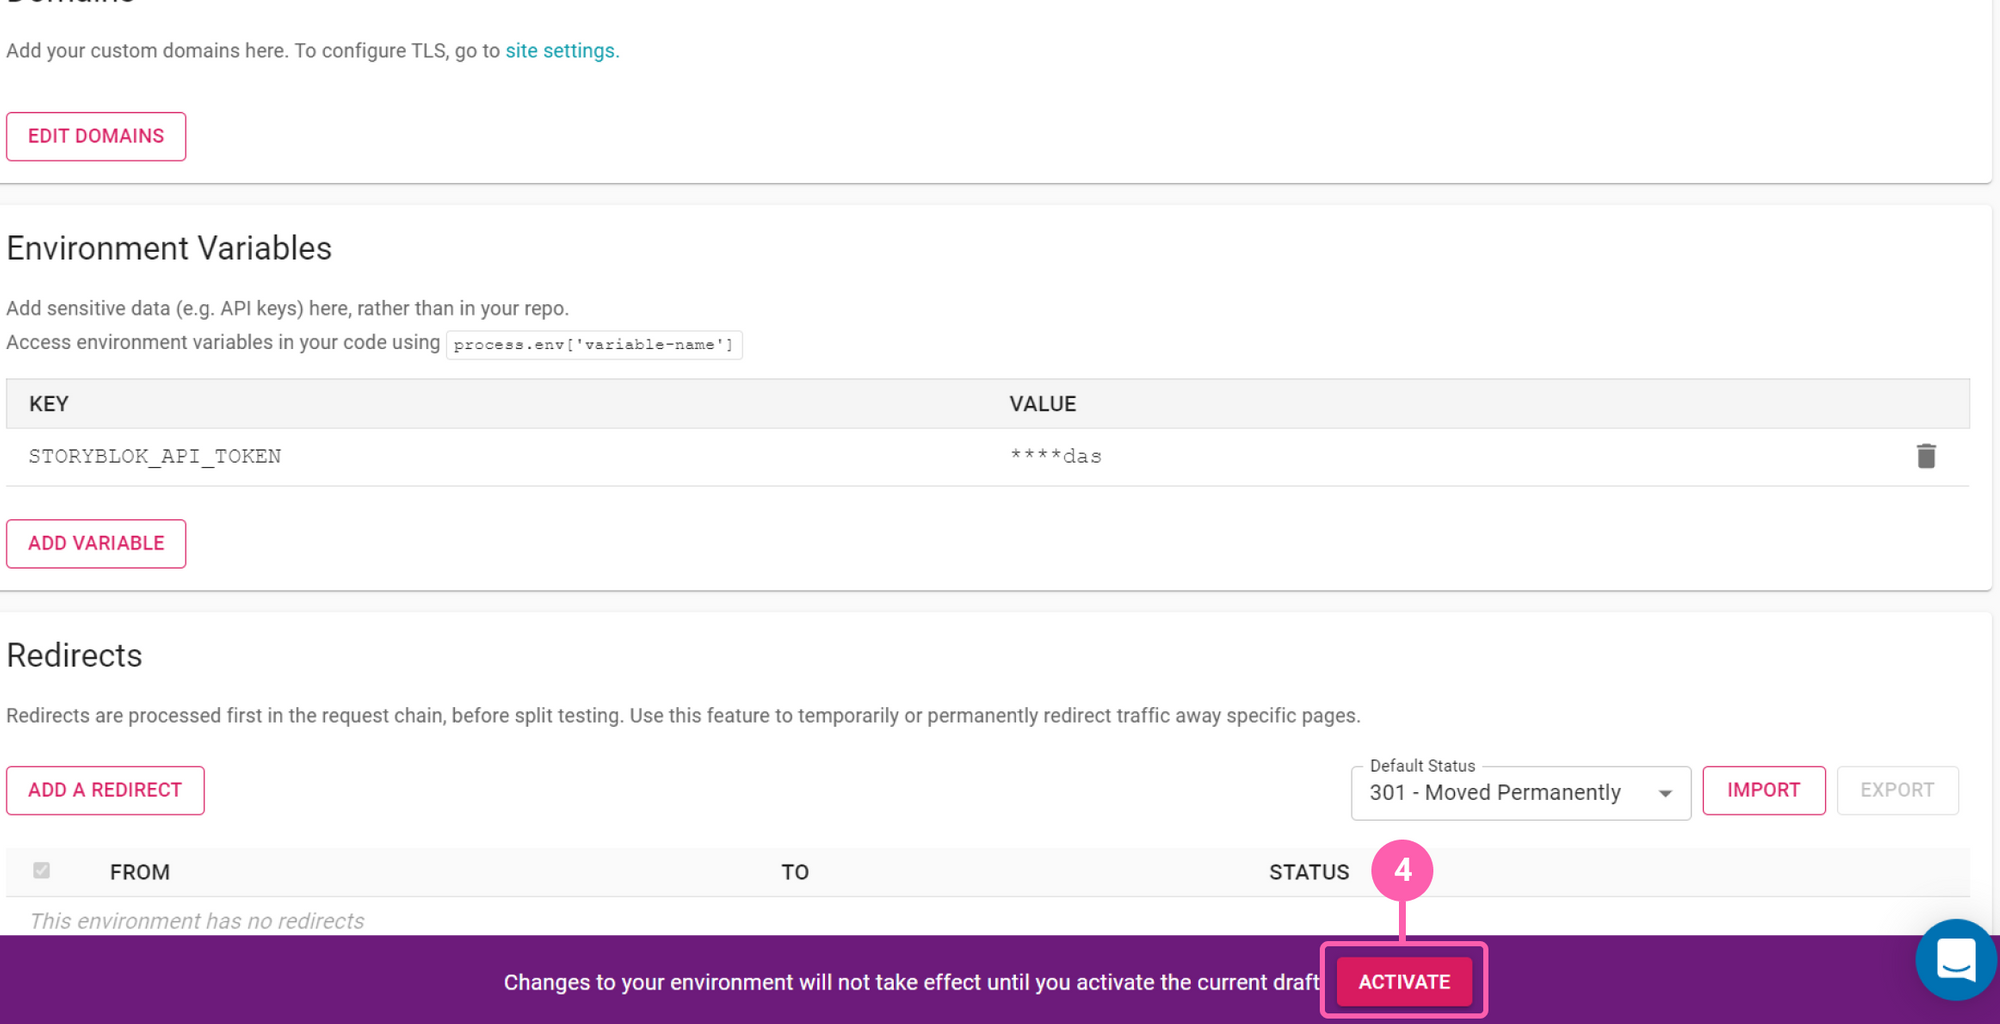
(Step 3: Click on activate to start deploying the changes to environment variables)
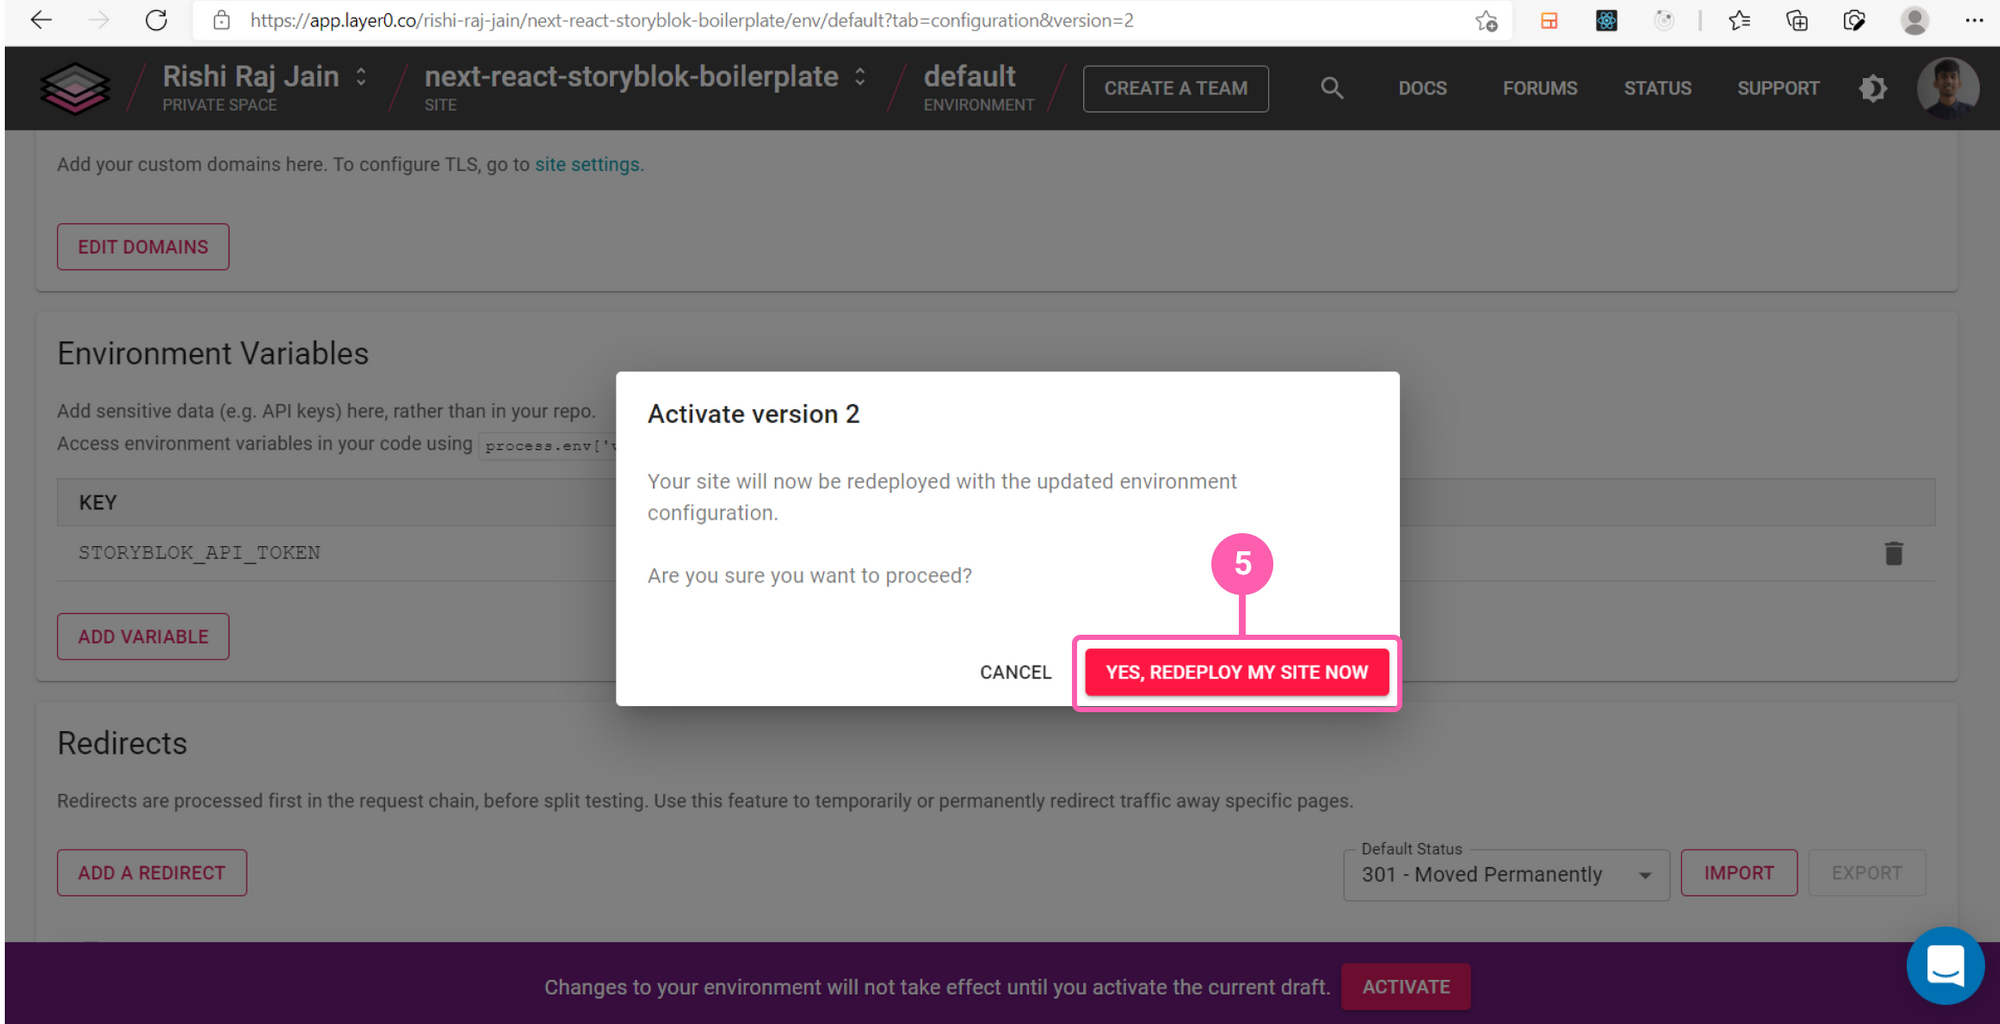
(Step 4: Confirm Redeployment by clicking on 'YES, REDEPLOY MY SITE NOW')
4. Add ‘layer0_deploy_token’ to GitHub Secrets-- see the screenshots below for the steps

(Step1: Click on Settings Tab of your repository)

(Step 2: Create a new secret)
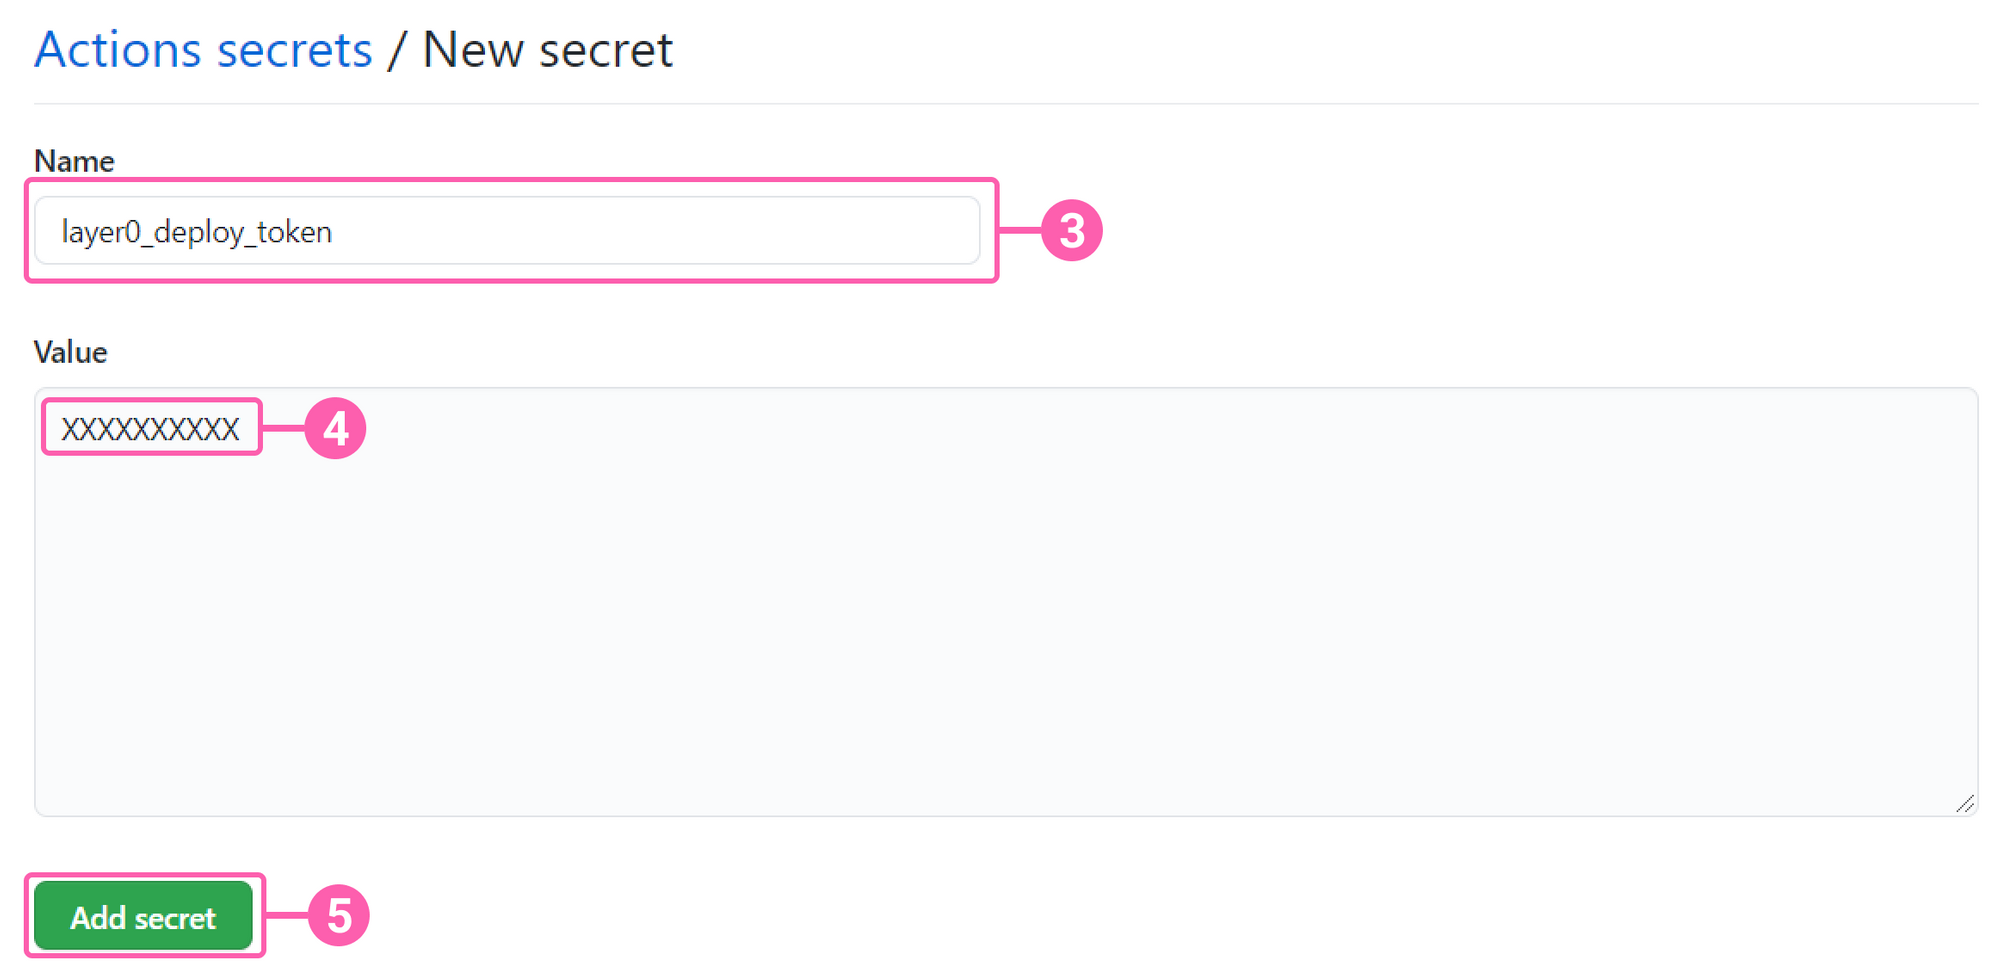
(Step 3: Set name to 'layer0_deploy_token', paste the token value as obtained earlier and click on Add Secret)
5. Create a file layer0.yml in .github/workflows folder of the Next project and copy & paste the following configuration. The GitHub workflow assumes that you have two environments on Layer0: default (for changes to master branch) and staging (for other branches). Refer to Creating an Environment for creating the staging environment (opens in a new window). Also, you should have created a deploy key for your site and added it as a secret in your repo called "layer0_deploy_token".
# Add this file to your project at .github/workflows/layer0.yml
#
# This GitHub action deploys your site on Layer0.
#
# The site is deployed each time commits are pushed. The environment to which the changes are deployed
# is based on the following rules:
#
# 1.) When pushing to master, changes deployed to the "default" environment.
# 2.) When pushing to any other branch, changes are deployed to the "staging" environment. This environment does not exist
#     by default. You must create it using https://app.layer0.co.
#
# In order for this action to deploy your site, you must create a deploy token from the site settings page
# in https://app.layer0.co and configure it as a secret called "layer0_deploy_token" in your repo on GitHub.

name: Deploy to Layer0
on: [push]
jobs:
  deploy-to-layer0:
    runs-on: ubuntu-latest
    steps:
      - name: Check for Layer0 deploy token secret
        if: env.layer0_deploy_token == ''
        run: |
          echo You must define the "layer0_deploy_token" secret in GitHub project settings
          exit 1
        env:
          layer0_deploy_token: ${{secrets.layer0_deploy_token}}
      - name: Extract branch name
        shell: bash
        run: echo "BRANCH_NAME=$(echo ${GITHUB_REF#refs/heads/} | sed 's/\//_/g')" >> $GITHUB_ENV
      - uses: actions/checkout@v1
      - uses: actions/setup-node@v1
        with:
          node-version: 14
      - name: Cache node modules
        uses: actions/cache@v1
        env:
          cache-name: cache-node-modules
        with:
          path: ~/.npm # npm cache files are stored in `~/.npm` on Linux/macOS
          key: ${{ runner.os }}-build-${{ env.cache-name }}-${{ hashFiles('**/package-lock.json') }}
          restore-keys: |
            ${{ runner.os }}-build-${{ env.cache-name }}-
            ${{ runner.os }}-build-
            ${{ runner.os }}-
      - run: npm ci
      - name: Deploy to Layer0
        run: npm run layer0:deploy -- --branch=$BRANCH_NAME --token=${{secrets.layer0_deploy_token}} ${{env.BRANCH_NAME == 'master' && '--environment=default' || '--environment=staging'}}
6. Commit & push your code to your repository and it’s all done!
Conclusion
In this tutorial, we learned how to integrate Storyblok CMS in a Next.js project and deploy it to Layer0. Add a headless CMS to Next.js in 5 minutes from Storyblok came in handy to set up the integration of StoryBlok with Next.js. We learned how to deploy the app with Layer0 CLI and set up the CI/CD Integration with GitHub Workflows.
| Resource | Link |
|---|---|
| Github Example Repo | rishi-raj-jain/next-storyblok-layer0-starter |
| Next.js Documentation | Next.js Docs |
| Add a headless CMS to Next.js in 5 minutes | Add Headless CMS to Next.js |
| Layer0 Deploying Guide | Deploying Guide |
