How to create a protected download area?
By default, the assets uploaded in Storyblok are accessible by anyone that has the link to it. Sometimes you want to restrict access to only logged-in users, make a protected download area, or make the asset available at a specific time. For all that cases you can use the "Private" option at the upload modal to make the assets only available via a specific asset token. To generate a URL for the user you need to call the assets endpoint with the filename and the asset token like in this example:
https://api.storyblok.com/v2/cdn/assets/me?token=0Q60BeVciQvvHV1UnMz2Hgtt&filename=https://a.storyblok.com/f/135435/x/f47bdaee3e/sample.pdfSo to summarise here are the steps you need to follow:
Step 1: Go to the asset manager, upload a single asset and choose Private {1} in the visibility settings.

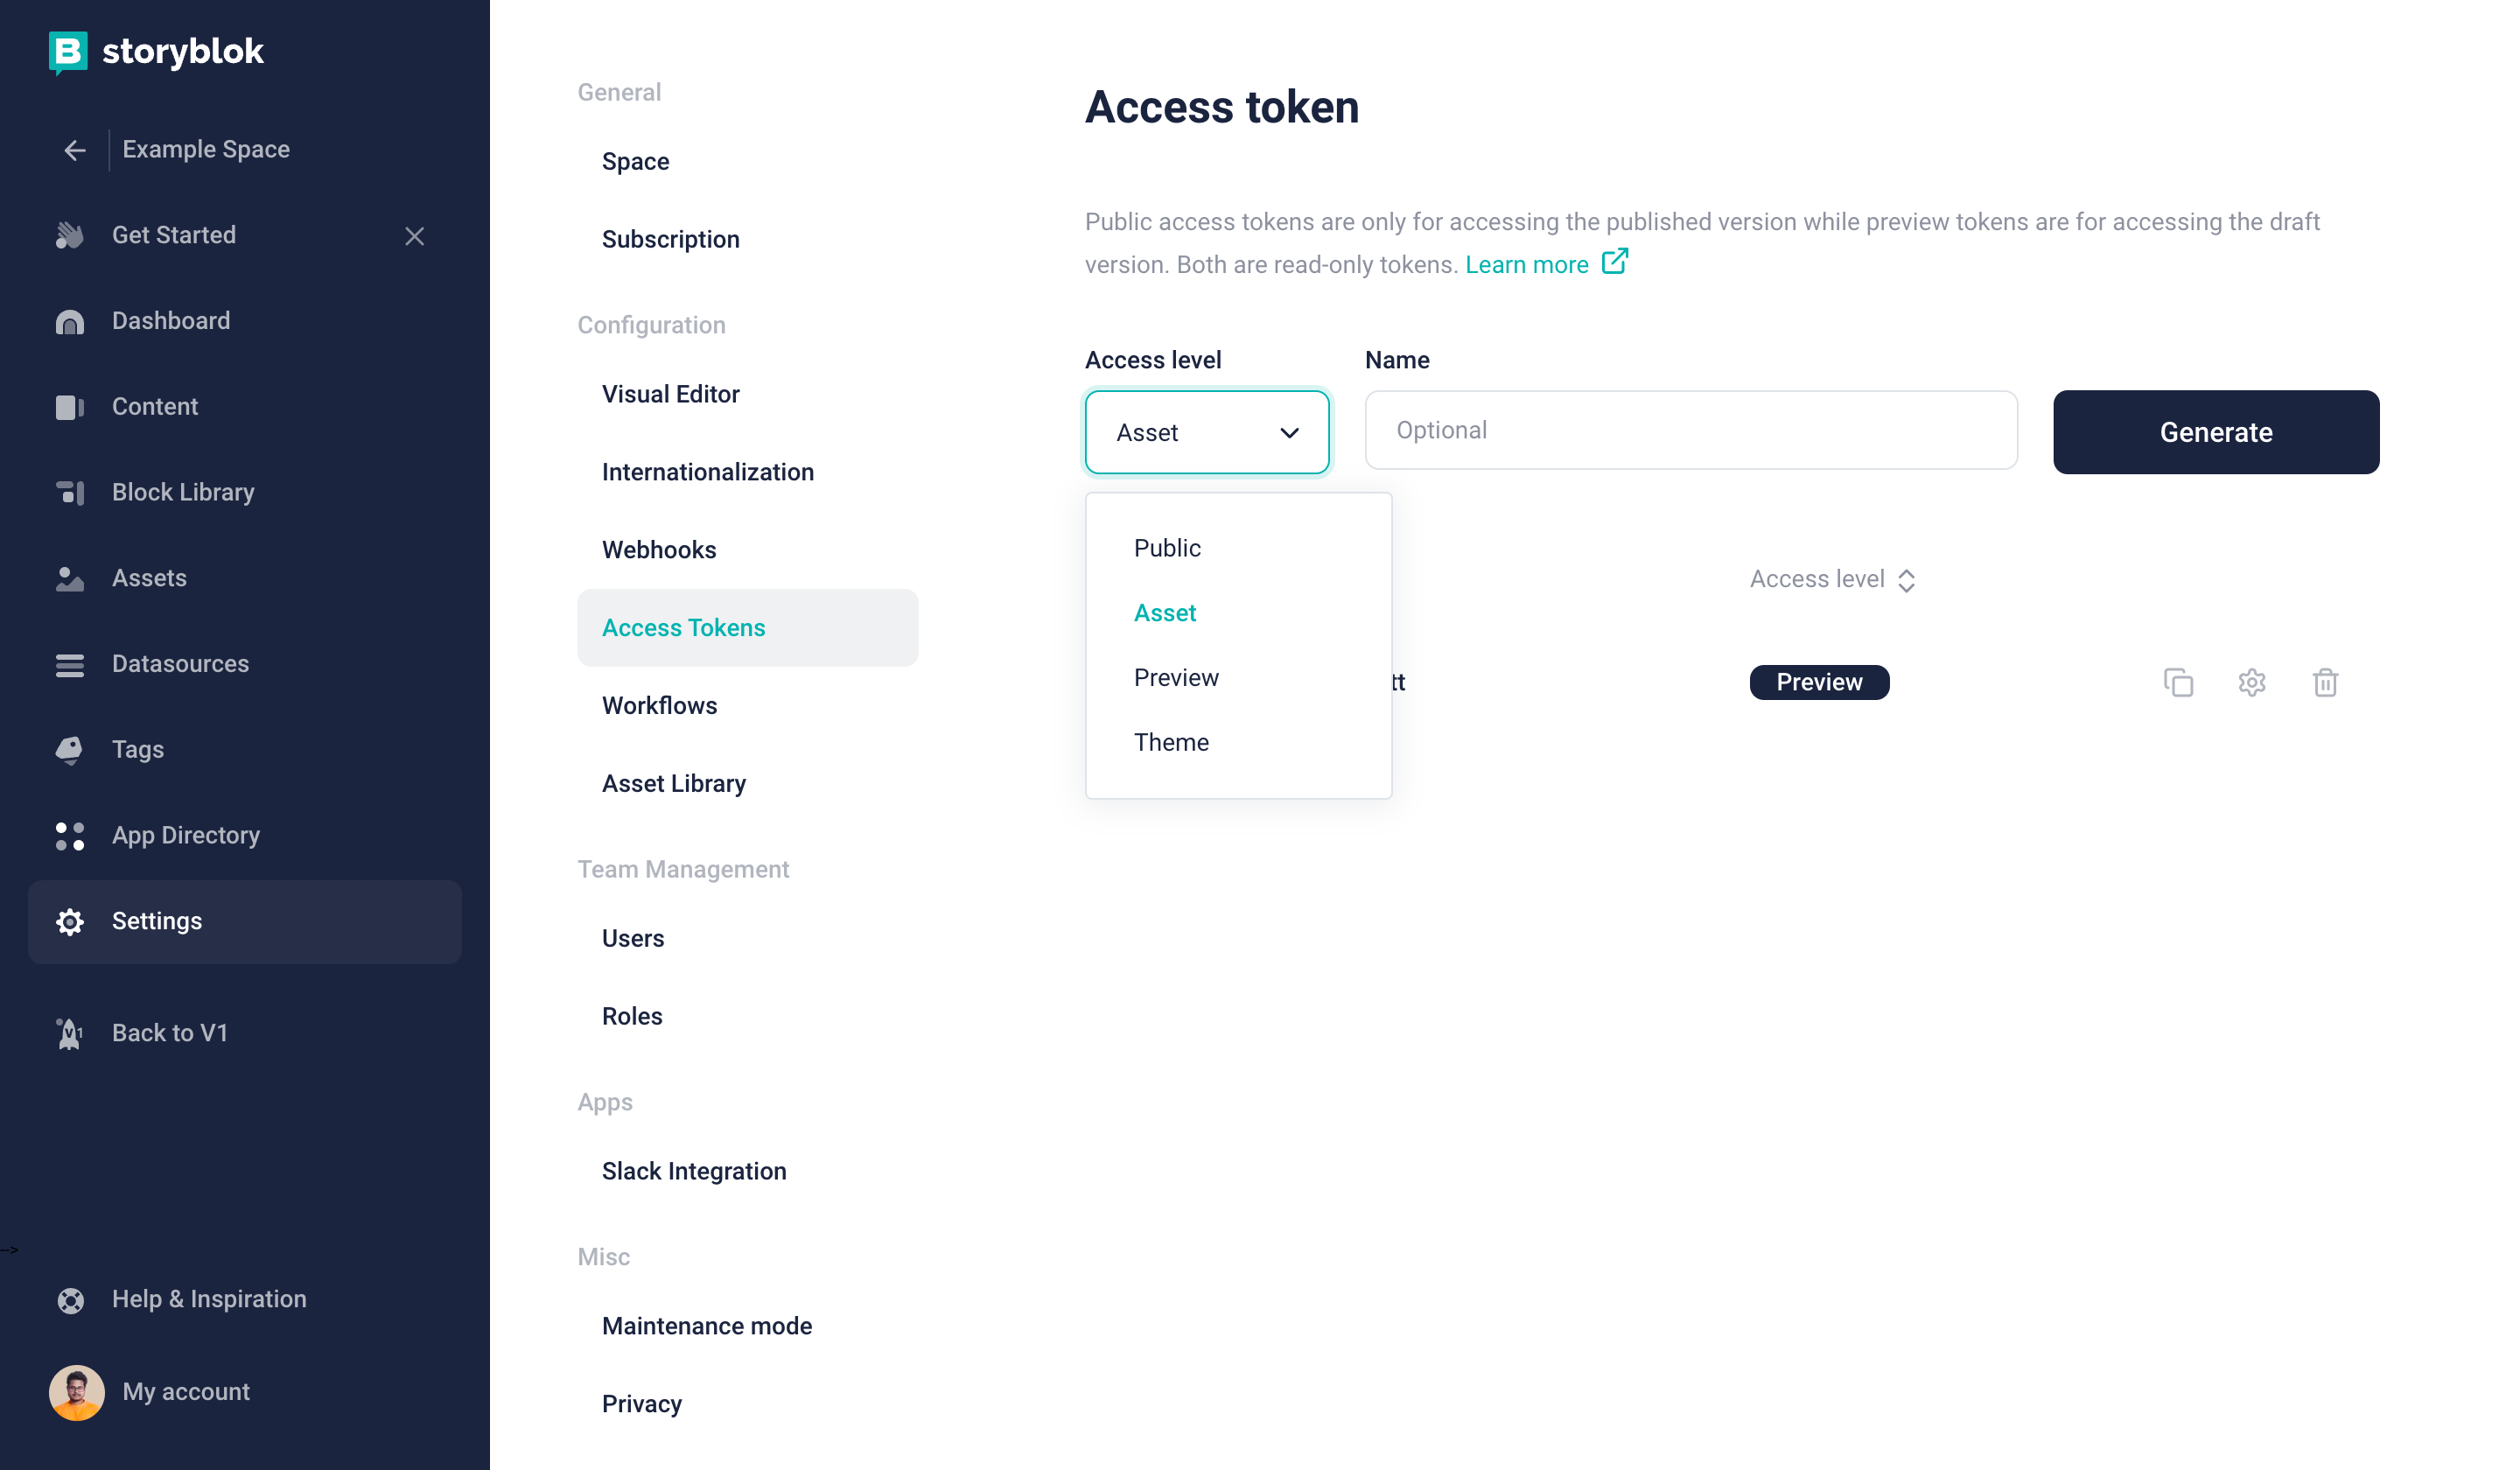
Step 2: Create an asset token in the space settings
Step 3: Create an endpoint in your backend that hides the preview token from unauthorized users and sends the signed_url as a download link.
Following is an example in Javascript:
const StoryblokClient = require('storyblok-js-client')

let Storyblok = new StoryblokClient({
  accessToken: YOUR_ASSET_TOKEN
})

let getSignedUrl = function(filename) {
  let response = await Storyblok
  .get('cdn/assets/me', {
    filename: filename
  })

  return response.data.asset.signed_url
}

console.log(getSignedUrl('https://a.storyblok.com/f/135435/x/f47bdaee3e/sample.pdf'))
For a more extensive example, you can read our tutorial on "How to serve gated content with Storyblok private assets".