Salesforce Commerce Cloud
Seamlessly integrate your Salesforce e-commerce platform with Storyblok
Salesforce Commerce, a renowned e-commerce platform, empowers businesses to establish and manage online stores with unparalleled efficiency and flexibility.
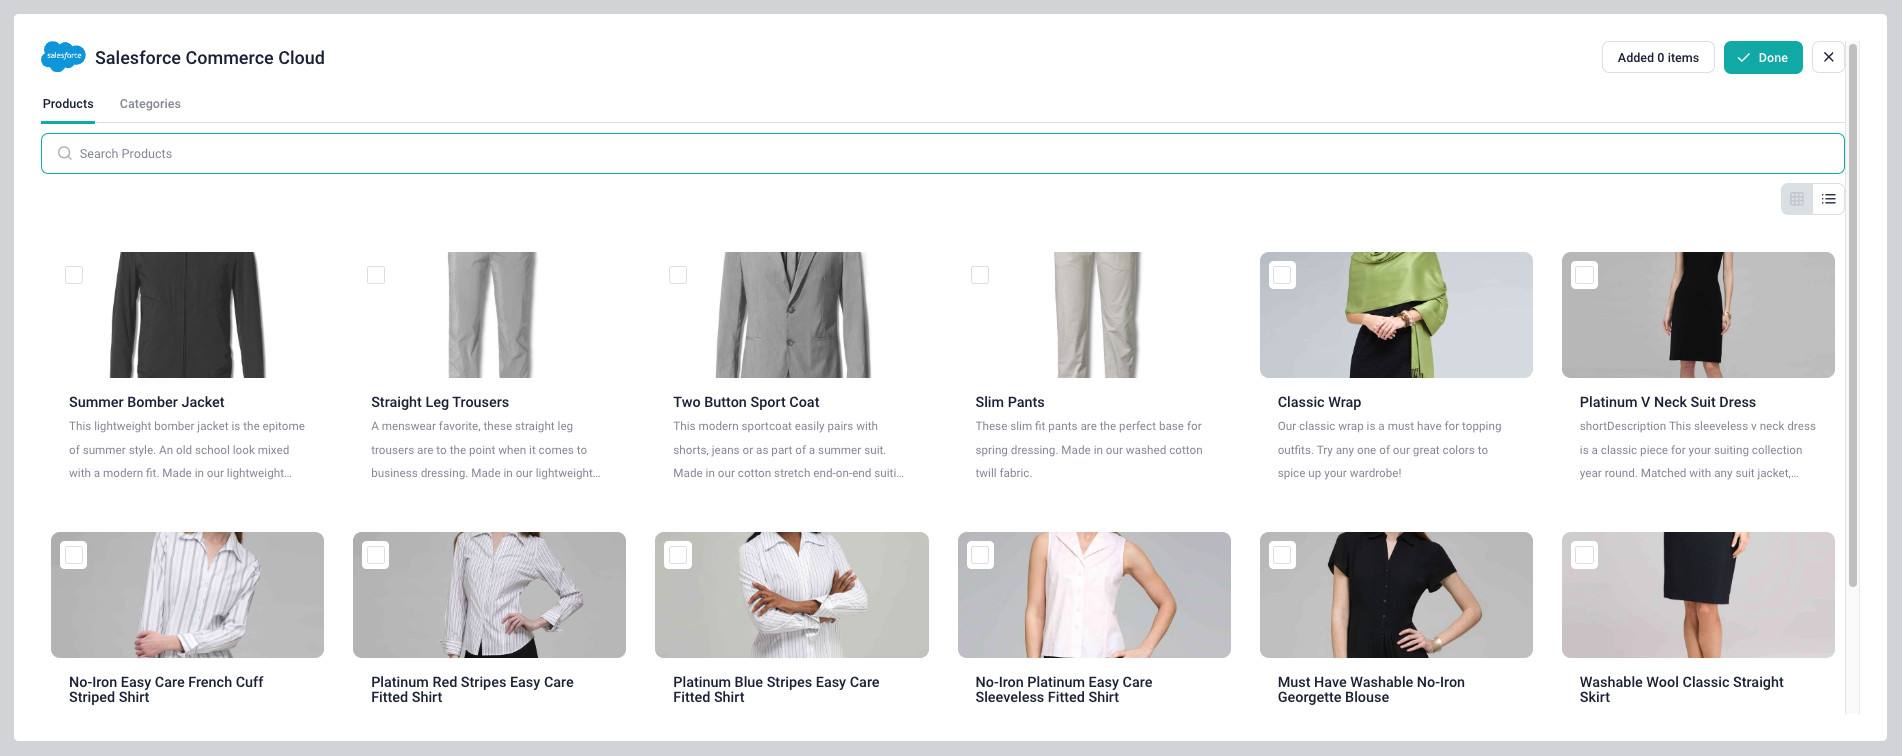
This app enables content editors to select products and categories from a connected Salesforce Commerce Cloud instance and reference them in Storyblok.
Setup
- Once installed, navigate to the block library and create a new field of the type plugin (in either a new or an existing block). Set the custom type to
sb-salesforce. - In the field configuration, define the following values:
clientId(required): TheclientIdof the API client.clientSecret(required): TheclientSecretof the API client.shortCode(required): The eight-character string associated with a realm. Learn more in the Salesforce documentation.siteId(required): ThesiteIdis the name of the site (sometimes called a “channel”) for which you want to access data. Learn more in the Salesforce documentation.limit(optional): The maximum number of items that can be selected.selectOnly(optional): If left empty, editors can choose products and categories. If set toproduct, only products can be selected. If set tocategory, only categories can be selected.
Create an API Client in Salesforce
Follow the steps in the Salesforce documentation to create an API Client. Please note the following:
- Please save the password you picked in a secure place. Later, it will be used as the plugin's
clientSecret. - When selecting the roles, select the “Salesforce Commerce API category.” For the role scope, make sure to select the instance you want to integrate with. Do not select the “All Sandboxes” option.
- For the allowed scopes, define
sfcc.catalogsandsfcc.products. Do not add other scopes. - Select
client_secret_postas the Token Endpoint Auth Method.
Please refer to the e-commerce concept for a detailed introduction to the topic.